How to Paint a Feature Wall – 2026 Guide
DIY Guides›Painting & Decorating
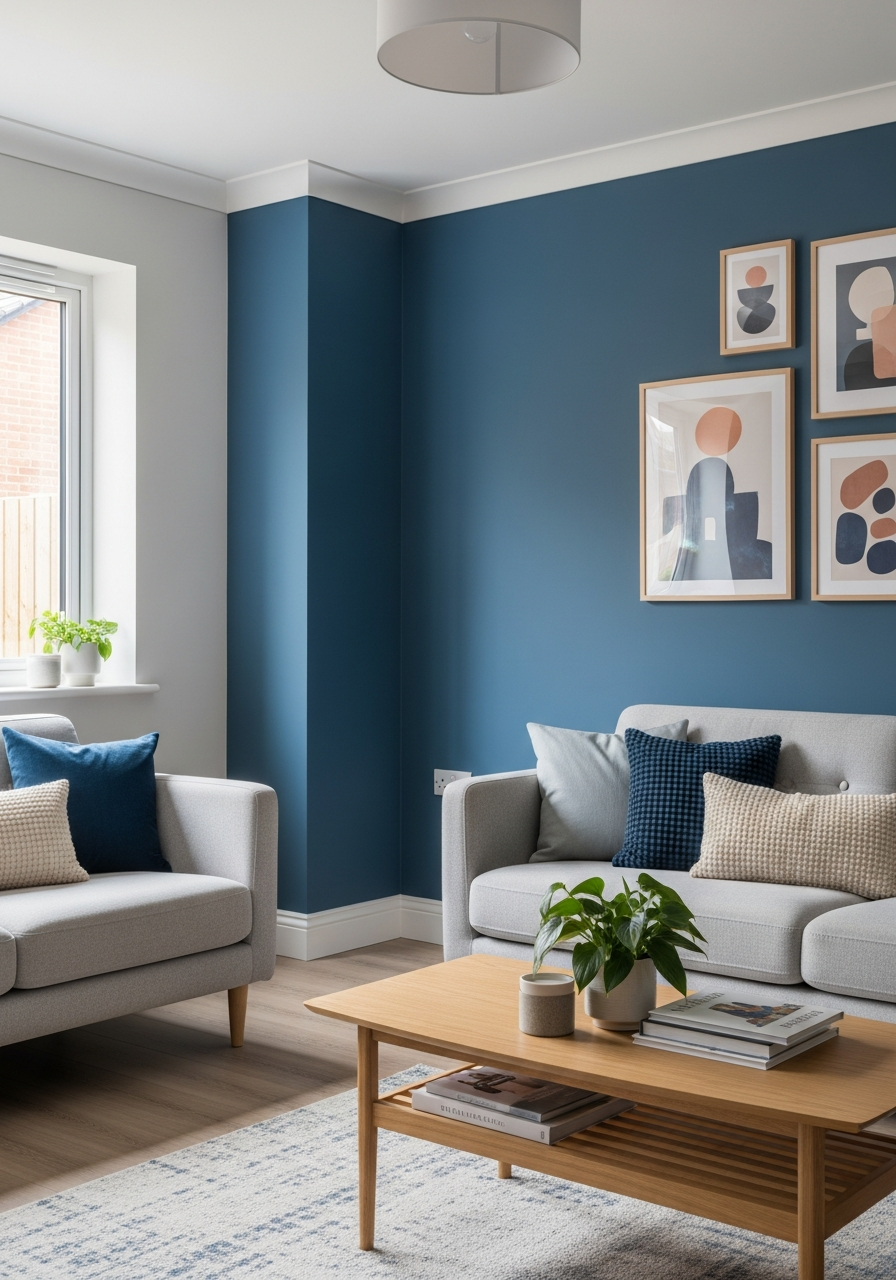
How to Paint a Feature Wall
— 2026 Guide
Transform any room with a bold feature wall in a single afternoon.
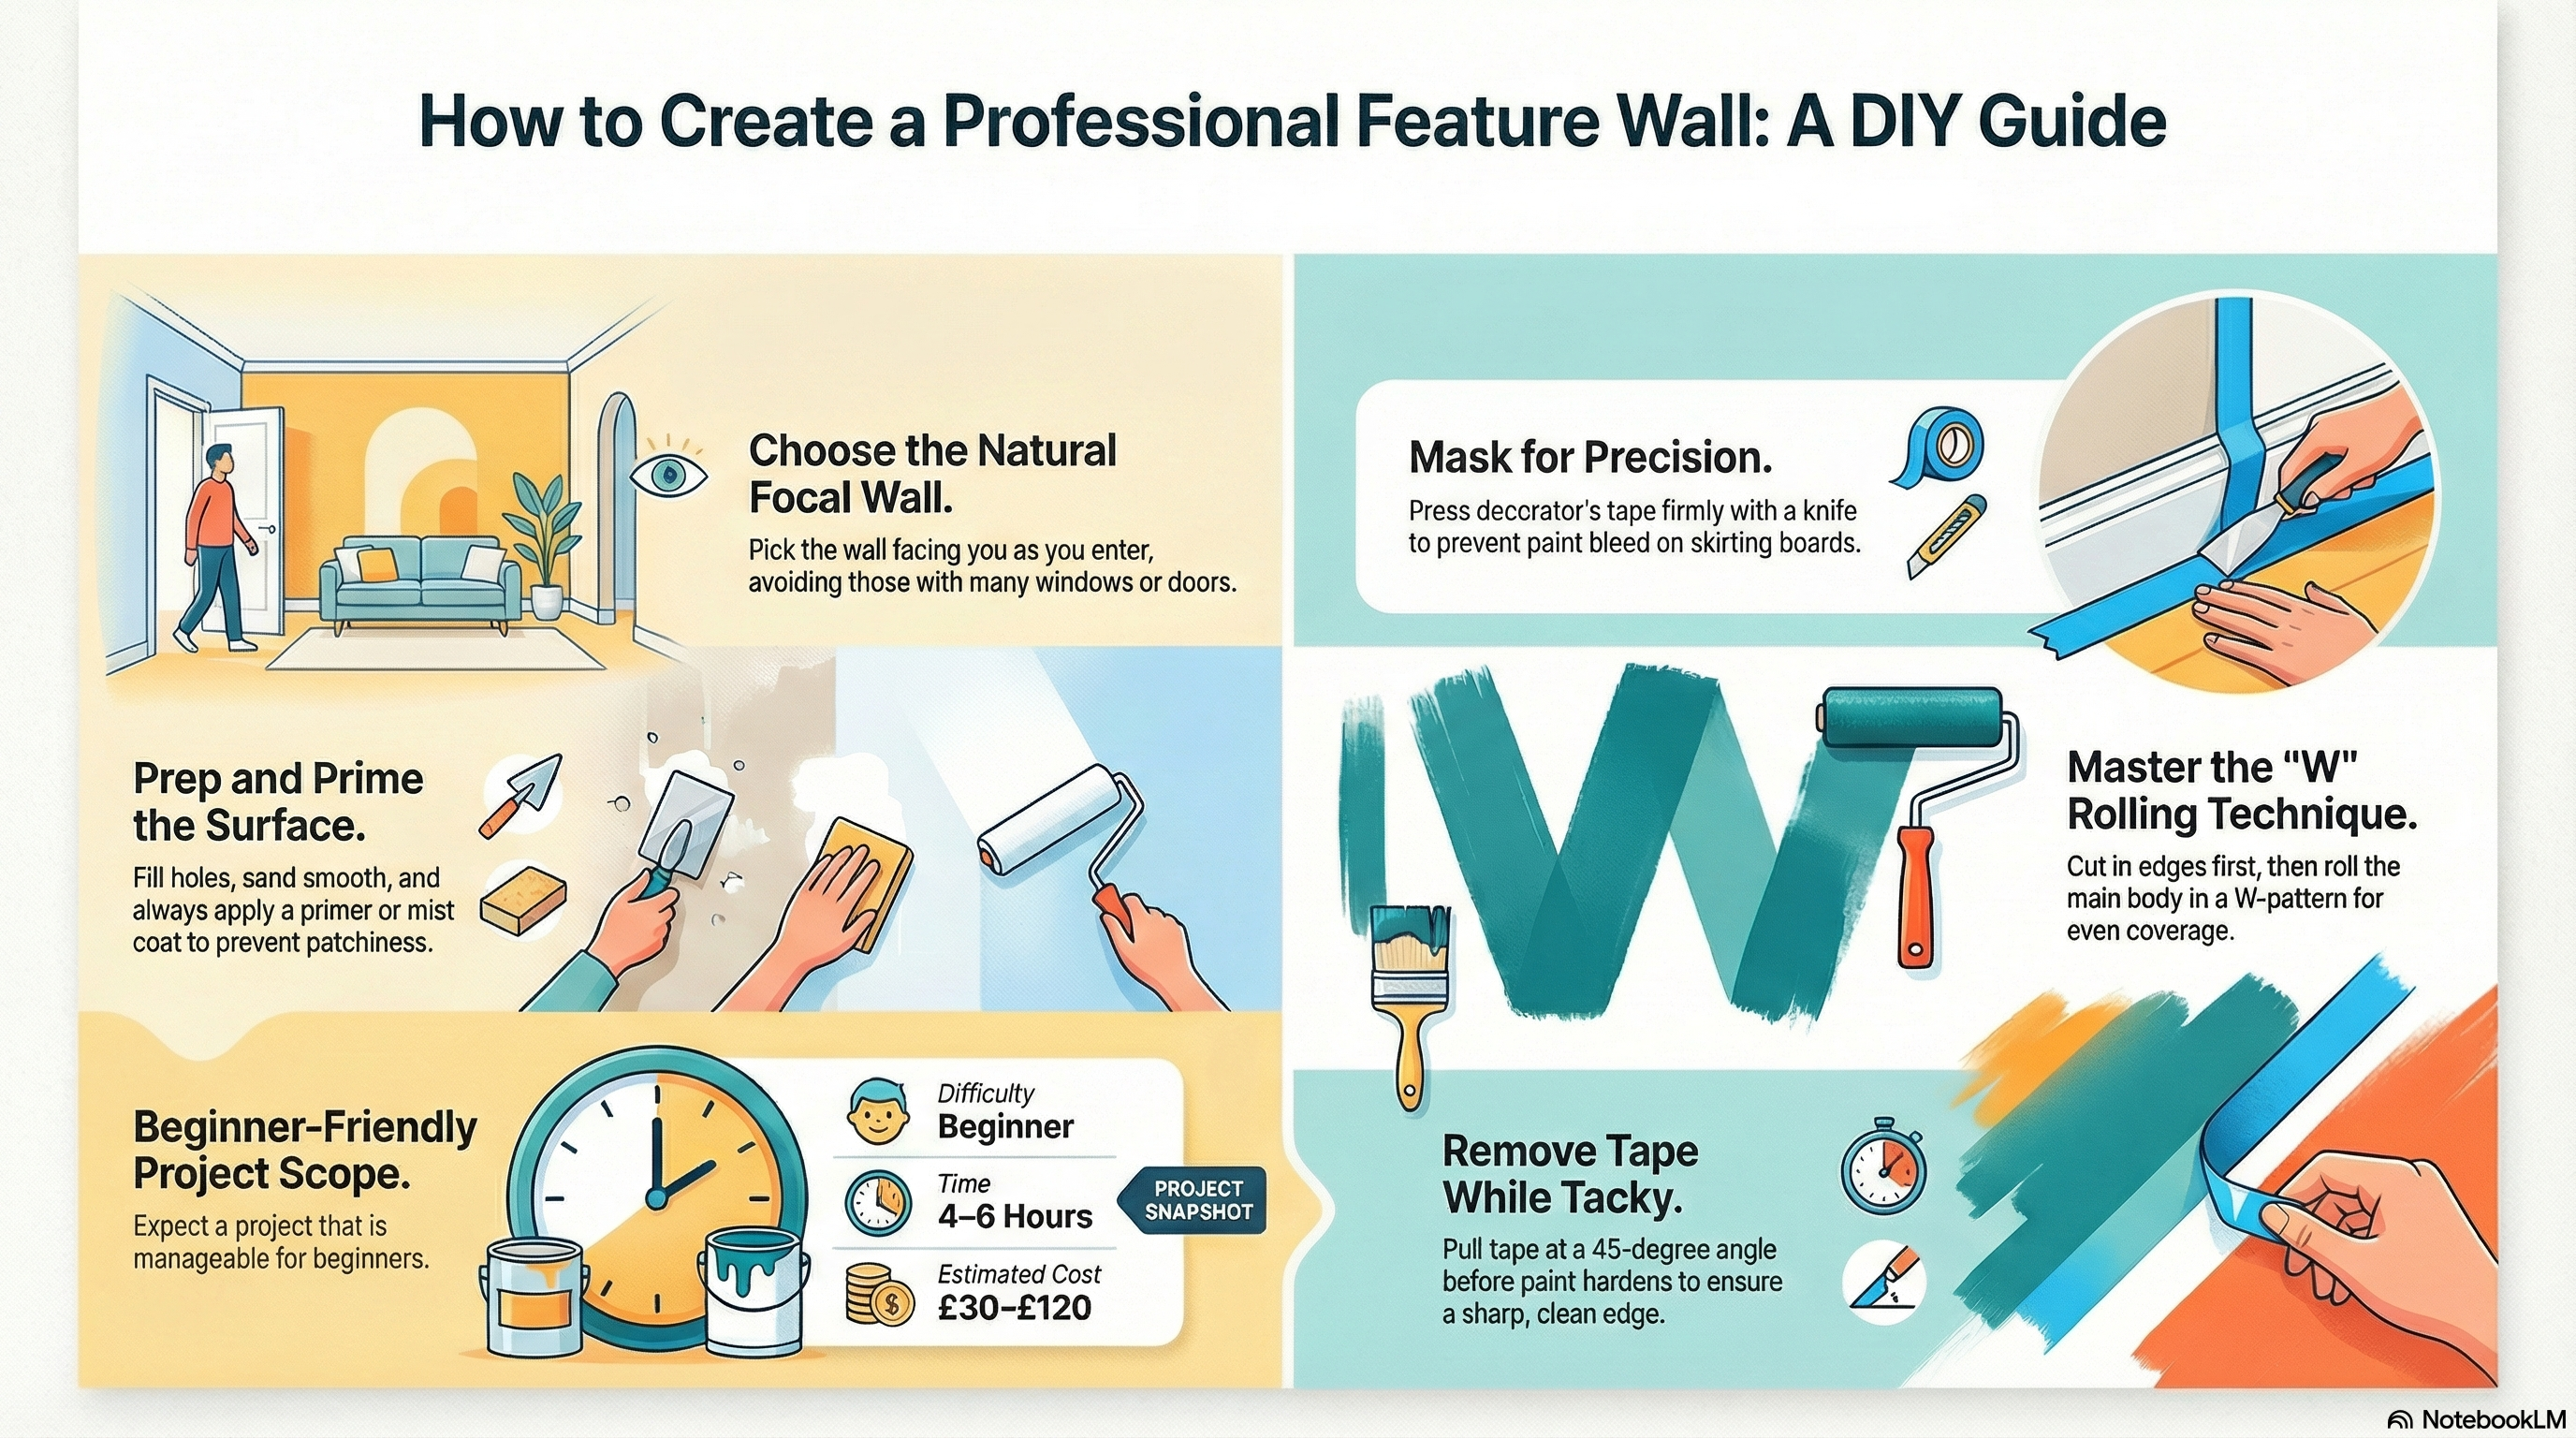
To paint a feature wall, clean and lightly sand the wall, apply a coat of Dulux primer if needed, cut in around the edges with a Purdy brush, then roll the colour in two coats, allowing full drying time between each.
Mask and Protect the Room
Run B&Q 38mm masking tape along the ceiling line, skirting boards, and any adjacent walls bordering your feature wall. Press the tape edge down firmly with a finger or a Stanley knife handle to prevent bleed. Lay a dust sheet on the floor directly in front of the wall to protect it from drips.
Apply Primer if Required
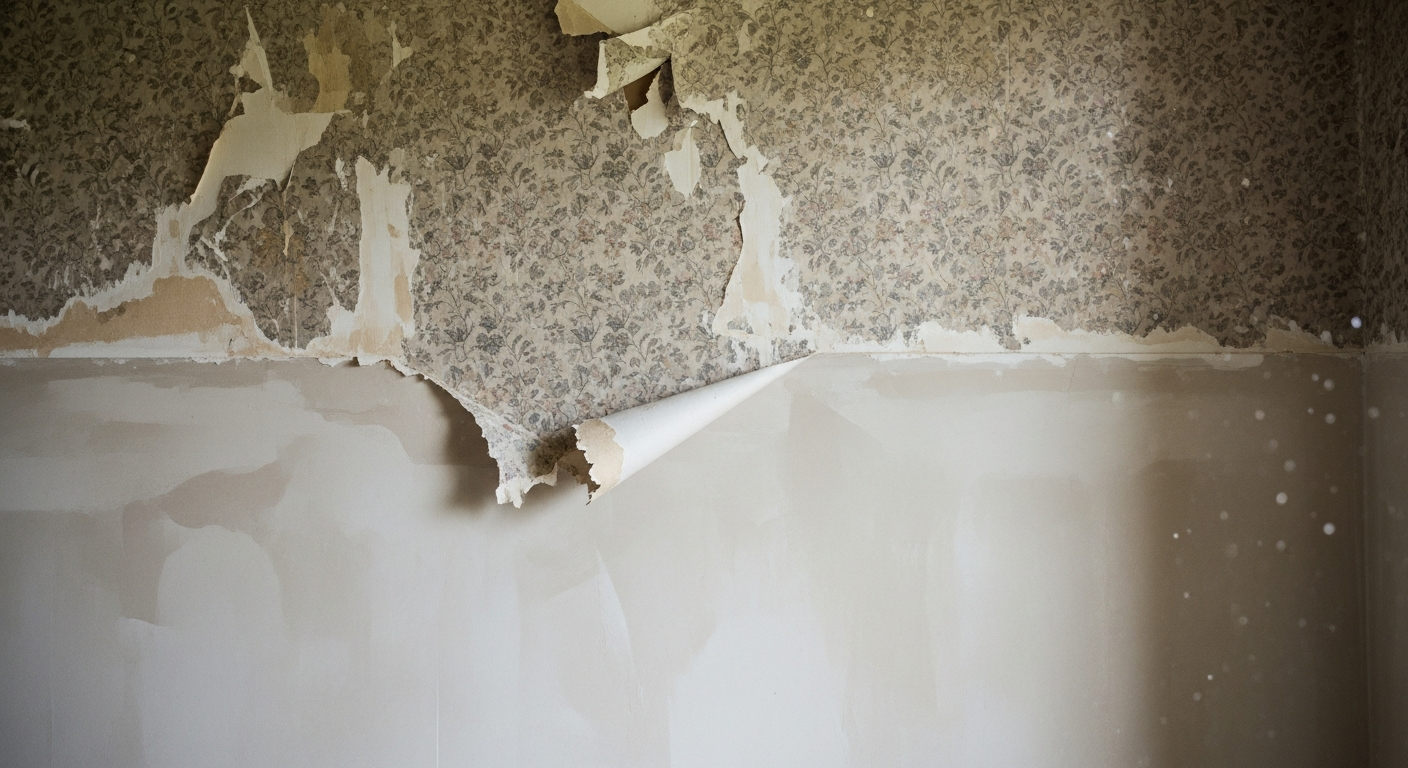
If the wall is bare plaster, heavily patched , or you are going from a very light colour to a deep tone, apply one coat of Dulux Universal Primer & Undercoat with a Purdy roller. This seals the surface, improves coverage, and stops your top coat being absorbed unevenly. Allow the primer to dry fully — typically one hour — before moving on.
Cut In Around the Edges
Load a Purdy 2-inch angled brush with Dulux feature wall emulsion and cut in carefully along the ceiling, skirting board, and both side edges, working in sections of around 60cm at a time. Keep a steady hand and use the brush tip rather than the belly of the bristles for control. Work quickly so the cut-in edge stays wet and blends into the rolled area without leaving a hard line.
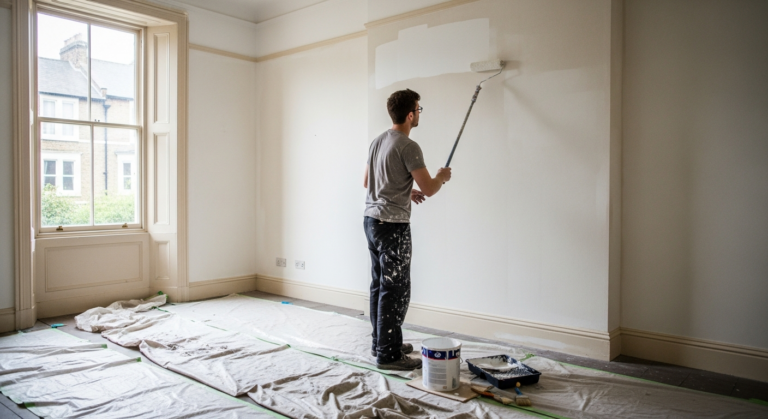
Roll the Main Wall Area
Pour paint into your Screwfix tray, load a Purdy medium-pile 9-inch roller evenly, and apply in a large W or M pattern before filling in with parallel strokes — this distributes paint evenly and avoids heavy patches. Keep a wet edge at all times by working section to section without stopping mid-wall. Apply the first full coat, then allow it to dry for the time stated on the Dulux tin (typically two hours for standard emulsion) before assessing coverage.
Apply the Second Coat and Remove Masking Tape
Once the first coat is touch-dry, apply your second coat of Dulux emulsion using the same roller technique — two coats nearly always give a more even, professional finish than one heavy coat. When the final coat is still slightly tacky rather than fully cured, peel the masking tape back at a 45-degree angle away from the wall in a slow, steady pull to get a clean, crisp edge. Leave the wall to cure fully for 24 hours before pushing furniture back against it.
Common Mistakes to Avoid
Frequently Asked Questions
How many coats of paint does a feature wall need?
Most feature walls need two coats of Dulux emulsion for full, even coverage. Going from a very light base to a deep or rich colour may require three coats, especially with highly pigmented shades.
Do I need to use a different paint on a feature wall?
A standard Dulux matt or flat emulsion works well on most feature walls. If the wall is in a high-traffic area or prone to scuffs, use a Dulux Easycare wipeable emulsion for better durability.
Should I paint the feature wall first or last?
Paint the ceiling first, then the feature wall, then the remaining walls last. This order lets you cut in the feature wall colour neatly against the ceiling without worrying about overspray from later stages.
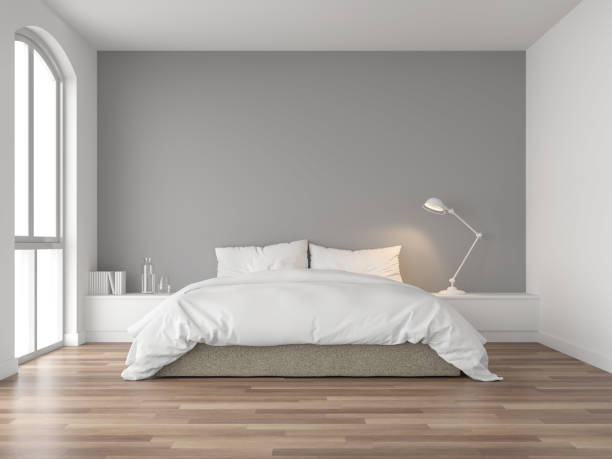
Which wall should I choose as a feature wall?
The wall that draws the eye naturally when you enter the room is usually the best choice — typically the wall directly facing the door, or the wall behind a bed or sofa. Dulux’s colour consultancy guidance recommends choosing a wall that already has an architectural focal point.
How do I avoid roller marks on a feature wall?
Use a Purdy medium-pile sleeve, keep the roller loaded evenly rather than overloaded, and always maintain a wet edge by working quickly across the wall without stopping mid-section. Adding a small amount of Floetrol to the emulsion also extends the open time and helps marks self-level.
When cutting in, do not try to achieve a perfect edge on the first pass — lay the paint in loosely on the first coat and refine the line on the second coat once you can see the full depth of colour against the adjacent surface. The second coat gives you a much cleaner, crisper line with far less risk of overpainting onto the ceiling or adjacent wall.
Sources
- Dulux — How to paint a feature wall: dulux.co.uk
- B&Q — Painting and decorating advice: diy.com
- Which? — How to paint walls and ceilings: which.co.uk
This guide is for general information only. Always work safely and follow manufacturer instructions. DIYnut accepts no liability for injury or damage arising from DIY work.
How to Paint a Feature Wall – Visual Guide