How to Fix a Dripping Tap – 2026 Guide
How to Fix a Dripping Tap
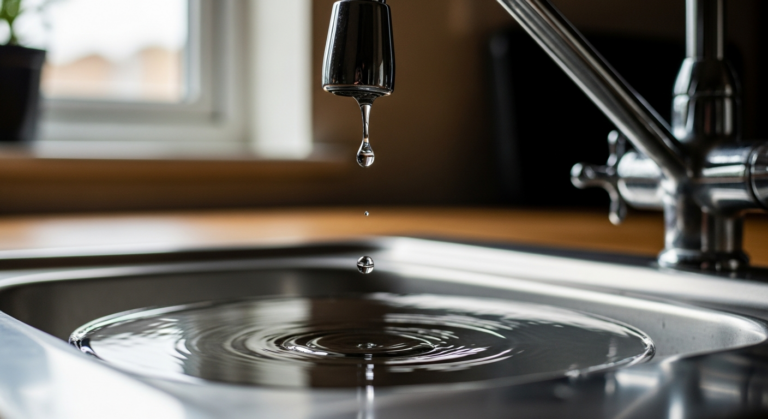
Stop a dripping tap for good and cut your water bill in one afternoon.
To fix a dripping tap, turn off the water supply, remove the tap handle and headgear, replace the worn washer or ceramic cartridge, then reassemble and restore the water. Most dripping taps can be fixed in under an hour with basic tools.
Remove the Tap Handle and Headgear
Prise off the decorative cap on top of the tap handle — it is usually a push-fit or screwed cover. Undo the retaining screw beneath it, then lift the handle clear. Use an adjustable spanner to unscrew the headgear nut (the large hexagonal nut below the handle) in an anticlockwise direction. Wrap the jaws of the spanner in cloth to avoid marking the tap body. Lift the headgear assembly out of the tap body and set it on your towel.
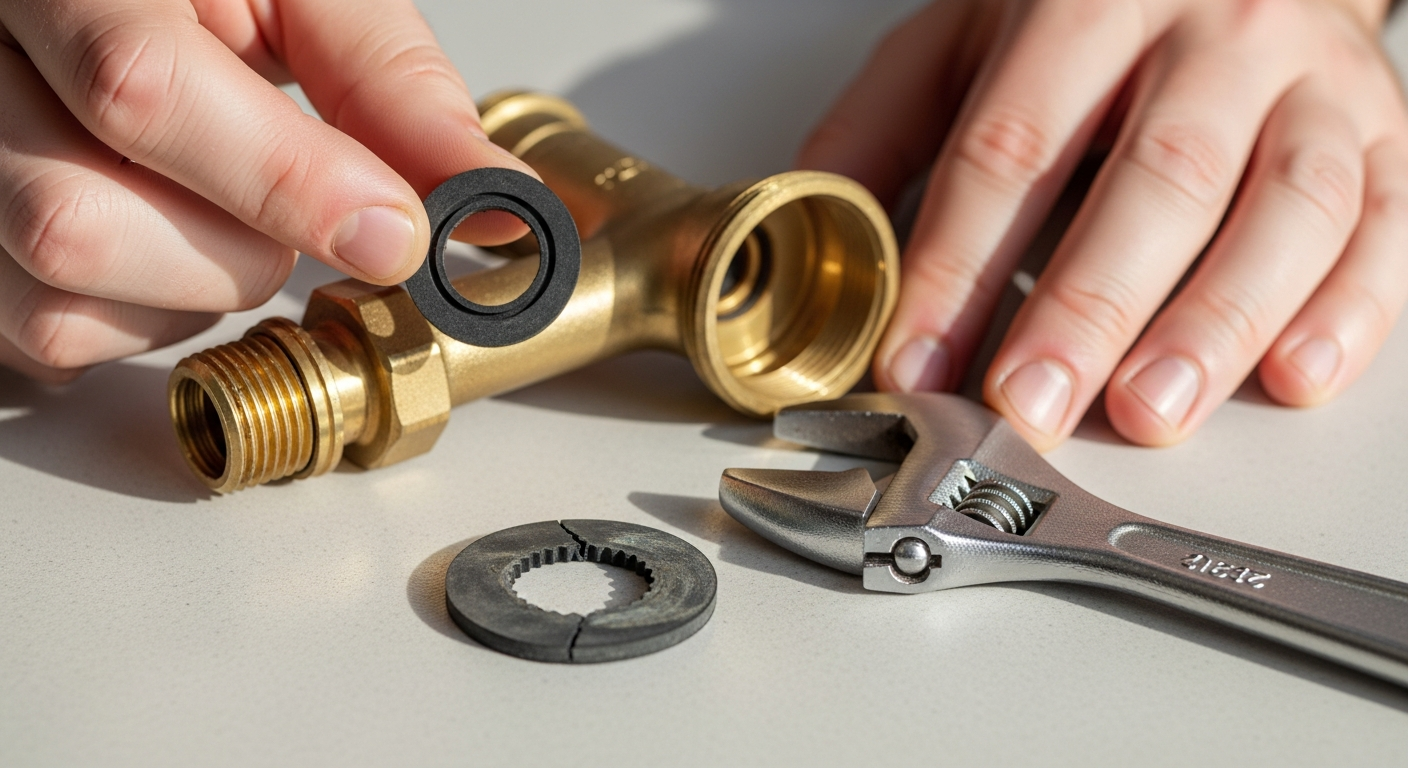
Inspect and Replace the Washer or Cartridge
Traditional taps use a rubber washer held at the base of the headgear by a small nut — undo that nut, lever out the old washer with a pick tool, and press in a new washer of the same diameter. Ceramic disc taps use a ceramic cartridge instead; pull the cartridge free and replace it with a matching unit. Before fitting anything new, lightly coat the washer or cartridge seat with silicone tap grease to ensure a smooth, watertight fit. If the tap seat (the surface the washer presses against) feels rough, it will need reseating with a tap reseating tool — a rough seat will destroy a new washer within weeks. You can find more detail in our guide to replacing a tap washer .
Check and Replace the O-Rings
While the tap is apart, inspect the O-rings on the headgear spindle — these small rubber rings prevent leaks around the stem. If they look flattened, cracked, or perished, roll them off and replace them with new O-rings of the same diameter. A drip from the base of the spout when the tap is on often means the O-rings are the culprit rather than the washer, so replacing both at the same time saves a second disassembly job. Apply a thin smear of silicone tap grease to the new O-rings before fitting.
Reassemble the Tap and Restore the Water
Thread the headgear back into the tap body and hand-tighten first, then use the adjustable spanner to nip it up firmly — do not overtighten or you risk cracking the tap body. Refit the handle, tighten the retaining screw, and replace the decorative cap. Slowly re-open the isolation valve or mains stopcock, then turn the tap on and off several times to check it operates smoothly and the drip has stopped. If you notice any weeping around the headgear nut, give it a further quarter-turn tightening. For related plumbing maintenance, see our guide on how to fix a running toilet .
Frequently Asked Questions
Why is my tap still dripping after I replaced the washer?
The most likely cause is a damaged or pitted tap seat — the metal surface the washer presses against. If the seat is rough, it will destroy a new washer quickly. Use a tap reseating tool to grind the seat smooth, or call a plumber to assess whether the tap body needs replacing.
How do I know if my tap has a ceramic disc rather than a rubber washer?
Ceramic disc taps typically require only a quarter-turn to go from fully closed to fully open, rather than multiple turns. When you remove the headgear you will find a ceramic cartridge rather than a threaded spindle with a rubber washer at the tip.
Do I need to notify anyone before carrying out tap repairs?
Basic tap maintenance — replacing a washer, O-ring, or cartridge — does not require notification or a licensed operative in England and Wales under the Water Supply (Water Fittings) Regulations 1999. However, any new pipework or changes to the water supply system may require notification to your water supplier. Check the Water Fittings Regulations on legislation.gov.uk if you are unsure.
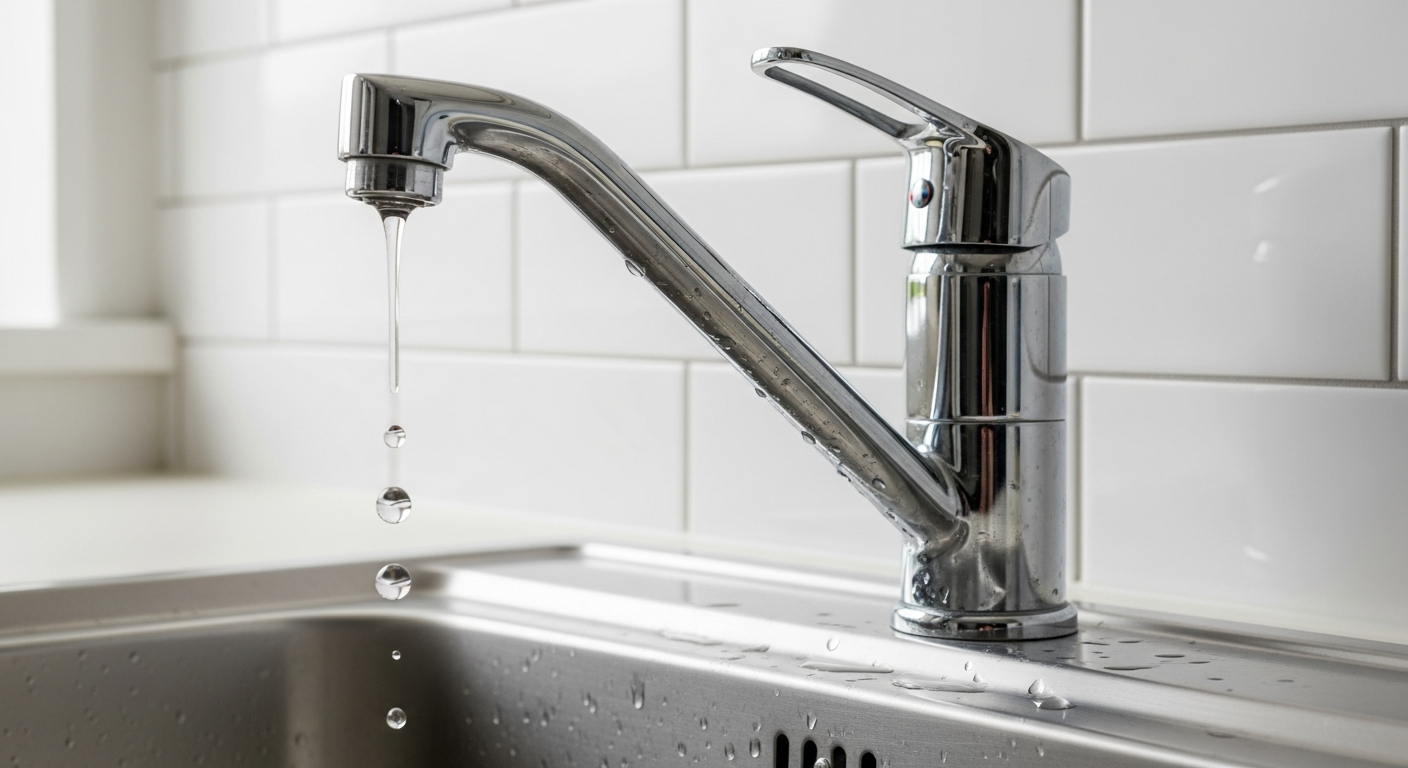
How much water does a dripping tap waste?
A dripping tap can waste a significant amount of water over time — the exact volume depends on the rate of drip, but even a slow, steady drip adds up to litres lost each day. Fix it promptly to protect both your water bill and the environment.
Can I fix a dripping tap on a combination boiler system?
Yes, but take extra care: the hot tap on a combi system is fed directly from the mains at full pressure, which is higher than a traditional hot water cylinder. Make sure the isolation valve is fully closed and drain the line before removing the headgear. See our complete DIY plumbing guide for more context on different system types.
Before refitting the headgear, hold it up to the light and look through the seat — if you can see any scratches or pitting on the brass surface, regrind it with a tap reseating tool before fitting a new washer. Skipping this step is the single most common reason a freshly repaired tap starts dripping again within a month.
Sources
- WaterSafe — Finding a Qualified Plumber and Water Regulations Guidance — watersafe.org.uk
- HSE — Water Supply (Water Fittings) Regulations 1999 Overview — hse.gov.uk
- Which? — How to Fix a Dripping Tap — which.co.uk
Safety Notice: Electrical and plumbing work can be dangerous if done incorrectly. In the UK, certain electrical work must comply with Part P of the Building Regulations and certain plumbing work with Part G. If in doubt, consult a qualified electrician (NICEIC/NAPIT registered) or plumber (CIPHE/WaterSafe registered). This guide is for general information only — it is not a substitute for professional advice.