How to Fill Gaps in Floorboards – 2026 Guide
How to Fill Gaps in Floorboards
Stop draughts, silence creaks, and restore your timber floor in a weekend.
To fill gaps in floorboards, choose the right filler for the gap size — flexible wood filler for narrow gaps, rope or slivers of wood for wider ones — clean the gap, apply the filler, leave to cure, then sand flush and finish to match the surrounding boards.


Clean and Prepare the Gaps
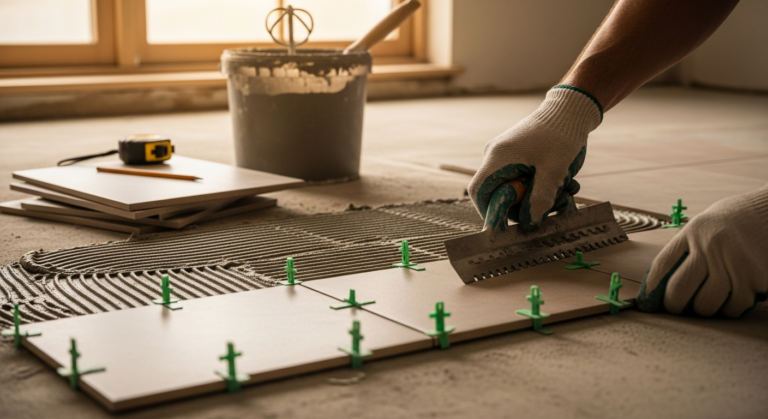
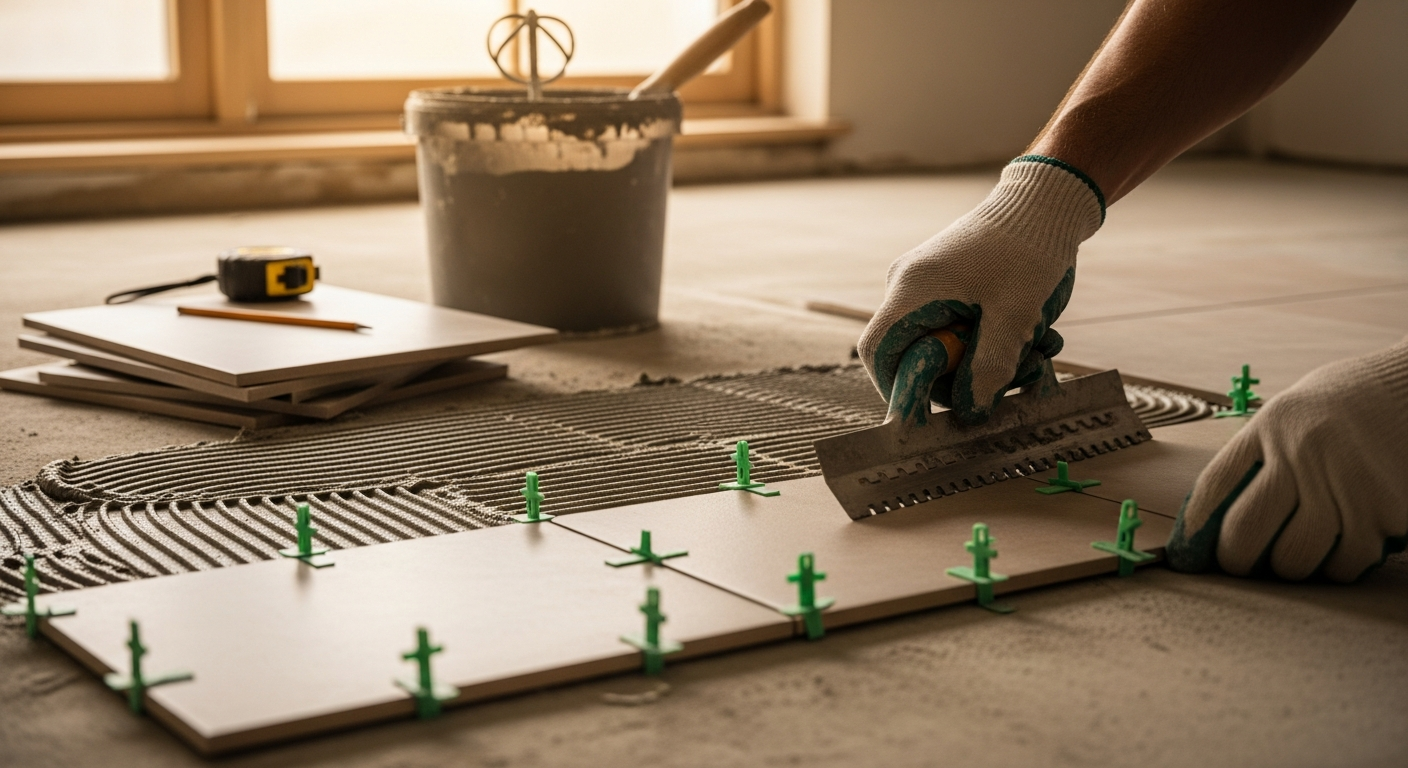
Use a stiff brush or vacuum to remove all dust, dirt, grit, and debris from each gap before applying any filler. Contamination stops filler bonding properly and causes it to pop out under foot traffic. Run a filling knife along the gap to dislodge any loose material or old filler residue. Apply masking tape to the edges of the boards on either side of wide gaps to keep the repair neat and protect the existing floor finish.
Apply the Filler or Pack the Gap
For narrow gaps: press flexible wood filler firmly into the gap with a filling knife, slightly overfilling so you have material to sand back. Work in short sections of around 300–400 mm at a time. For medium gaps using rope: cut natural jute or sisal rope to the gap depth, press it into the gap using a putty knife, then apply a thin layer of flexible filler over the top to seal it flush. For wide gaps using timber slivers: cut wedge-shaped slivers from a matching timber offcut , apply wood glue to the sides, hammer them gently into the gap, and leave the glue to cure fully — usually 24 hours — before sanding.
Allow Full Cure Time
Do not rush this stage. Flexible wood filler needs a minimum of 2–4 hours before sanding, though thicker applications or damp conditions may require longer — check the manufacturer’s guidance on the tin. Timber slivers need the glue to cure fully, typically 24 hours. Walking on fresh filler before it has hardened will dent or crack the repair. If the room is cold or humid, allow extra time — filler cures slower in poor conditions.
Sand Flush and Feather the Repair
Once fully cured, use 120-grit sandpaper on a sanding block or orbital sander to bring the filler level with the surrounding boards. Work along the grain of the timber, not across it, to avoid scratching the face of the boards. Finish with 180-grit to smooth the repair. Remove all dust with a dry cloth before applying any finish. If you are also dealing with squeaking boards in the same area, read our guide on how to fix a squeaky floor before you seal the surface.
Finish to Match the Existing Floor
Apply varnish, oil, or wax over the repaired area to match the surrounding floor finish. Feather the finish out beyond the repair by 50–100 mm to avoid a visible patch edge. Two thin coats will always give a better result than one heavy coat. If your floor has a factory-applied finish or a very old oil finish, test your chosen product on an inconspicuous area first to check the sheen and colour match before committing to the full repair area.
Frequently Asked Questions
What is the best filler for gaps in floorboards?
For narrow gaps up to 3 mm, a colour-matched flexible wood filler is the best choice — it moves with the boards rather than cracking. For wider gaps, use natural rope packed in first, then seal with flexible filler on top, or cut timber slivers to size and glue them in place.
Can I fill gaps in floorboards myself without any experience?
Yes — filling narrow and medium gaps is a straightforward beginner task. The key is choosing the right product for the gap size and giving the filler enough time to cure before sanding. Wide gaps that need timber slivers require a bit more care but are still well within DIY reach.
Will filling floorboard gaps stop draughts?
Yes, particularly if the gaps run over an uninsulated sub-floor or void. Filling visible gaps significantly reduces cold air coming up through the floor. For draughts around the perimeter, check that your skirting boards are also well sealed — see our guide on painting and finishing skirting boards for sealing tips.
Why do gaps appear between floorboards?
Timber is hygroscopic — it expands when humidity is high and contracts when the air is dry, particularly in winter when central heating runs. Over time this seasonal movement causes gaps to open up between boards. Gaps can also appear if the boards were not properly acclimatised before fitting, or if they have dried out with age.
How long does floorboard filler last?
A well-applied flexible wood filler in a narrow gap can last several years before needing a top-up, provided the floor finish is maintained and the boards are not subject to excessive movement. Wide gap repairs using glued timber slivers are more permanent and, if matched and finished well, can be indistinguishable from the original boards.
Mix a small amount of fine sanding dust from the same floor boards into your flexible filler before applying — it blends the colour and texture far more naturally than any pre-tinted product. Collect the dust from the first sanding pass and stir it into the filler to a stiff paste before pressing it into the gaps.
Sources
- Historic England — Practical Building Conservation: Earth, Brick and Terracotta (timber floor maintenance context) — historicengland.org.uk
- HSE — Wood dust: hazards and control measures — hse.gov.uk
- Which? — How to repair wooden floorboards — which.co.uk
This guide is for general information only. Always work safely and follow manufacturer instructions. DIYnut accepts no liability for injury or damage arising from DIY work.