How to Fix a Running Toilet – 2026 Guide
How to Fix a Running Toilet
Stop wasted water and silence that constant hiss in under an hour.
To fix a running toilet, identify whether the fault is the float valve, flapper, or overflow. Most running toilets are caused by a worn flapper or a misadjusted float. Replace the faulty part and the cistern will refill correctly and stop running.

Isolate the Water Supply
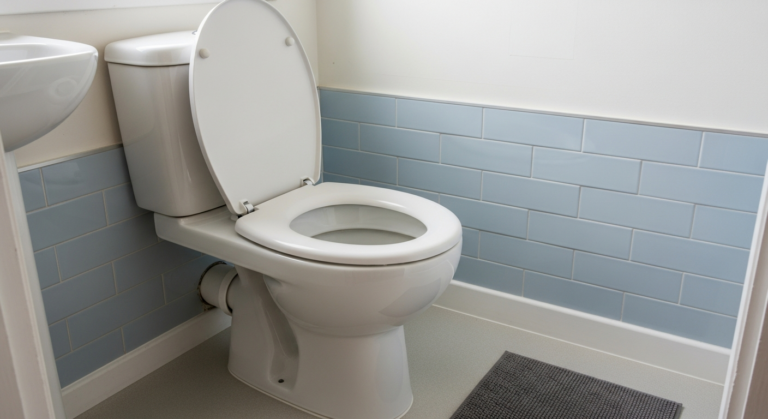
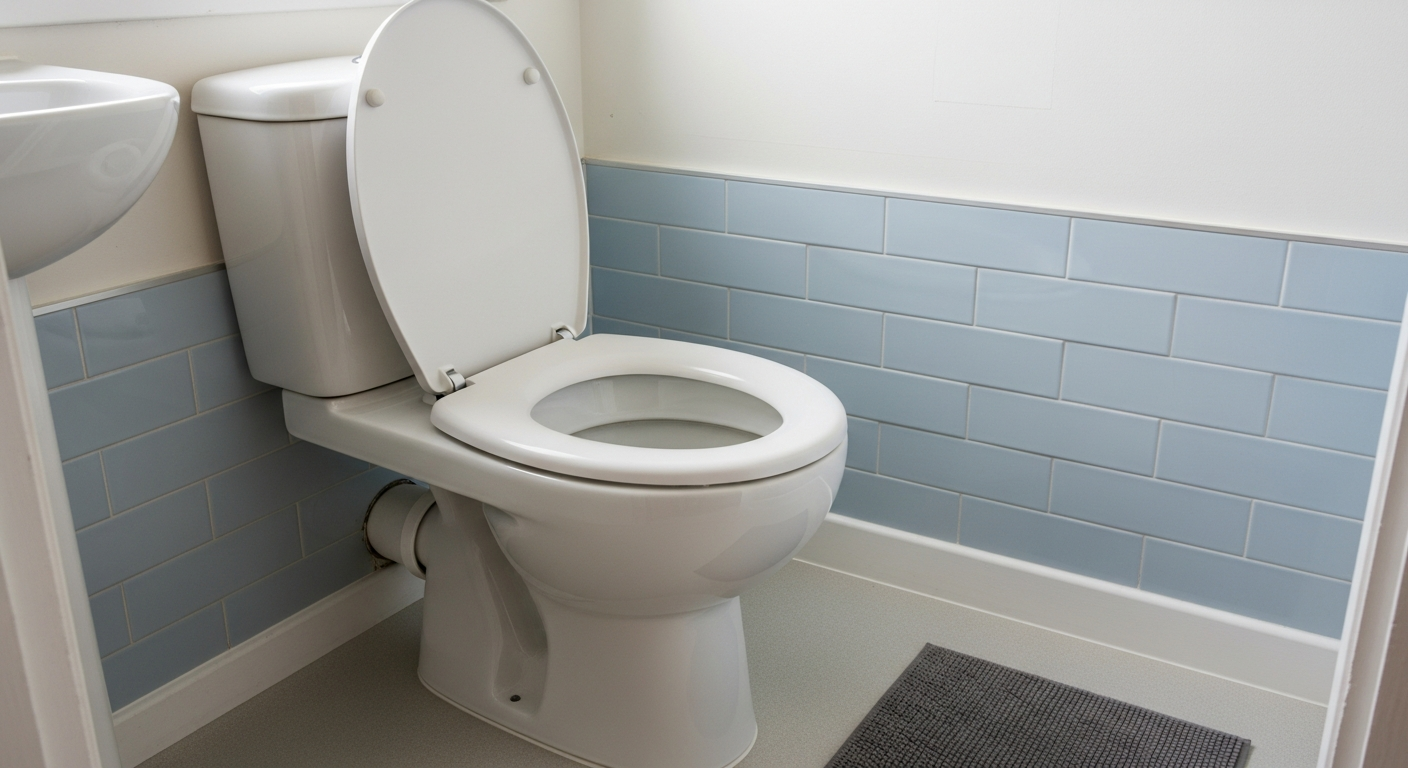
Turn off the isolation valve on the supply pipe feeding the cistern — it is usually located on the wall or floor directly behind or beneath the toilet. Rotate the screw slot a quarter-turn clockwise until it sits across the pipe. If there is no isolation valve, turn off the mains stopcock. Flush the toilet once to empty the cistern, then use a sponge and bucket to remove any remaining water so you can work in a dry cistern. This prevents accidental water damage and gives you a clear view of all the internal components.
Replace the Flapper or Flush Valve Seal
If your diagnosis pointed to a worn flapper, unhook the old flapper from the pegs either side of the flush valve seat and disconnect the chain from the flush handle arm. Take the old flapper to a plumbers’ merchant to match the size — UK cisterns commonly use a 2-inch flap valve or a full siphon-type diaphragm depending on the age of the toilet. Fit the new flapper by pressing it onto the valve seat pegs, reattach the chain leaving 1–2 cm of slack, and check the seating is flat with no kinks. A kinked chain is one of the most common reasons a new flapper still leaks. If your toilet uses a siphon rather than a drop-valve flush mechanism, replace the entire siphon diaphragm washer instead — these are available as inexpensive repair kits.
Adjust or Replace the Float Valve
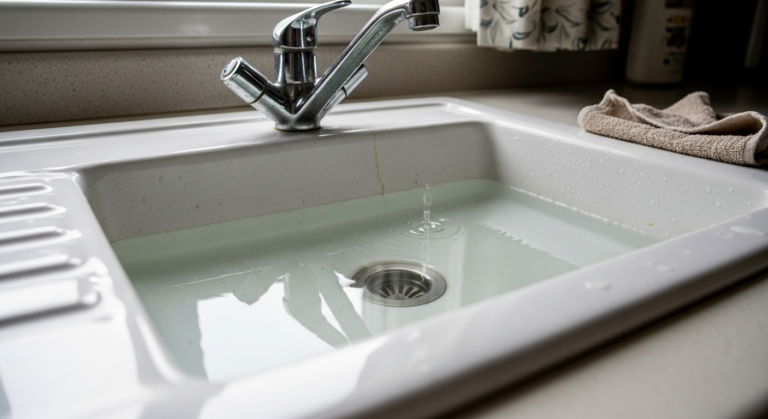
If water was running into the overflow, the float needs adjusting so the water level sits roughly 25 mm below the top of the overflow pipe. On a ball-float type, bend the arm gently downward or adjust the adjuster screw to lower the float position. On a modern side-entry or bottom-entry float valve, turn the adjustment screw or slide the float down its shaft — the mechanism varies by type so check inside the cistern before ordering parts. If adjusting the float makes no difference and the fill valve continues to run, the valve seat or diaphragm is worn; replace the fill valve assembly entirely. Replacement valves are straightforward to fit: undo the back-nut beneath the cistern, swap the unit, and refit with PTFE tape on the threaded inlet. For other common water supply issues, see our guide on how to unblock a sink , which covers isolating supplies in more detail.
Restore the Water Supply and Test
Once the replacement parts are in place, slowly open the isolation valve or mains stopcock and allow the cistern to refill. Watch the water level carefully — it should rise to the correct height (25 mm below the overflow) and the fill valve should cut off cleanly. Flush the toilet and observe the flapper seating back correctly with no water trickling into the bowl afterwards. If you hear any hissing or see the level continuing to rise, readjust the float position before replacing the cistern lid. A successful repair should produce complete silence between flushes.
Check for Leaks and Reassemble
Dry the outside of the cistern and the supply pipe connections with a cloth, then wait five minutes and check all connections for drips. Pay particular attention to the back-nut beneath the cistern if you replaced the fill valve — this joint is the most likely point of any weep. Tighten finger-tight plus a quarter-turn with a spanner if needed; overtightening plastic nuts cracks the cistern. Replace the cistern lid, restore any boxing or panelling, and monitor the toilet over the next 24 hours to confirm the repair is holding.
Frequently Asked Questions
Why does my toilet keep running after flushing?
The most common causes are a worn flapper that no longer seals the flush valve seat, or a float valve that is set too high and allows water to spill into the overflow. Lifting the cistern lid and watching what happens during and after a flush will confirm which part needs attention.
How much water does a running toilet waste?
A continuously running toilet can waste between 200 and 400 litres of water per day depending on the severity of the fault. Water companies including Thames Water note that toilet leaks account for a significant proportion of hidden household water loss — fixing it promptly saves money on metered bills.
Do I need to turn off the mains to fix a running toilet?
Not necessarily. Most modern toilets have an isolation valve on the supply pipe directly behind the pan — a quarter-turn of a flat-head screwdriver stops the flow without touching the mains. If no isolation valve is present, fit one while the mains is off; it makes all future cistern work far easier. Our guide on how to bleed a radiator also covers working with isolation valves if you need further guidance.
Is fixing a running toilet DIY or does it need a plumber?
Replacing a flapper, siphon diaphragm, or float valve is straightforward DIY — no specialist tools or qualifications are required. Water Regulations do not restrict these internal cistern repairs to licensed tradespeople in a domestic setting. If the pan itself is cracked or the soil pipe is damaged, call a qualified plumber. You can find a registered professional via WaterSafe.org.uk.
My toilet runs intermittently — what does that mean?
Intermittent running (sometimes called a phantom flush) usually means the flapper is degraded enough to allow a slow seep into the bowl. When the water level drops sufficiently, the fill valve tops the cistern up, creating the impression of a random flush. Replacing the flapper resolves this in most cases. For a broader overview of related bathroom plumbing tasks, see our Bathroom Guide.
Before you buy a replacement fill valve, remove the cap from the existing one and inspect the diaphragm or seal — many ‘faulty’ valves just need a 50p rubber washer swapped out rather than a full replacement unit. Hold a cup of water over the open valve body while the supply is on to confirm whether the seat is sealing: if it floods past, replace the whole valve; if it holds, just replace the washer.
Sources
- WaterSafe — Find a qualified plumber and advice on water fittings regulations — watersafe.org.uk
- HSE — Water supply (water fittings) regulations 1999: guidance for householders — hse.gov.uk
- Which? — How to fix a running toilet — which.co.uk
Safety Notice: Electrical and plumbing work can be dangerous if done incorrectly. In the UK, certain electrical work must comply with Part P of the Building Regulations and certain plumbing work with Part G. If in doubt, consult a qualified electrician (NICEIC/NAPIT registered) or plumber (CIPHE/WaterSafe registered). This guide is for general information only — it is not a substitute for professional advice.