How to Replace a Toilet Cistern – DIY Guide
To replace a toilet cistern, turn off the water supply, flush to empty the cistern, disconnect the supply pipe and overflow pipe, unbolt the cistern from the pan or wall, fit the new cistern with a fresh syphon or fill valve, and reconnect the supply.

- Adjustable spanner
- Basin wrench
- Flat-head screwdriver
- Cross-head screwdriver
- Spirit level
- Bucket
- Sponge
- Pipe cutter
- Replacement toilet cistern
- Close-coupling kit (if close-coupled)
- Syphon or fill valve (inlet valve)
- Overflow pipe or internal overflow
- Flexible braided supply hose
- Cistern bolts with rubber washers
- Foam or rubber cistern-to-pan gasket
- PTFE tape
Step-by-Step Guide
Isolate the Water Supply
Turn off the water supply to the cistern using the isolating valve on the supply pipe (slot-head screw turned a quarter-turn), or isolate at the stopcock if no valve is fitted. Flush the toilet to empty as much water as possible from the cistern, then use a sponge and bucket to mop out any remaining water. Our guide on how to turn off the water supply covers every isolation method in detail if you are unsure which applies to your setup.
Disconnect the Supply and Overflow Pipes
Unscrew the flexible supply hose from the bottom of the fill valve using an adjustable spanner — have your bucket ready as residual water will drip out. If the cistern has an external overflow pipe running through the wall, disconnect it at the back of the cistern. Modern cisterns often use an internal overflow routed through the fill valve, so check which type you have before ordering a replacement. Protect the floor with old towels before proceeding.
Remove the Old Cistern
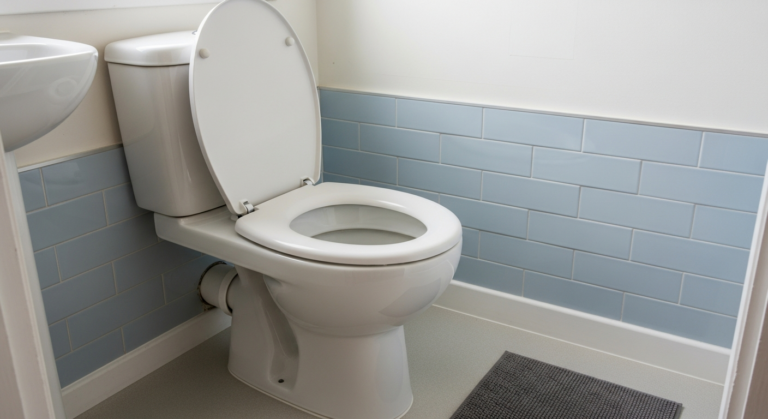
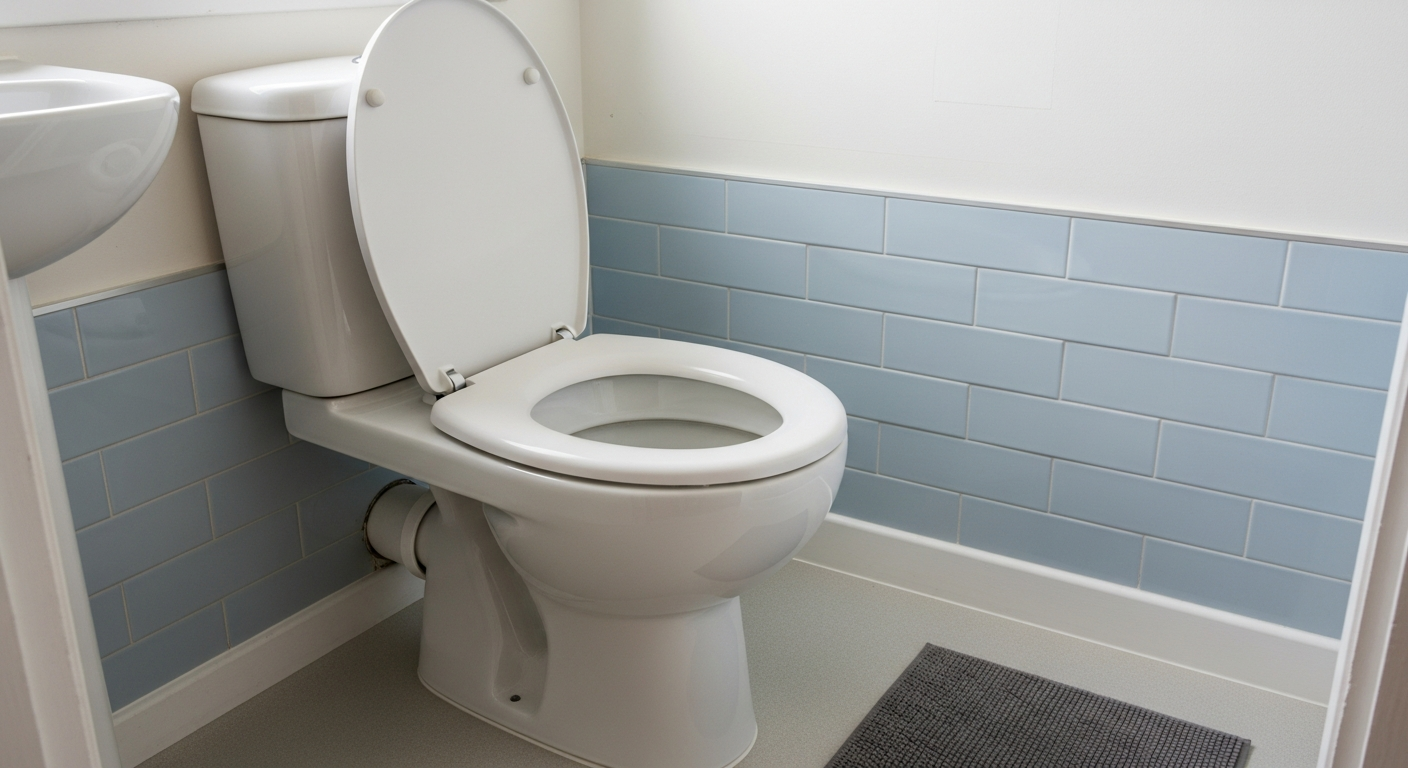
For a close-coupled cistern, open the cistern lid and locate the two or three through-bolts that clamp it to the pan. Hold the nut inside the cistern with a spanner while using a screwdriver to turn the bolt beneath the pan — these are often corroded, so apply penetrating fluid and allow 10 minutes to soak if stiff. Lift the cistern clear once the bolts are removed. For a high-level or low-level cistern, support it firmly while a second person removes the wall-fixing screws, then lift it away from the flush pipe. If you notice persistent running water before removal, our fix a running toilet guide explains the internal mechanisms that may have caused the fault.
Fit the Internal Components to the New Cistern
Before installing the new cistern body, fit the syphon or fill valve, the flush handle or button mechanism, and the cistern bolts. Work on a flat surface. Thread each component through the pre-drilled holes, fit the rubber sealing washers on the outside of the cistern, and tighten the locknuts finger-tight first, then a further half-turn with a spanner — do not overtighten or you risk cracking the ceramic. Wrap two or three layers of PTFE tape around any threaded connections that will contact water.
Mount and Secure the New Cistern
For close-coupled cisterns, place the foam gasket or rubber doughnut seal over the pan’s inlet horn. Lower the cistern onto the pan, aligning the bolt holes, then feed the cistern bolts down through the pan lugs. Fit the rubber washers and metal back-nuts beneath the pan and tighten evenly — alternate sides to keep the cistern level. Use a spirit level across the top of the cistern to confirm it sits true. For wall-mounted cisterns, mark and drill the wall fixings at the correct height to align with the flush pipe, plug the holes, and fix with suitable screws. Our complete plumbing guide covers pipe materials and jointing methods if you need to modify or extend the supply pipework.
Reconnect the Supply and Test for Leaks
Attach the flexible braided supply hose to the fill valve tail and tighten the cap nut hand-tight plus a quarter-turn with a spanner — do not over-torque on plastic fittings. Slowly open the isolating valve to refill the cistern, watching for leaks at every joint. Allow the cistern to fill fully, check the water level (it should sit approximately 25 mm below the top of the overflow), then perform three test flushes. Check beneath the pan where the close-coupling bolts pass through and around the base of the fill valve for any seepage. If you spot a dripping supply joint at any point, our fix a dripping tap guide explains how to reseat and re-seal threaded compression fittings effectively.
Frequently Asked Questions
Do I need a plumber to replace a toilet cistern?
No — replacing a cistern is permitted DIY work under the Water Supply (Water Fittings) Regulations 1999, as long as you are fitting like-for-like and not relocating pipework. You should notify your water supplier if any work involves installing a new connection or altering the supply pipe. For complex pipework modifications, consult a WaterSafe-registered plumber.
How do I know what size cistern to buy?
Measure the distance between the cistern bolt holes (centre to centre), the height from the pan inlet horn to the underside of the cistern, and the overall depth front to back. Most UK close-coupled cisterns follow standard dimensions, but always cross-reference your old cistern’s measurements before purchasing, as pan and cistern sets are often sold as matched pairs.
Can I replace just the internal parts instead of the whole cistern?
Yes — if the cistern body is intact and undamaged, replacing just the fill valve and syphon is usually cheaper and quicker than swapping the entire unit. Our fix a running toilet guide walks through replacing both internal components step by step.
My new cistern does not align with the old flush pipe — what do I do?
Flush pipe heights and diameters vary between manufacturers. Buy a flexible flush connector or an adjustable flush pipe from a plumbers’ merchant — these accommodate most pan-to-cistern height differences and make alignment straightforward without cutting or modifying rigid pipework.
Is there any electrical safety consideration when replacing a cistern in a bathroom?
Cistern replacement is purely a plumbing task and does not involve electrical work. However, if your bathroom has any electrical work planned at the same time — such as fitting an extractor fan or adding a shaver socket — that work must comply with Part P of the Building Regulations and be carried out or certified by a competent person registered with a scheme such as NICEIC. Always keep water and electrical work as separate, sequential tasks.
Before you tighten the close-coupling bolts fully, pack a thin rubber or neoprene sheet cut from an offcut of pond liner around the bolt shanks inside the cistern — it spreads the clamping load across a wider area of ceramic and dramatically reduces the risk of stress cracks developing over time, especially on budget cisterns where the bolt holes are cast with minimal material around them.
Sources
- HSE — Water Supply (Water Fittings) Regulations 1999 guidance — hse.gov.uk
- WaterSafe — Find an approved plumber and DIY notification requirements — watersafe.org.uk
- NICEIC — Part P Building Regulations: electrical work in bathrooms — niceic.com
Safety Notice: Electrical and plumbing work can be dangerous if done incorrectly. In the UK, certain electrical work must comply with Part P of the Building Regulations and certain plumbing work with Part G. If in doubt, consult a qualified electrician (NICEIC/NAPIT registered) or plumber (CIPHE/WaterSafe registered). This guide is for general information only — it is not a substitute for professional advice.