How to Repressurise a Boiler – DIY Guide
To repressurise a boiler, locate the filling loop beneath the boiler, open both valves slowly until the pressure gauge reads 1.0–1.5 bar, then close the valves and reset the boiler. The whole job takes under 15 minutes and requires no specialist tools.
- Flat-head screwdriver
- Adjustable spanner
- Torch
- Cloth or small towel
- Filling loop (usually already fitted to boiler)
- PTFE tape (if resealing a removable filling loop)
Step-by-Step Guide
Check the pressure gauge reading
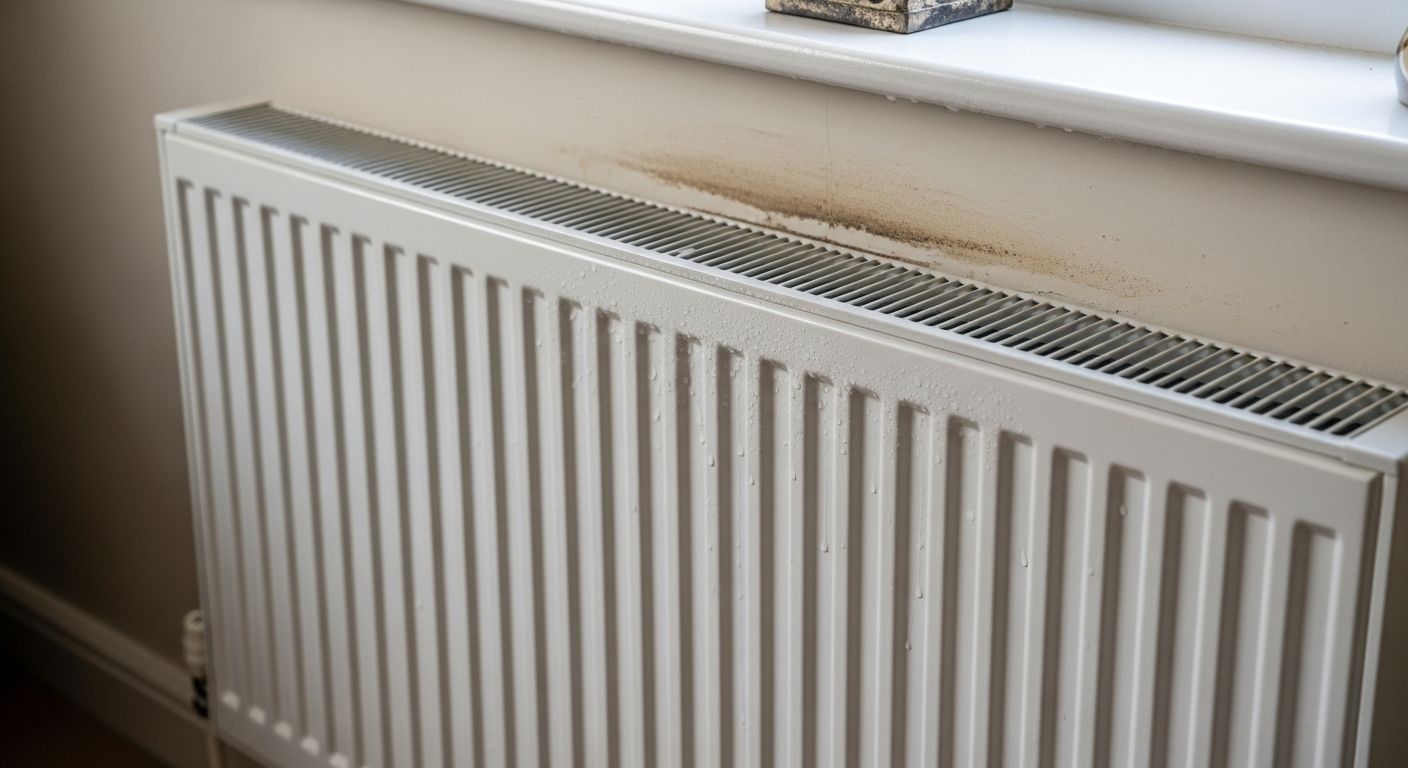
Look at the pressure gauge on the front of your boiler — it is usually a dial or a digital display. A reading below 1.0 bar means the system is low on pressure and needs repressurising. Most boilers operate correctly between 1.0 and 1.5 bar; anything below 0.5 bar may have triggered a lockout fault. If the gauge reads above 2.5 bar already, do not add more pressure — call a Gas Safe registered engineer. If you have also noticed cold spots at the bottom of radiators, it is worth bleeding your radiators before repressurising, as trapped air causes pressure to drop.
Locate the filling loop
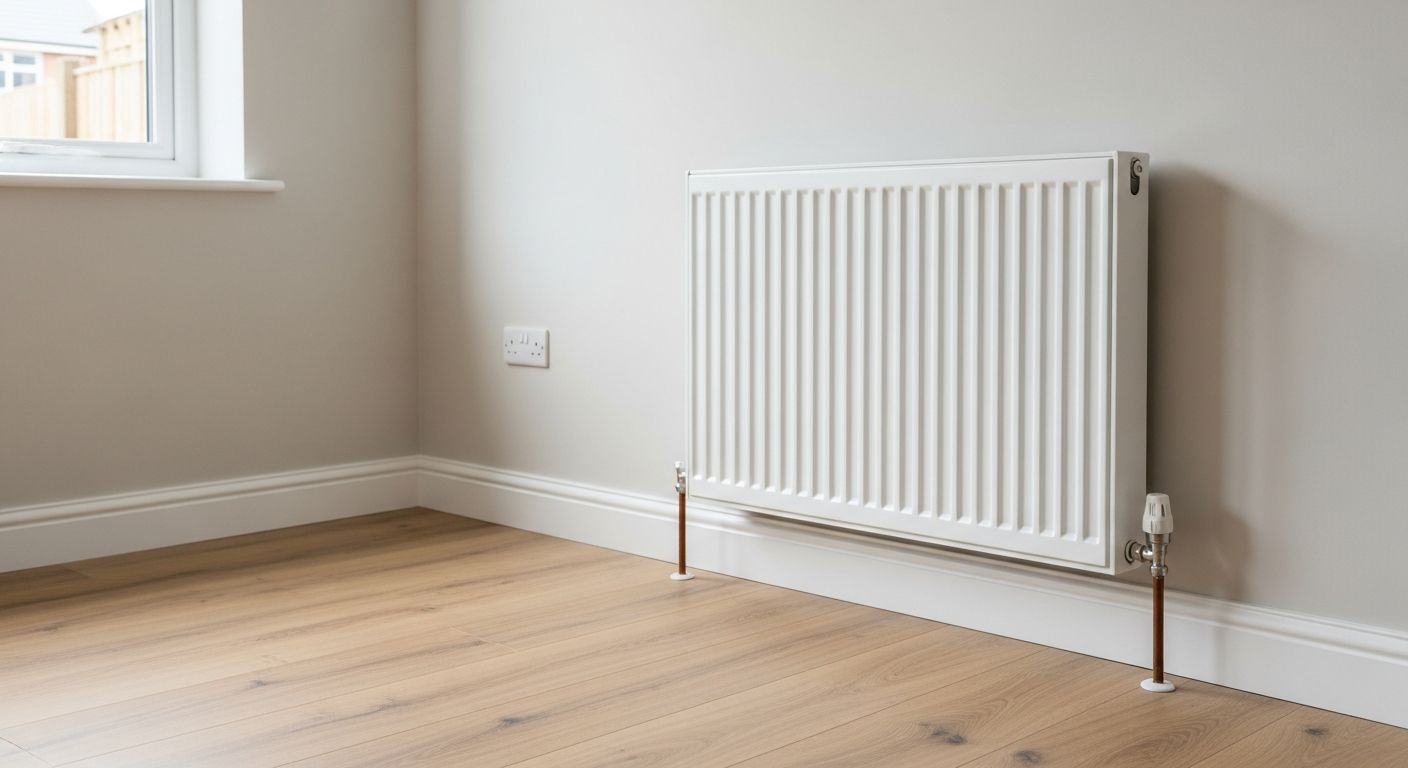
The filling loop is a short braided flexible hose — or a built-in keyway — that connects the mains cold water supply to the central heating circuit. It is almost always found beneath the boiler, either behind a small access panel or clipped underneath the boiler casing. Some boilers have an internal filling loop with a single key or lever; others have an external loop with two separate quarter-turn valves. Identify which type you have before proceeding. Check your boiler manual if you are unsure — most are available as a PDF on the manufacturer’s website.
Open the filling loop valves
If you have an external filling loop, turn both valves slowly — one at each end of the braided hose — to the open position (inline with the hose). You will hear water entering the system. Watch the pressure gauge continuously as you do this. If you have a single internal keyway or lever, turn it slowly in the direction marked on the boiler. Do not rush this step — pressure rises quickly and overshooting is a common mistake. Keep your cloth to hand in case of any minor drips at the connections. This is also the point to check whether your mains water pressure is adequate to fill the system — if nothing happens when you open the valves, the mains supply may be the issue.
Close the valves at 1.0–1.5 bar
As soon as the gauge needle or digital reading reaches 1.0 to 1.5 bar, close both valves fully. Close them in the reverse order to which you opened them — this prevents any surge in pressure. Double-check both valves are fully shut; a valve left slightly open will allow pressure to continue rising or will cause a slow leak into the heating circuit. The target pressure when the system is cold is 1.0–1.2 bar — it will rise slightly to around 1.5–2.0 bar once the heating warms up, which is normal.
Reset and test the boiler
Once the valves are closed, press the reset button on your boiler — the location varies by model but is usually a clearly labelled button on the front panel. The boiler should fire up and the fault code or warning light should clear. Run the heating for 20 minutes and recheck the gauge. If pressure holds steady, the job is done. If it drops again within a few days, you likely have a system leak — check radiator valves and visible pipe joints for drips, and consult a Gas Safe engineer if you cannot find the source. For related heating faults, see our guide to fixing no hot water.


Similar Posts
How to Reset a Boiler – DIY Guide
Reset a boiler in minutes — check the pressure, find the reset button, and restore heating safely. Know when to call an engineer.
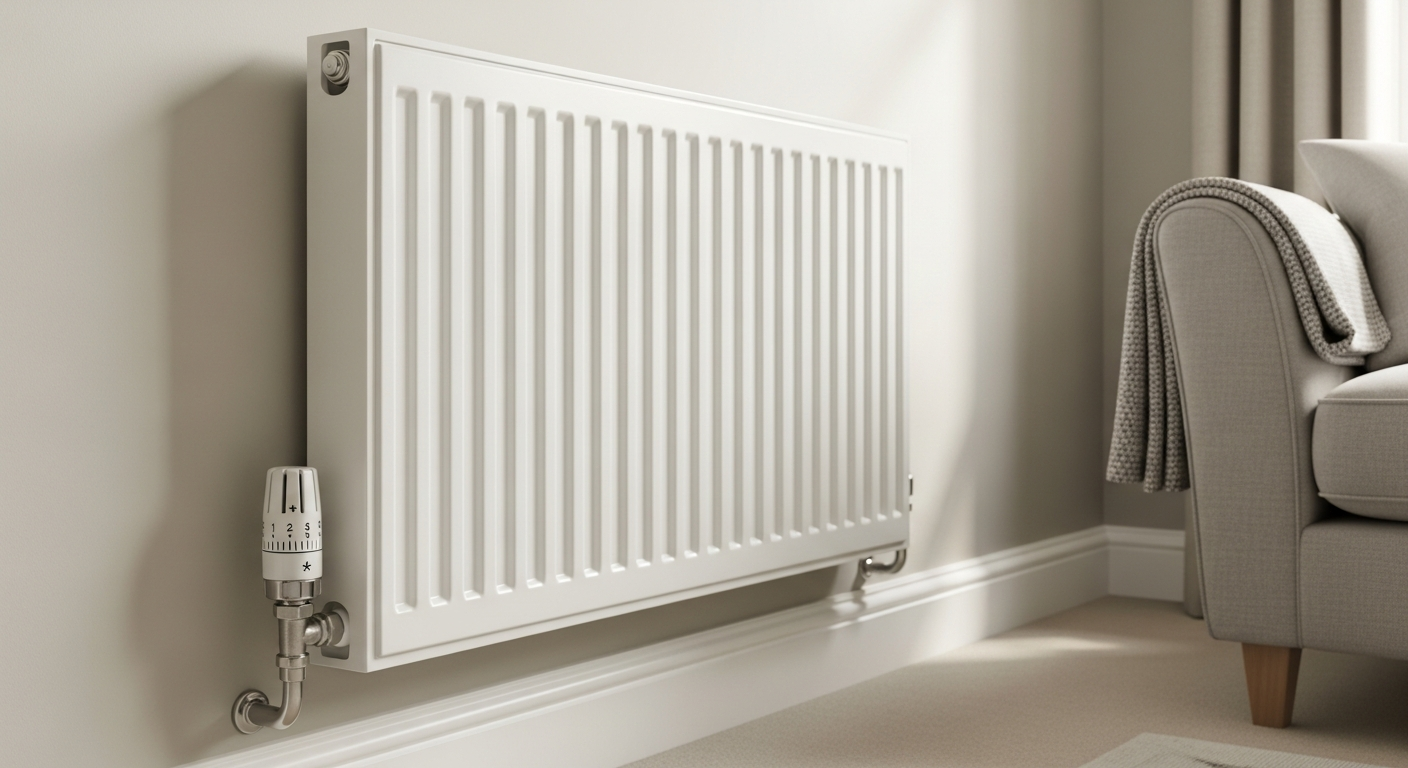
Radiator Cold at Top
Radiator cold at top? Trapped air is the usual cause. Diagnose and fix with our step-by-step guide covering bleeding, pressure checks, valves and sludge.
How to Replace a Toilet Cistern – DIY Guide
Replace a toilet cistern yourself in 2–3 hours. Step-by-step guide covering tools, parts, fitting, and leak testing. UK regs included.
How to Fix a Toilet Flush Handle – DIY Guide
Fix toilet flush handle yourself in under an hour. Diagnose loose nuts, broken lift rods & worn parts with this step-by-step repair guide.
How to Unblock an Outside Drain – DIY Guide
Unblock an outside drain yourself in under an hour. Step-by-step guide covering roding, flushing, and preventing repeat blockages.
How to Fix a Burst Pipe – DIY Guide
Fix a burst pipe fast with this step-by-step guide. Stop water damage, choose the right repair, and get your supply back on today.