How to Remove Old Wallpaper – DIY Guide
Walls & Plastering › Wallpaper
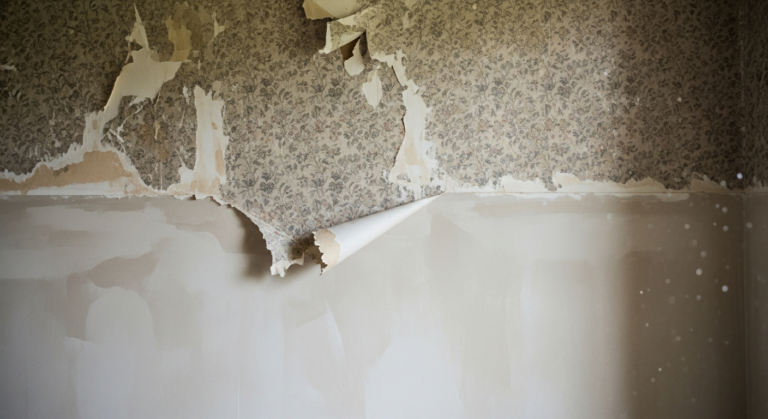
How to Remove Old Wallpaper
Strip any wallpaper cleanly and get your walls ready for decorating.
To remove old wallpaper, score the surface, apply warm water mixed with washing-up liquid or a wallpaper stripper solution, leave it to soak for 5–10 minutes, then peel and scrape the paper away in sections. Repeat for any remaining paste residue before allowing the wall to dry fully.


- Wallpaper scorer
- Plastic scraper or broad-bladed stripping knife
- Pump garden sprayer or large sponge
- Bucket
- Stepladder
- Dust sheets
- Sponge mop
- Electric wallpaper stripper (steam stripper)
- Warm water
- Washing-up liquid
- Wallpaper stripper solution
- Decorator’s filler
- Sandpaper (medium grit)
- PVA solution (for sealing bare plaster)
- Masking tape
- Bin bags
Step-by-Step Guide
Protect the Room and Turn Off the Electrics
Lay dust sheets across the floor and push furniture to the centre of the room. Cover skirting boards with masking tape to protect them from moisture. Crucially, turn off the electricity at the consumer unit before you start — water and live sockets are a serious hazard. Remove socket and switch faceplates once the power is off, and tuck the edges of your dust sheets underneath them to catch falling paper. For more on working safely around walls, see our Walls & Plastering Guide.
Identify Your Wallpaper Type
Check whether the wallpaper is vinyl-coated or paper-backed by lifting a corner and pulling gently. Vinyl paper often has a top layer that peels dry — strip this off first by hand, working from the bottom upward. This reveals the backing layer beneath, which still needs soaking and scraping. Standard paper wallpaper has no dry-peel layer, so go straight to scoring and soaking. Knowing what you have saves you from soaking vinyl-faced paper that won’t absorb water until the top layer is removed.
Score the Surface
Run a wallpaper scorer firmly across the entire wall in overlapping circular patterns. The small teeth puncture the surface so that water can penetrate through to the paste beneath. Do not press so hard that you gouge the plaster — light, even pressure is enough. Pay extra attention to edges and seams where the paper is doubled up. If you are working on a plasterboard wall , score gently — plasterboard is easily damaged if you dig in.
Soak the Wall
Mix warm water with a capful of wallpaper stripper solution or a generous squeeze of washing-up liquid in a bucket. Apply liberally to the wall using a pump sprayer or large sponge mop, working in manageable sections of roughly 1–1.5 metres wide. Leave the solution to soak for at least 5–10 minutes — the paper should look visibly darker and feel soft to the touch. A steam stripper is faster and more effective on thick or heavily layered paper; move the plate slowly across the surface and follow immediately with your scraper while the wall is still hot.
Scrape Off the Paper
Starting at the bottom of each soaked section, slide the broad-bladed stripping knife under the paper at a low angle and push upward in long, firm strokes. Keep the blade flat against the wall to avoid digging in. Drop scraped paper straight into a bin bag — loose wet paper on the floor becomes a slip hazard quickly. Once the top paper is off, re-soak any remaining backing paper or paste residue and scrape again. Stubborn patches around corners and edges may need a second application of solution and a smaller, more flexible scraper. If you uncover cracks once the paper is down, our guide to filling wall cracks covers the repair process in full.
Clean, Repair and Prepare the Bare Wall
Wash down the entire wall with clean warm water to remove all paste residue — any paste left behind will cause paint or new wallpaper to bubble and peel. Allow the wall to dry thoroughly, which can take 24–48 hours depending on ventilation. Once dry, fill any holes, gouges, or cracks with decorator’s filler, sand smooth when set, and seal bare plaster with a diluted PVA solution (1 part PVA to 4 parts water) before painting or re-papering. If the plaster is badly damaged, consider skim coating the wall for a fresh, flat surface. Once prepped, the wall is ready for painting or re-papering.
Frequently Asked Questions
Do I need a steam stripper or will water alone work?
Warm water with stripper solution works well on single-layer standard wallpaper. A steam stripper is worth hiring for multiple layers, thick embossed paper, or vinyl-backed paper — it cuts the job time significantly and softens paste that water alone struggles to shift.
How do I remove wallpaper from plasterboard without damaging it?
Score very lightly or skip scoring entirely, and use minimal water — plasterboard absorbs moisture quickly and the paper face can tear away with the wallpaper, leaving the board irreparably damaged. Use a steam stripper on the lowest setting and work in small sections, scraping gently and immediately.
Can I just paint over old wallpaper instead of stripping it?
It is not recommended. Painting over wallpaper can lift seams, cause bubbling, and make future removal far more difficult. If the paper is firmly adhered with no lifting edges, hanging lining paper over it is a better option, but stripping back to bare plaster always gives the best long-term finish.
How long should I leave the wall before redecorating after stripping?
Allow at least 24 hours, and up to 48 hours for walls with thicker plaster or in rooms with poor ventilation. The wall should feel completely dry to the touch and show no dark or damp patches before you apply any paint, filler, or new wallpaper.
Why does my wallpaper keep tearing into small pieces instead of coming off in strips?
The paste has likely dried out completely and the paper has become brittle — this is common with older wallpaper. Soak the wall more generously, leave longer for the solution to penetrate, and use a narrower scraper to work under the paper at a shallower angle to lift larger sections.
Before you fill or paint, run a damp sponge over the stripped wall under a raking light (a torch held at 45 degrees to the surface) — this reveals lumps of dried paste and indentations invisible in normal light that will telegraph through your final finish. Deal with them at this stage and you will not have to repaint.
Sources
- HSE — Safe use of electrical equipment during wet work — hse.gov.uk
- Which? — How to strip wallpaper — which.co.uk
- Historic England — Advice on decorating heritage walls — historicengland.org.uk
This guide is for general information only. Always work safely and follow manufacturer instructions. DIYnut accepts no liability for injury or damage arising from DIY work.