How to Insulate a Loft – DIY Guide
How to Insulate a Loft
Cut heat loss, lower energy bills, and keep your home warmer all year.
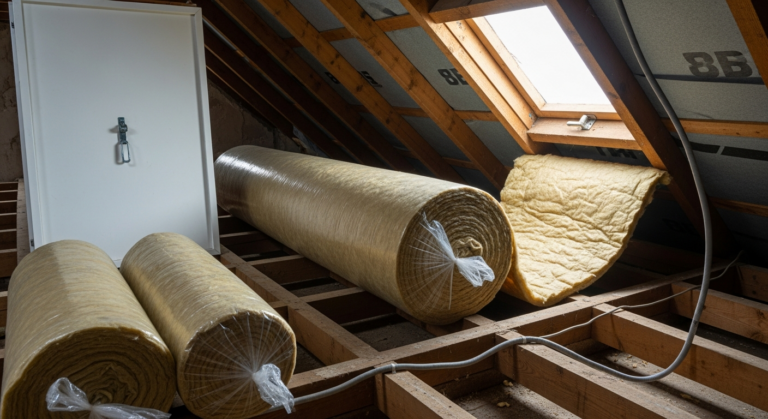
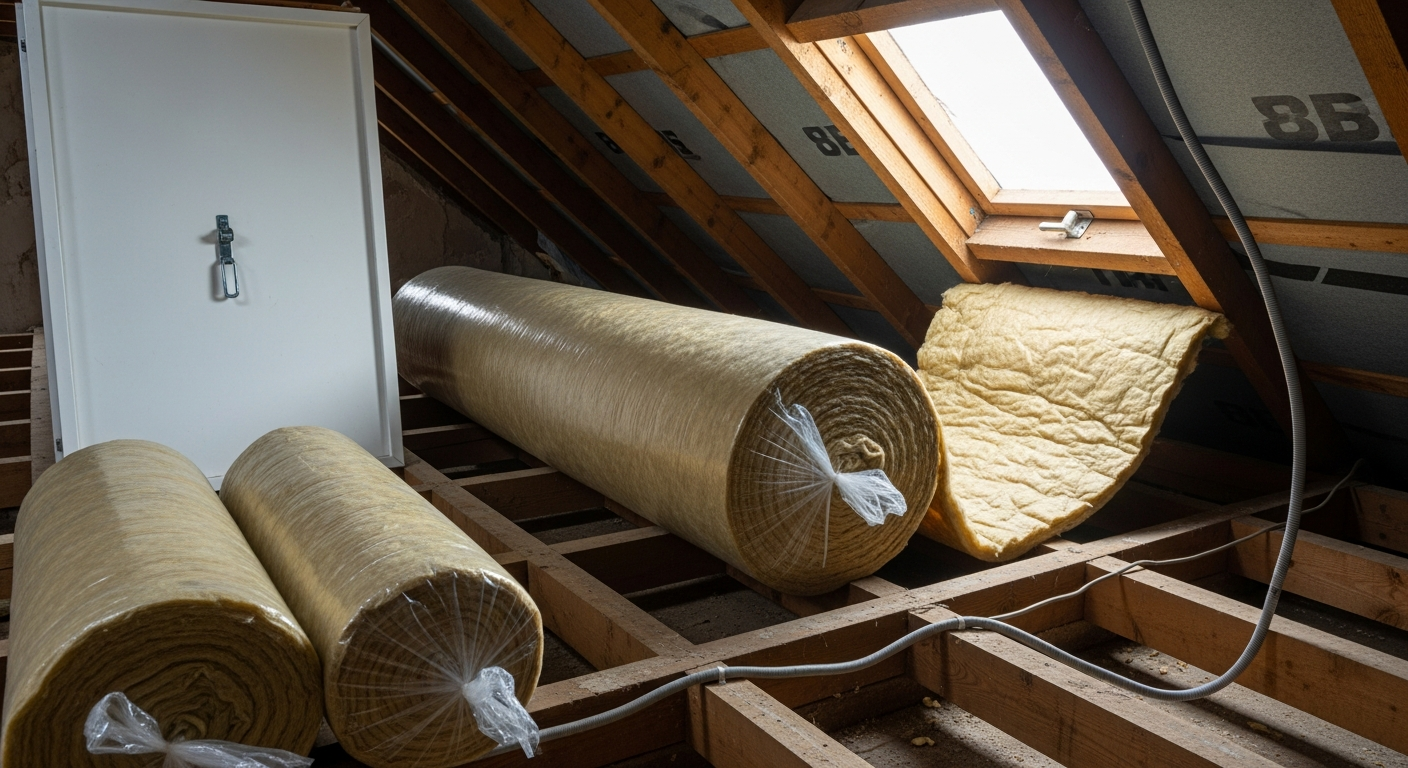
To insulate a loft, lay 100mm of mineral wool between the joists then a second 170mm layer at right angles across them, reaching the recommended 270mm total depth. Clear the loft first, seal any gaps around pipes and cables, and ensure ventilation is maintained throughout.


- Tape measure
- Craft knife or insulation saw
- Straight edge or timber batten
- Head torch
- Dust mask (FFP2 rated)
- Safety goggles
- Knee pads
- Loft ladder or safe access ladder
- Mineral wool roll insulation (first layer, 100mm)
- Mineral wool roll insulation (second layer, 170mm)
- Loft hatch insulation pad
- Expanding foam filler
- Pipe lagging for exposed pipes
- Rigid board offcuts for kneeling platform
- Electrical conduit clips or cable staples
- Draught-proof tape
Step-by-Step Guide
Clear and inspect the loft space
Remove stored items and use a head torch to inspect the full loft floor. Check for signs of damp, damaged rafters, or active pest activity before any insulation goes in — laying mineral wool over an existing problem seals it in and makes it worse. If you spot signs of moisture, address that first. You can find more detail on identifying moisture problems in our guide to fixing damp on interior walls, which covers how to distinguish different types of dampness.
Seal gaps and prepare services
Before laying insulation, seal any gaps around pipes, cables, and light fittings that pass through the ceiling below using expanding foam or draught-proof tape. Recessed light fittings must be covered with a proprietary fire-rated cover or replaced with a loft-safe fitting — covering a standard recessed downlight with mineral wool is a fire risk. Lag any cold-water pipes or tanks that will sit above the insulation layer, because once you insulate the loft floor the space above becomes colder and pipes that were previously protected by rising warmth from the house will be exposed to frost.
Lay the first layer between the joists
Starting from the eaves and working towards the hatch, lay 100mm mineral wool rolls between the joists, cutting to length with a craft knife against a straight edge. Push the insulation right to the eaves but leave a clear 25mm ventilation gap at the eaves edge — blocking this gap causes condensation and rots the roof structure. Butt joins tightly and cut neatly around any obstructions. Do not compress the mineral wool; it traps air when allowed to sit at its full thickness, and compression reduces its thermal performance significantly.
Lay the second layer across the joists
Run a second layer of 170mm mineral wool at 90 degrees across the top of the joists, covering the timber as well as the gaps. This cross-laid approach eliminates the thermal bridging through the joists that a single layer cannot address. The combined depth should reach 270mm, which is the depth recommended by the Energy Saving Trust for UK homes. Cut around the water tank — do not insulate beneath it, as it needs the warmth rising from below to prevent freezing. Our loft insulation depth guide explains how depth requirements vary by property type and construction date.
Insulate the loft hatch
The loft hatch is one of the most overlooked weak points in loft insulation — an uninsulated hatch can lose as much heat as a single-glazed window. Fix a 100mm mineral wool pad or a rigid insulation board to the top face of the hatch door. Add foam draught-proof strip around the frame rebate so the hatch closes against a sealed perimeter. Fit a catch or latch to hold it firmly closed. For a full step-by-step, see our guide on how to insulate a loft hatch.
Check ventilation and complete the job
Walk the perimeter at eaves level to confirm the ventilation gap is clear on all sides. The HSE recommends adequate roof ventilation to prevent interstitial condensation within the insulation and roof structure. Check that all pipe lagging is secure, all cables are routed above or through the insulation rather than trapped beneath it, and that the hatch closes flush. Remove all off-cuts and packaging — loose mineral wool fragments left in the loft can irritate skin and eyes on any future visits. Finally, check whether your home qualifies for a grant under the Great British Insulation Scheme via gov.uk before spending a penny.
Frequently Asked Questions
How deep should loft insulation be in the UK?
The Energy Saving Trust recommends 270mm of mineral wool as the standard for UK homes. This is achieved with a 100mm first layer between the joists and a 170mm second layer laid across them at right angles.
Can I insulate a loft myself or do I need a professional?
Cold loft floor insulation — the type covered in this guide — is a genuine DIY job. It requires no special qualifications, no building regulations notification, and no trade tools. A confident beginner can complete a standard semi-detached loft in a single day.
Will loft insulation make my home draughty or cause damp?
Done correctly, loft insulation does not cause damp. The key is maintaining the 25mm ventilation gap at the eaves and ensuring all gaps around pipes and cables are sealed before laying. Skipping either step is what leads to condensation problems. If your home already has damp issues, read our guide on fixing condensation damp before insulating.
Can I get a grant to insulate my loft?
Yes. The Great British Insulation Scheme and the Energy Company Obligation (ECO4) scheme offer free or subsidised loft insulation for eligible households. Check your eligibility at gov.uk — many owner-occupiers and private renters qualify based on council tax band or household income.
What do I do about recessed downlights in the ceiling below?
Standard recessed downlights cannot be covered with mineral wool — the heat they generate creates a fire risk. Either fit proprietary fire-rated downlight covers rated for direct contact with insulation, or replace the fittings with loft-safe LED alternatives before laying the second insulation layer.
When cutting mineral wool rolls to length, compress the roll slightly with your straight edge before scoring — the material springs back to a tight fit against the adjacent joist, eliminating the gaps that kill thermal performance at every joint. A loose butt join is as bad as no insulation at all across that section of floor.
Sources
- Energy Saving Trust — Loft insulation — energysavingtrust.org.uk
- GOV.UK — Great British Insulation Scheme — gov.uk
- HSE — Insulation materials: mineral wool — hse.gov.uk
This guide is for general information only. Always work safely and follow manufacturer instructions. DIYnut accepts no liability for injury or damage arising from DIY work.