How to Fix a Rotting Window Sill – DIY Guide
How to Fix a Rotting Window Sill
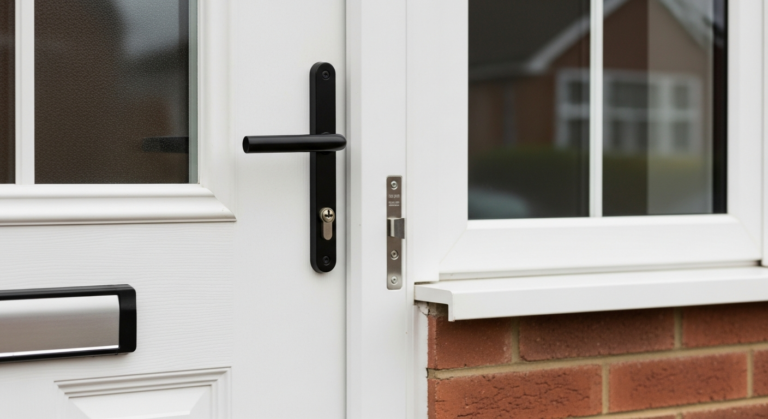
Repair a rotten timber window sill properly and stop the rot spreading further.
To fix a rotting window sill, cut out all soft timber, treat with hardener, fill with two-part wood filler, shape to profile, prime and paint. Catch it early and a full replacement is rarely needed. The whole repair takes 2–3 hours across two sessions.


- Chisel
- Hammer
- Stiff-bristle brush
- Filling knife
- Orbital sander or sanding block
- Paintbrush
- Craft knife
- Pencil
- Timber hardener
- Two-part epoxy wood filler
- Exterior wood primer
- Exterior gloss or satin paint
- Coarse and fine abrasive paper
- Masking tape
- Flexible exterior filler or sealant
- White spirit or solvent cleaner
Step-by-Step Guide
Assess the Damage
Press a screwdriver or pencil firmly into the sill across its full length. Soft, spongy areas indicate live rot; hard wood is sound. Mark the boundary of all affected timber with a pencil so you have a clear target area before you start cutting. If more than half the sill depth is compromised, a full replacement is the better long-term option — see our guide to repairing a wooden window frame for advice on full-section work.
Cut Out and Remove All Rotten Timber
Use a chisel and hammer to remove all soft, rotten wood within your marked area — go 10–15 mm into sound timber on every edge so no compromised material remains. Do not leave any discoloured or spongy wood behind; even a small patch of rot left in place will continue to spread beneath the repair. Brush out dust and debris with a stiff-bristle brush.
Apply Timber Hardener
Flood the exposed bare timber and the cavity with a timber hardener, working it into the grain with a brush. Hardener penetrates and consolidates any borderline fibres that your chisel could not cleanly remove, giving the filler a solid base to bond to. Allow the hardener to cure fully — typically 2–4 hours depending on temperature — before applying any filler. Rushing this stage is one of the most common reasons repairs fail within a single season.
Fill the Cavity with Two-Part Epoxy Wood Filler
Mix the two-part epoxy filler to the manufacturer’s ratio on a disposable board — most products give you 5–10 minutes of working time before they begin to harden. Press the filler firmly into the cavity in layers no deeper than 15 mm at a time, eliminating any air pockets. For deep sections, build up in two applications rather than one large mass. Slightly overfill the repair so you have material to sand back to a clean, flush profile. Good surface preparation at this stage means far less sanding later — the same principle applies whenever you are prepping and undercoating wood for a durable finish.
Shape, Sand and Prime
Once the filler has fully cured (typically 1–2 hours at 18°C), use coarse abrasive paper to bring it back flush with the surrounding timber, then work through to fine paper for a smooth, feathered edge. Wipe away all dust with a damp cloth or white spirit. Apply one coat of exterior wood primer to the entire sill — both the repaired area and any bare or weathered timber — and allow to dry fully before painting. If the sill meets the window frame or masonry, run a bead of flexible exterior filler into any gaps at the junctions to prevent water re-entry.
Paint and Seal the Sill
Apply two coats of exterior gloss or satin paint, allowing full drying time between coats. Pay particular attention to the front edge and underside of the sill — these are the areas that catch driving rain and are most often left undercoated on rushed jobs. Ensure the paint wraps around to the underside drip groove so water cannot track back into the timber. For a professional finish on the surrounding woodwork, our guide on painting exterior walls covers preparation and sequencing for a complete external redecoration.
Frequently Asked Questions
Can I repair a rotten window sill without replacing it?
Yes, provided the rot has not compromised more than roughly half the sill’s depth or spread into the window frame itself. Use a timber hardener followed by a two-part epoxy filler and the repair will be structurally sound and weather-resistant when done correctly.
What causes a timber window sill to rot?
Rot is almost always caused by moisture getting into bare or poorly maintained timber — typically through failed paint, cracked sealant joints at the frame, or a damaged drip groove on the underside of the sill. Keeping all painted surfaces and sealant joints in good condition is the most effective prevention.
How long will an epoxy wood filler repair last on a window sill?
A correctly executed epoxy repair — all rot removed, hardener applied, properly primed and painted — can last 10 years or more. The filler itself does not rot, though the paint system over it must be maintained like any other exterior timber.
Do I need to treat the wood before filling?
Yes. Applying timber hardener before filling is not optional on rotten sections — it consolidates weakened fibres and creates a stable surface for the filler to bond to. Skipping it is the single most common reason sill repairs fail prematurely. For all exterior timber prep, the same principle applies as when you prep and undercoat wood before painting.
Can I use standard filler instead of two-part epoxy wood filler?
Standard decorator’s filler is not suitable for exterior timber repairs — it is water-based, will absorb moisture, crack, and fall out under weathering. Use a two-part epoxy wood filler specifically rated for exterior use; it is flexible enough to cope with timber movement and will not shrink or crack once cured.
Before applying any filler, score the cured hardener surface lightly with a craft knife to create a mechanical key — epoxy filler bonds far more aggressively to a scratched surface than a smooth one. On deep repairs, pack the base of the cavity with a small piece of treated timber offcut to reduce filler usage and the risk of shrinkage in very thick sections.
Sources
- HSE — Wood Rot and Timber Decay in Buildings — hse.gov.uk
- Historic England — Practical Building Conservation: Timber — historicengland.org.uk
- Which? — How to repair rotten window frames and sills — which.co.uk
This guide is for general information only. Always work safely and follow manufacturer instructions. DIYnut accepts no liability for injury or damage arising from DIY work.