How to Replace Fascia and Soffit Boards – DIY Guide
To replace fascia and soffit boards, remove the guttering, strip the old boards, check the rafter feet for rot, then fix new uPVC or timber boards starting with the soffit, then the fascia, before refitting the guttering. Allow a full day for an average semi-detached house.


Strip the Old Fascia and Soffit Boards
Use a pry bar and hammer to work along the existing boards, pulling them away from the rafter feet. Remove any remaining nails or fixings flush with the timber. Work methodically from one end of the elevation to the other — do not rush this stage, as forcing boards off can damage the rafters underneath. Bag up the old material as you go to keep the working area safe.
Inspect and Treat the Rafter Feet
With the boards off, examine every rafter foot for soft spots, discolouration, or crumbling timber, which are all signs of rot. Probe each one with a screwdriver — if it sinks in easily, that section needs cutting back to sound wood and splicing in. Any exposed timber should be treated with two coats of exterior wood preservative and allowed to dry fully before new boards go on. Skipping this step is the single most common reason a new roofline fails prematurely.
Fit the Soffit Boards
The soffit board sits horizontally between the fascia and the wall, closing off the eaves. Cut each board to length using a mitre saw, allowing a neat butt joint at internal and external corners. If you are fitting uPVC, use the manufacturer’s clip system to allow for thermal expansion — do not glue or fix the boards rigidly end-to-end. Where loft ventilation is required, fit purpose-made soffit vents at the spacing recommended for your roof type. Our roofing guide covers ventilation requirements in more detail.
Fit the Fascia Boards
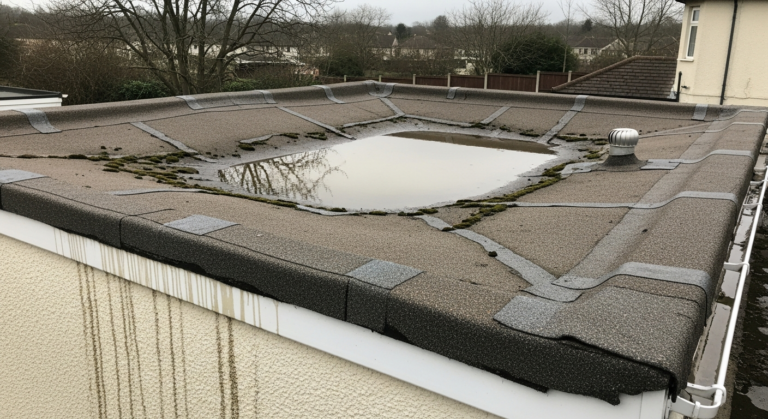
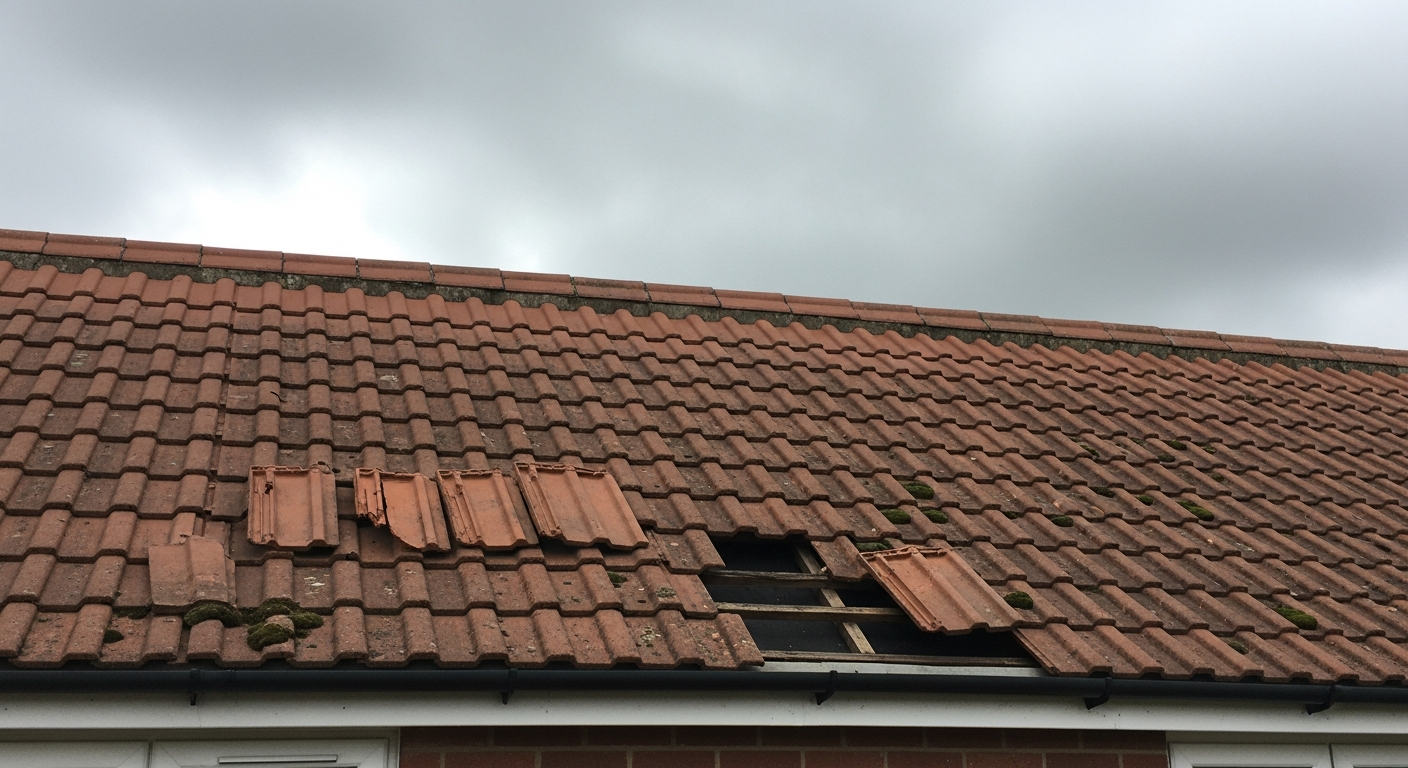
Fix the fascia board to the rafter feet, sitting it tight to the back edge of the soffit. For uPVC fascia, use stainless steel screws at every rafter foot and leave a 3–5 mm expansion gap at all joints, covered with a jointing sleeve. For timber, pre-drill to prevent splitting, prime all cut ends before fixing, and apply exterior sealant to all joints. Run a continuous bead of exterior silicone sealant along the top edge where the board meets the roof tiles or felt to prevent water ingress. If any slipped or lifted tiles are visible while you are up there, replace broken roof tiles before coming down.
Refit the Guttering and Check the Fall
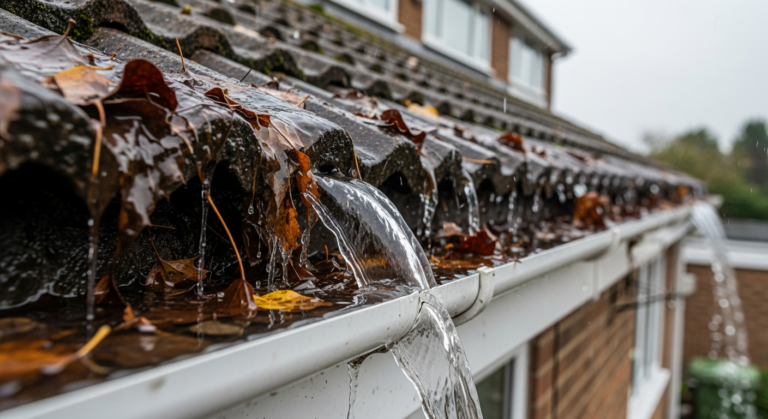
Rehang the gutter brackets onto the new fascia, checking that the fall is consistent — typically 1:600 towards the downpipe. Refit the gutter sections, clip all joints securely, and pour a bucket of water at the high end to confirm flow and check for any leaks at joints. If you notice leaking gutter joints, reapply gutter sealant before the scaffold or ladder comes down.
Frequently Asked Questions
Can I fit new uPVC boards over the top of old timber fascia and soffit?
It is generally not recommended. Capping over old timber traps moisture, which accelerates rot and eventually causes the uPVC to pull away from the rafter feet. Strip everything back to bare timber so you can inspect and treat what is underneath.
Do I need planning permission to replace fascia and soffit boards?
In most cases, no — replacing like-for-like roofline boards is considered permitted development. However, if your property is listed or in a conservation area, check with your local planning authority before starting work.
How long do uPVC fascia and soffit boards last?
Quality uPVC roofline products typically last 20–30 years with minimal maintenance, compared to 10–15 years for painted softwood timber. uPVC does not need painting and is highly resistant to moisture and insect damage.
How do I know if my soffit needs ventilation?
Current building regulations require adequate roof space ventilation to prevent condensation and timber decay. As a guide, a cold pitched roof needs a continuous ventilation gap of at least 25 mm at the eaves — fit purpose-made soffit vents if your existing boards have none. Check gutter guard installation at the same time to prevent debris blocking the vents from outside.
Is replacing fascia and soffit boards a safe DIY job?
It is achievable for a competent DIYer, but working at height is the main risk. A scaffold tower is far safer than a ladder for this job, as both hands need to be free to handle boards and tools. Follow HSE guidance on working at height and never work alone — always have someone at the base.
Before fixing the first fascia board, snap a chalk line across all the rafter feet to find any that have dropped or lifted — even 5 mm of unevenness will be visible as a wave in the finished board. Pack out any low rafter feet with treated timber packers before you fix anything.
Sources
- HSE — Working at Height Regulations 2005 — hse.gov.uk
- Which? — How to repair and replace fascias and soffits — which.co.uk
- GOV.UK — Permitted development rights for householders: technical guidance — gov.uk
This guide is for general information only. Always work safely and follow manufacturer instructions. DIYnut accepts no liability for injury or damage arising from DIY work.