How to Paint Over Woodchip Wallpaper – DIY Guide
Walls & Plastering › Wallpaper
How to Paint Over Woodchip Wallpaper
Get a clean, even finish on woodchip without expensive stripping or replastering.
Paint over woodchip wallpaper by washing it down, filling loose or damaged areas, applying a stabilising primer, then rolling on two coats of emulsion. Use a thick-pile roller to get paint into the textured surface without leaving dry patches.


- Paint roller with thick pile sleeve
- Roller tray
- 2-inch cutting-in brush
- Sponge or sugar soap cloth
- Filling knife
- Sandpaper (120-grit)
- Dustsheet
- Stabilising primer or diluted PVA solution
- Interior matt emulsion
- Cellulose filler or all-purpose filler
- Sugar soap
- Masking tape
- Wallpaper seam adhesive
Step-by-Step Guide
Wash down the wall
Mix sugar soap with warm water and wipe down the entire surface to remove grease, dust, and nicotine. A clean substrate is the single most important factor for paint adhesion — skip this and every coat you apply will struggle to bond.
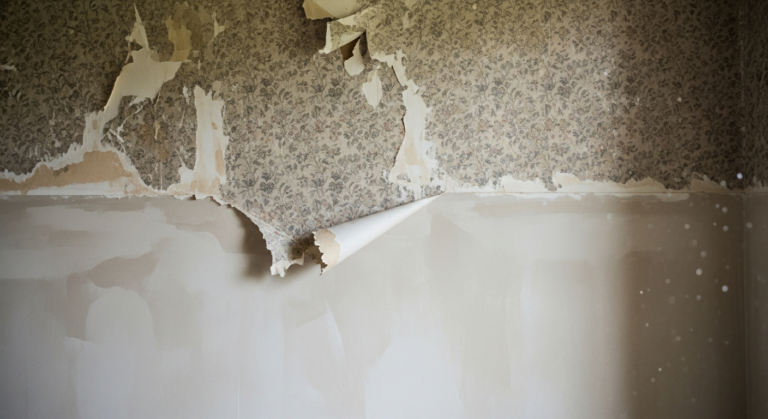
Re-stick any lifting seams and fill damaged areas
Press any loose seams flat using wallpaper seam adhesive and allow to dry fully. Fill any torn patches, holes, or gouges with all-purpose filler, working it firmly into the texture with a filling knife. Once dry, lightly sand with 120-grit paper to knock back any proud edges. If you have large areas of damage, see our guide on how to remove old wallpaper — sometimes stripping is the better call.
Apply a stabilising primer
Roll a coat of stabilising primer or diluted PVA (1 part PVA to 4 parts water) over the entire wall. Woodchip is absorbent and will drink in emulsion unevenly without this step, leaving a patchy, dull finish. Allow to dry fully — usually 2–4 hours — before painting. This is the step most DIYers skip and later regret.
Cut in around edges
Use a 2-inch brush to cut in along ceilings, skirting boards, and corners with your first coat of emulsion. Apply masking tape to architraves and skirting boards if your brush control isn’t confident yet — it’s far quicker than touching up later. For a cleaner line, read our advice on how to cut in paint neatly.
Roll on two full coats of emulsion
Fit a thick-pile (15mm or more) roller sleeve — this is essential for pushing paint down into the raised grain of the woodchip. Work in sections using a W or M stroke, then lay off in one direction. Allow the first coat to dry fully before applying the second. A guide on how many coats of paint you need can help you judge coverage on tricky textures like this. Two full coats over a primed surface will give solid, even coverage.
Check coverage and touch in as needed
Once the second coat is fully dry, stand back and check the wall in raking light from a lamp or torch held at a low angle. This reveals any missed hollows in the texture. Touch in with a brush or short-pile roller rather than over-rolling the whole wall, which risks dragging the dry paint. The Walls & Plastering Guide covers further prep options if you want a smoother long-term result.
Frequently Asked Questions
Can you paint directly over woodchip wallpaper without priming first?
You can, but the result will almost always be patchy. Woodchip is highly absorbent and will drink emulsion unevenly, leaving a dull, inconsistent finish. A coat of stabilising primer or diluted PVA first makes a significant difference to the final result.
What type of paint is best for woodchip wallpaper?
A good-quality matt emulsion works well — it sits in the texture rather than highlighting it the way a silk or eggshell finish can. Choose a trade-grade emulsion with higher solids content for better coverage in fewer coats. See our guide to the best paint finish for walls for a full comparison.
Should I remove woodchip wallpaper instead of painting over it?
Removing woodchip often damages the plaster beneath, particularly in older properties where it was used to hide poor walls. Painting over it is the lower-risk option in most cases. If the paper is heavily patched, bubbling, or soaked with old paint, stripping and replastering may give a better long-term result.
How do I stop woodchip wallpaper from showing through new paint?
You cannot make the texture disappear with paint alone — the raised chips will always be visible. If you want a smoother finish, you can apply a thin coat of finishing plaster or a texture-smoothing compound over the primed paper before painting. This is a more involved process but produces a flat wall surface.
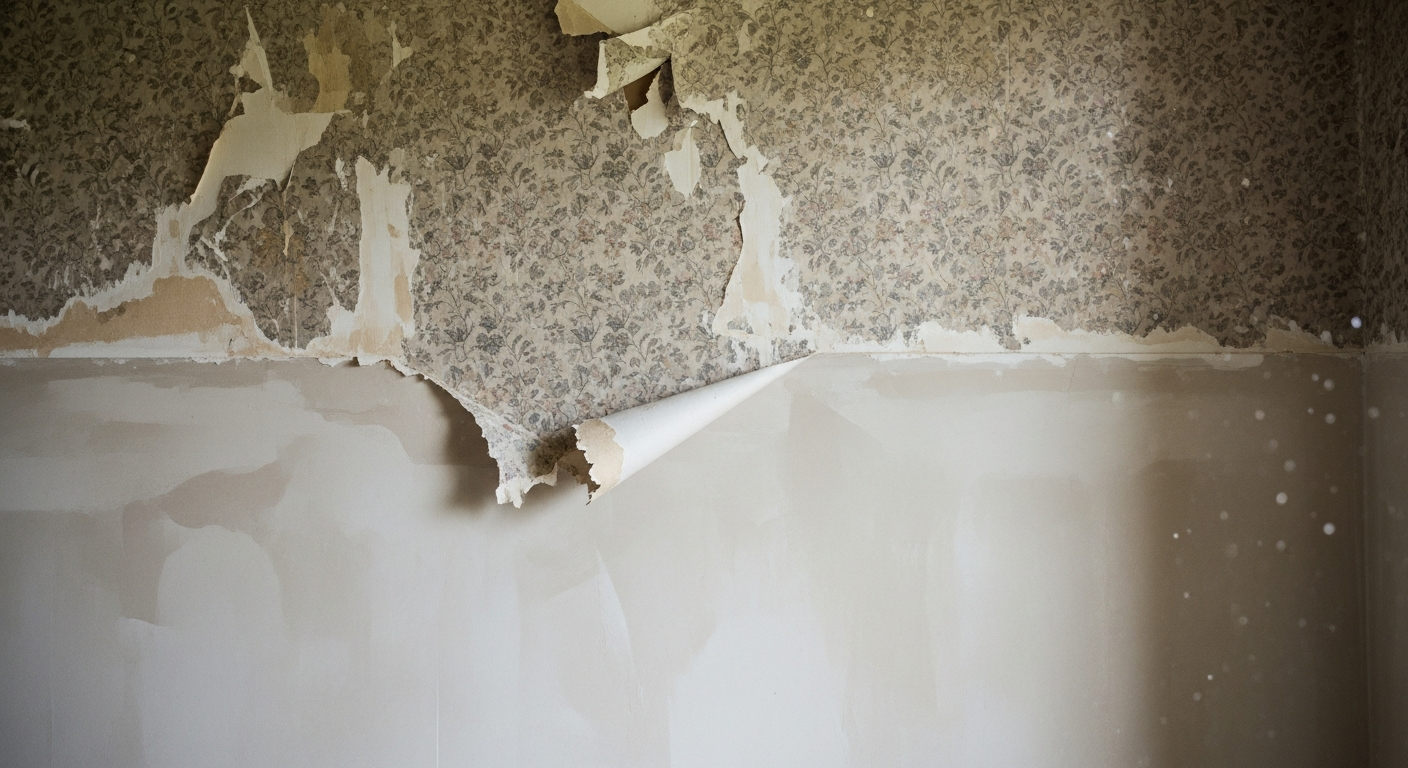
Why is my paint peeling off woodchip wallpaper?
Peeling usually means either the surface wasn’t cleaned and primed before painting, or the wallpaper itself has lifted away from the wall underneath. Check seams and edges for movement — if the paper is coming away, re-stick it with seam adhesive, let it dry fully, and reprime before repainting.
Before applying any primer, run a damp sponge across the wall and watch carefully — any sections that bubble or lift immediately tell you the paper isn’t bonded and needs re-adhering before you touch a brush. Catching those spots at the prep stage saves you from peeling paint three weeks later.
Sources
- Which? — Woodchip wallpaper: remove or paint over it? — which.co.uk
- HSE — Control of Substances Hazardous to Health: sugar soap and preparation chemicals — hse.gov.uk
- Historic England — Wallpapers: identification and repair guidance — historicengland.org.uk
This guide is for general information only. Always work safely and follow manufacturer instructions. DIYnut accepts no liability for injury or damage arising from DIY work.