How to Replace a Broken Wall Tile – DIY Guide
How to Replace a Broken Wall Tile
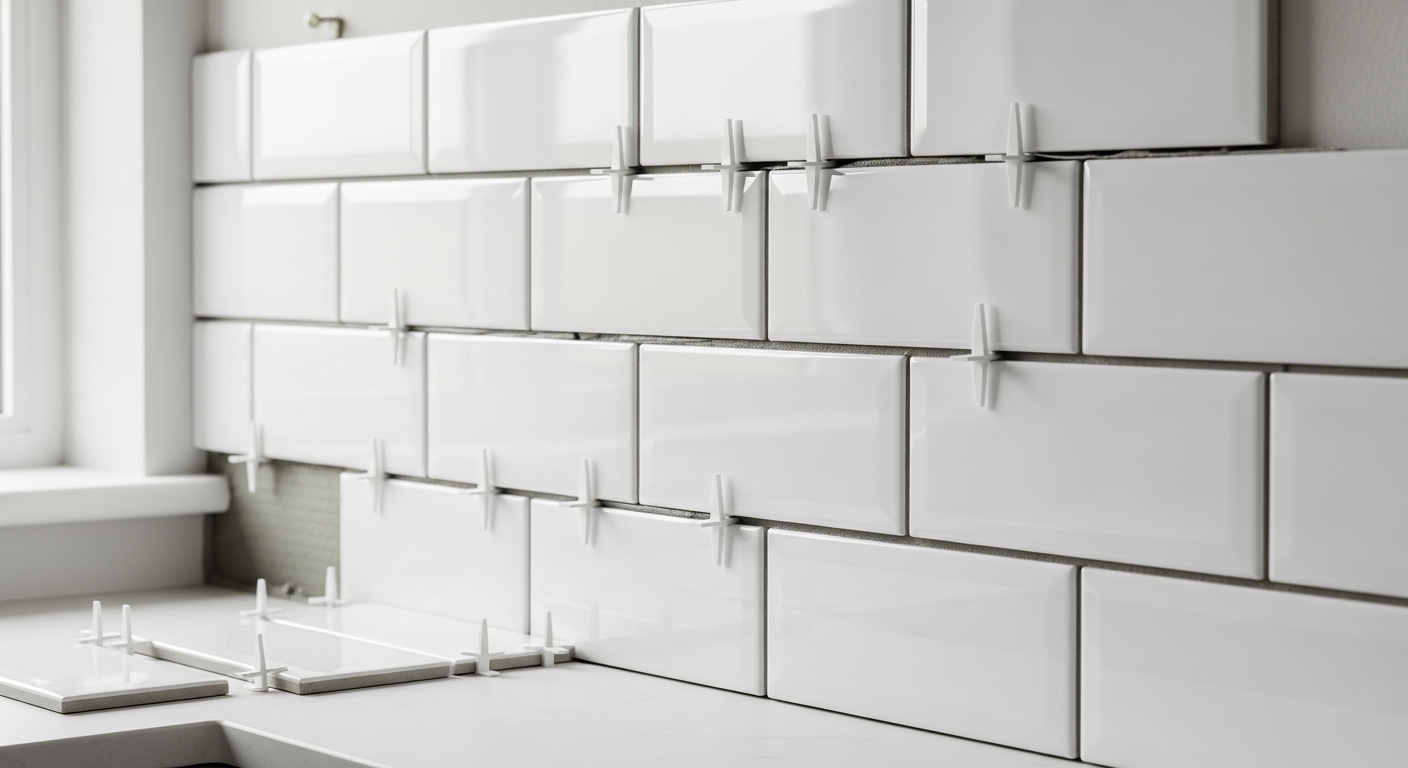
Remove a cracked tile and fit a perfect replacement without disturbing the rest.
To replace a broken wall tile, score around the grout joints, drill and chisel out the damaged tile without cracking neighbours, scrape the adhesive bed flat, back-butter a new tile, press it into position, let it cure, then re-grout and seal.


- Angle grinder or oscillating multi-tool
- Grout rake or grout saw
- Cold chisel
- Club hammer
- Margin trowel or scraper
- Notched adhesive spreader
- Rubber grout float
- Sponge and bucket
- Replacement wall tile
- Wall tile adhesive
- Tile grout (colour-matched)
- Tile spacers
- Grout sealer
- Masking tape
- Lint-free cloths
Step-by-Step Guide
Score the Grout Joints
Fit a grout rake or use a narrow oscillating multi-tool blade to cut out the grout on all four sides of the broken tile to a depth of at least 3 mm. Removing the grout fully breaks the mechanical bond between the damaged tile and its neighbours, which is the single most important step — skip it and you will crack adjacent tiles when you chisel. Apply masking tape to the tiles immediately surrounding the repair to protect their glazed surfaces from tool slips.
Drill and Chisel Out the Broken Tile
Drill a grid of 6–8 holes across the face of the broken tile using a tile drill bit — this relieves stress and gives your chisel somewhere to bite. Work inward from the centre with a cold chisel and club hammer, keeping the chisel angle low and shallow so force travels into the tile rather than into the wall behind. Repair any blown plaster exposed once the tile is out — a solid substrate is essential for the new tile to bond correctly.
Prepare the Substrate
Use a margin trowel or stiff scraper to remove every trace of old adhesive from the wall. The bed must be flat and within 3 mm across the opening — high spots cause the new tile to rock; low spots leave a hollow bond that fails quickly. Dust off the area, then dampen slightly if the wall is very absorbent to prevent the adhesive being sucked dry before it grips.
Apply Adhesive and Set the New Tile
Apply wall tile adhesive to the back of the replacement tile using a notched spreader, then add a thin additional layer to the wall bed — this is called back-buttering and it guarantees full contact with no air pockets. Press the tile firmly into position with a slight twisting motion to collapse the adhesive ridges, check it is flush with surrounding tiles using a straightedge, and push tile spacers into all four grout joints. Do not rush this stage — proper tile spacing is what keeps the finished grout joints consistent with the rest of the wall.
Allow Full Cure Before Grouting
Leave the adhesive to cure for the full time stated on the packaging — typically 24 hours for standard wall tile adhesive, longer in cold or damp conditions such as a bathroom with poor ventilation. Moving or grouting too early is one of the most common causes of tile movement after the job is done. Remove the spacers once the adhesive has skinned but before it reaches full hardness, as this makes them easier to pull out without disturbing the tile.
Grout, Clean and Seal
Mix colour-matched grout to a smooth, lump-free consistency and work it into the joints with a rubber grout float held at 45 degrees, packing each joint fully. Drag a damp sponge diagonally across the tile face in stages, rinsing frequently, until the haze clears — do not flood the joints with water or you will weaken the grout. Once fully dry, apply a grout sealer to the new joints, particularly in wet areas such as showers and splashbacks, to prevent moisture ingress and staining. For a broader look at tiling a bathroom wall from scratch, our full guide covers setting out and cutting in detail.
Frequently Asked Questions
How do I find a matching replacement tile?
Check behind light switches, socket faceplates, or at the back of a fitted unit — builders sometimes leave off-cuts. If none are available, take a whole broken piece to a tile specialist who can colour-match or identify the original range.
Can I replace a wall tile without removing the grout first?
No — attempting to chisel out a tile without cutting the grout joints first will almost certainly crack one or more of the surrounding tiles. The grout removal step is not optional, even if it takes the most time.
What do I do if the plaster behind the tile is damaged?
Allow any exposed plaster to dry fully, then fill small chips with a rapid-setting filler and sand flush before tiling. For larger areas of damaged or hollow plaster, repairing blown plaster first will give the adhesive a sound base to grip.
How long should I wait before using a tiled shower after replacing a tile?
Allow at least 24 hours for the adhesive to cure and a further 24 hours after grouting before exposing the repair to water — longer in cold conditions. Check the adhesive and grout manufacturer’s data sheet for specific guidance.
Do I need waterproof adhesive and grout in a bathroom?
In wet zones — directly inside a shower enclosure or within 500 mm of a bath or shower — you should use a waterproof or water-resistant tile adhesive and grout, and seal the finished grout joints. The Walls & Plastering Guide covers substrate waterproofing requirements in more detail.
When back-buttering the replacement tile, comb the adhesive in one direction on the wall and at 90 degrees on the tile back — the two ridges interlock when pressed together, dramatically increasing contact area and bond strength compared with combing both surfaces the same way.
Sources
- HSE — Silica dust: construction and allied industries — hse.gov.uk
- Which? — How to replace a broken tile — which.co.uk
- Tile Association — Tile fixing guidance for domestic interiors — tiles.org.uk
This guide is for general information only. Always work safely and follow manufacturer instructions. DIYnut accepts no liability for injury or damage arising from DIY work.


