How to Tile Around a Window – DIY Guide
How to Tile Around a Window
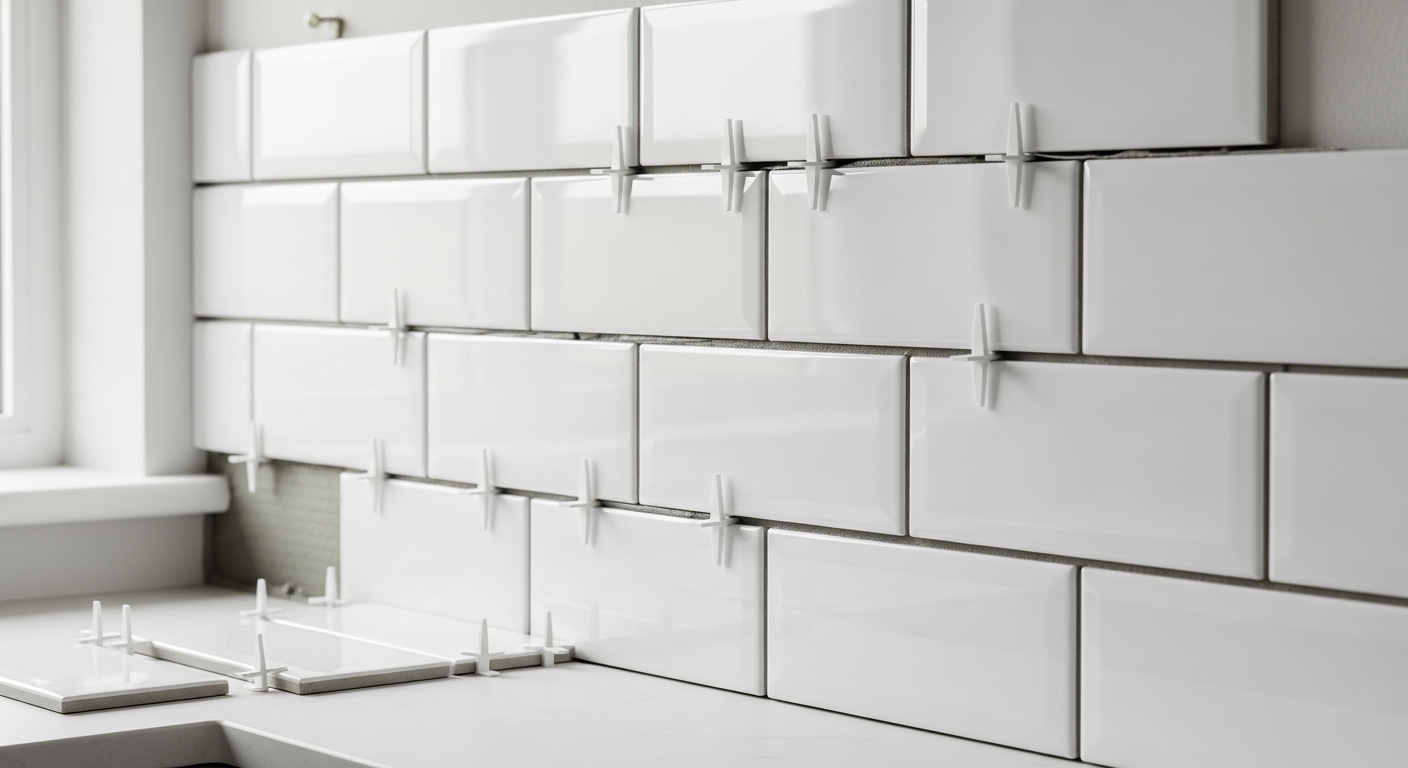
Get clean, professional edges around your window reveal with no wasted cuts.
To tile around a window, start by planning your tile layout so cut tiles are symmetrical either side of the window. Work from a centre line, tile the reveal last, and use window-sill tiles or mitred edges for a neat finish. Allow adhesive to cure fully before grouting.


- Tape measure
- Spirit level
- Tile cutter or angle grinder with tile disc
- Notched adhesive trowel
- Grout float
- Tile spacers
- Pencil
- Bucket and sponge
- Wall tiles
- Tile adhesive (waterproof for bathrooms)
- Grout (colour-matched to tiles)
- Tile trim or edge strip
- Silicone sealant
- Primer or tile backer board (if on plasterboard)
- Sandpaper
- Masking tape
Step-by-Step Guide
Plan Your Layout Before You Spread Any Adhesive
Dry-lay your tiles on the floor to work out the layout. Measure the wall width and find the centre point, then mark a vertical centre line on the wall. Aim for equal-width cut tiles on either side of the window — a balanced layout looks intentional; an unbalanced one looks like a mistake. If a tile cut at the window edge will be less than half a tile wide, shift your centre line by half a tile so cuts remain substantial. This planning stage is the single most important step in the whole job. If you are tiling a bathroom wall at the same time, read our guide on how to tile a bathroom wall before you begin.
Prepare the Surface and Fix a Batten
The substrate must be clean, dry, flat, and sound before any adhesive goes on. Check for blown plaster by tapping the wall — a hollow sound means it must be repaired first; visit our guide to repair blown plaster if needed. Apply a coat of diluted PVA or tile primer to bare plaster and allow it to dry. Fix a perfectly level timber batten horizontally to the wall at the height of your first full tile row above the floor or skirting — this gives you a flat starting line and stops tiles sliding before the adhesive grabs.
Tile the Main Wall First, Working Up to the Window
Spread wall tile adhesive with the notched side of your trowel, covering roughly one square metre at a time — working in larger areas risks the adhesive skinning over before you can press tiles in. Press each tile firmly with a slight twist to collapse the ridges and ensure full contact. Use spacers consistently. Work up to the window opening, leaving the reveal and the row directly bordering the window frame until the main field is set. Keep checking for plumb and level every few rows with your spirit level.
Cut and Fit Tiles Around the Window Opening
Measure each cut tile individually rather than assuming all gaps are equal — window openings are rarely perfectly square. Score and snap tiles for straight cuts; use a wet tile cutter or angle grinder for L-shaped cuts at window corners. Fit cut tiles around the perimeter of the window, using the same spacer gap at the junction between field tiles and reveal tiles. Where tiles meet an unpainted frame or timber, leave a 2–3 mm gap and seal it with silicone sealant rather than grout — this allows for movement and prevents cracking.
Tile the Window Reveal
The reveal — the inner sides and top of the window recess — is tiled last. Use tile trim, a pencil-round tile strip, or carefully mitred tiles to create a neat edge where the reveal meets the main wall face. Fix trim into the adhesive before setting the reveal tiles so the tiles butt up to it cleanly. Measure and cut reveal tiles to fit, remembering to account for the thickness of the adhesive bed. For a sill with a horizontal surface, ensure tiles are laid with a very slight fall away from the window so water drains outward rather than pooling. Allow all adhesive to cure for a minimum of 24 hours before grouting. You can also check out our advice on how to regrout wall tiles for technique tips that apply equally here.
Grout and Seal the Finished Tiles
Mix grout to a smooth, lump-free consistency and press it firmly into the joints with a grout float, working diagonally across the tiles to pack joints fully. Remove excess grout with a damp sponge before it sets, rinsing the sponge frequently — dried grout haze is hard to remove. Once grout has cured (check manufacturer’s instructions, typically 24 hours), run a neat bead of silicone sealant into any movement joints: where tiles meet the window frame, the sill, and any internal corners. Tool the sealant smooth with a wetted finger and remove masking tape while still wet for a sharp edge. For guidance on how to achieve perfectly clean lines when finishing edges, see our tips on replacing a broken wall tile, which covers careful adhesive and grout technique in tight spaces.
Frequently Asked Questions
Do I need special tiles for a window sill?
Not necessarily, but if the sill has a horizontal surface that will get wet, use tiles with a slip-resistant finish or a slight texture. A bullnose tile or a tile trim profile gives the exposed sill edge a professional, finished look without sharp cut edges.
Should I tile the reveal or the wall face first?
Always tile the main wall face first. This gives you a fixed, level reference point from which to align the reveal tiles, and it means the face tiles will overlap the edge of the reveal tiles, hiding any small imperfections in the junction.
How do I get a neat edge where tiles meet a painted window frame?
Leave a 2–3 mm gap between the tile edge and the frame and fill it with a matching silicone sealant rather than grout. This movement joint prevents cracking and gives a far neater, more durable result than trying to grout right up to the frame. Our guide on how to grout tiles explains joint types in more detail.
What tile adhesive should I use around a window in a bathroom?
Use a waterproof, ready-mixed or powder-mixed tile adhesive rated for wet areas. Standard DIY-grade adhesive can fail if exposed to repeated moisture, particularly on the sill and in the reveal where condensation is common around window openings.
How do I handle an awkward L-shaped cut at the window corner?
Mark the L-shape on the tile face with a pencil, score the straight lines with a tile scorer, then remove the waste with a wet tile cutter or angle grinder fitted with a diamond tile disc — taking small, controlled passes rather than trying to cut through in one go. Always wear eye protection and a dust mask when cutting tiles.
Before fixing any reveal tiles, hold a straightedge across from the main wall face into the reveal and check whether the reveal is deeper than one tile width — if it is, you will need two rows of tiles to fill it and the joint between them must land at a visually sensible place, not randomly mid-reveal. Plan this before cutting a single tile.
Sources
- HSE — Control of dust when cutting stone, concrete, brick and similar materials — hse.gov.uk
- Which? — How to tile a wall — which.co.uk
- British Ceramic Tile — Tiling guides and advice — britishceramictile.com
This guide is for general information only. Always work safely and follow manufacturer instructions. DIYnut accepts no liability for injury or damage arising from DIY work.


