How to Regrout Floor Tiles – DIY Guide
To regrout floor tiles, rake out the old grout with a grout rake, clean the joints thoroughly, mix fresh grout to a firm paste, work it into the joints with a grout float, then clean off excess with a damp sponge before it sets.


Clean the Joints Thoroughly
Vacuum out all dust and debris from the joints, then scrub them with a stiff brush dampened with warm water and a grout cleaner or sugar soap solution. Any grease, soap scum, or loose particles left in the joint will prevent the new grout from bonding correctly. Allow the joints to dry completely before moving to the next step — damp joints can dilute mixed grout and weaken the finished result.
Mix the Grout to the Right Consistency
Tip the powdered grout into a clean bucket and add water gradually, following the manufacturer’s ratio on the packaging. Mix thoroughly with a paddle or stick until you reach a smooth, lump-free paste that holds its shape without being crumbly or wet — roughly the consistency of thick peanut butter. Mix only as much as you can use in 20–30 minutes. Avoid adding excess water to loosen a stiff mix; this weakens the final grout significantly.
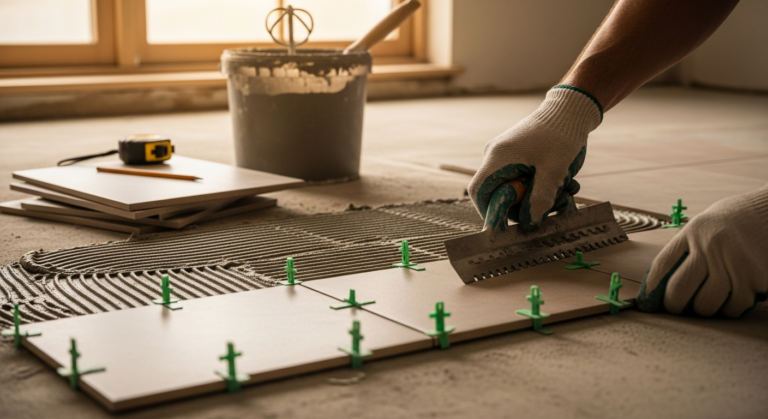
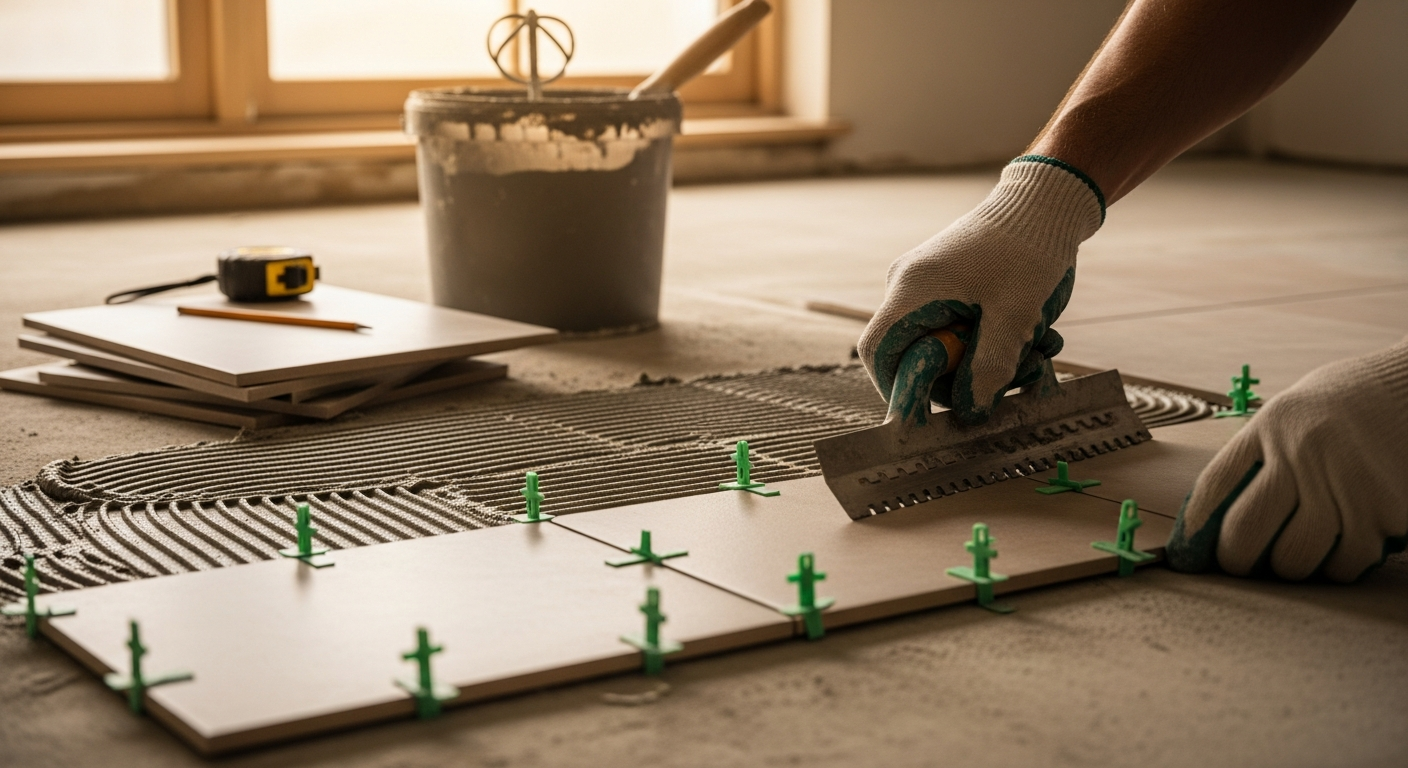
Apply the Grout with a Float
Tip a manageable amount of mixed grout onto the tile surface and spread it diagonally across the joints using a rubber grout float, pressing firmly to pack each joint fully. Work in sections of roughly 1 square metre at a time. Holding the float at a 45-degree angle helps force grout deep into the joints while dragging excess off the tile face. Do not let freshly applied grout skin over before you clean — in warm or dry conditions it can become difficult to remove within 15–20 minutes.
Clean Off Excess and Shape the Joints
Once a section is grouted, wring out a damp (not wet) sponge and wipe diagonally across the tiles in smooth passes to remove surface grout without dragging material out of the joints. Rinse the sponge frequently and change the water often — dirty water smears grout back onto the tile. Run a fingertip or rounded tool lightly along each joint to leave a slightly concave, even profile. After 30–60 minutes, buff off the grout haze with a clean dry cloth. Uneven tile lippage can make this step harder, so address any raised edges before grouting.
Seal the Grout Once Cured
Allow the grout to cure for the time specified on the packaging — typically 24–48 hours before light foot traffic, and up to 7 days before the floor is subjected to heavy use or cleaning. Once fully cured, apply a purpose-made grout sealer to all joints using a brush or applicator bottle. Sealing protects against moisture, staining, and mould — particularly important in kitchens and bathrooms. Wipe any sealer off the tile surface before it dries. Reapply sealer annually in high-traffic or wet areas to maintain protection. You can find more flooring maintenance advice in our Flooring Guide.
Frequently Asked Questions
Can I grout over old grout without removing it?
No. Applying new grout on top of old grout without proper removal results in poor adhesion and the new layer will crack and lift quickly. You must rake out the existing grout to a minimum depth of 5–6 mm for the new grout to bond correctly.
What type of grout should I use for floor tiles?
Use unsanded grout for joints up to 3 mm wide, and sanded grout for joints wider than 3 mm. For wet areas such as bathrooms, an epoxy or anti-mould grout offers superior durability and resistance to moisture ingress. Our Flooring Guide covers tile type considerations in more detail.
How long does regrouting a floor take?
For an average kitchen or bathroom floor, allow 3–5 hours for the raking and application stages, plus 24–48 hours curing time before the floor is walked on. Larger floors or heavily degraded grout will take longer to prepare.
How do I remove grout haze from tiles after regrouting?
Buff the haze off with a dry cloth or fine abrasive pad within an hour of grouting, before it fully hardens. If it has already set hard, a proprietary grout haze remover applied with a damp cloth and then rinsed off will lift it without damaging most tile surfaces. See our Flooring Guide for advice on tile care products.
Do I need to seal grout after regrouting floor tiles?
Yes, especially on porous cement-based grout. Sealing creates a protective barrier against staining, mould growth, and moisture absorption. Apply sealer once the grout has cured fully — usually after 48–72 hours — and reapply annually in kitchens and bathrooms. Correctly laid tiles with consistent joint widths are much easier to seal evenly.
When mixing powdered grout, let it slake for two minutes after the first mix — give it a stir, then leave it undisturbed before mixing once more. This allows the polymer binders to activate fully, giving you a stronger, more workable mix that holds its shape in the joint far better than grout mixed and used immediately.
Sources
- HSE — Construction dust: silica dust from grout and tile work — hse.gov.uk
- Which? — How to regrout tiles — which.co.uk
- Tile Association (TTA) — Guidance on tile installation and grouting — tiles.org.uk
This guide is for general information only. Always work safely and follow manufacturer instructions. DIYnut accepts no liability for injury or damage arising from DIY work.