Glass vs Tile Splashback Guide
Glass vs Tile Splashback Guide
Choose the right kitchen splashback first time — cost, looks, and practicality compared.
Glass vs tile splashback: glass panels are easier to clean and give a seamless look, while tiles cost less upfront and are simpler to repair. Your choice depends on budget, kitchen style, and how much maintenance you’re willing to do.


- Tape measure
- Spirit level
- Pencil
- Notched adhesive spreader
- Grout float
- Silicone gun
- Tile cutter or angle grinder with diamond blade
- Straight edge
- Toughened or back-painted glass panel
- Ceramic or porcelain wall tiles
- Tile adhesive
- Grout
- Silicone sealant
- Primer (for painted or porous walls)
- Panel adhesive
- Masking tape
Step-by-Step Guide
Measure Your Splashback Area
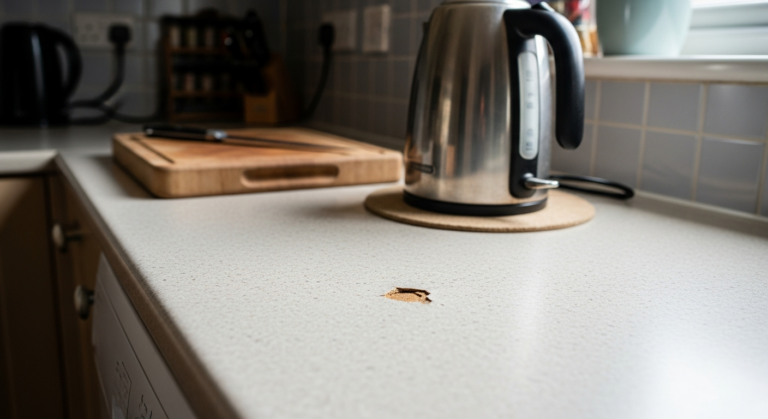
Measure the width and height of the area between your worktop and wall units — or up to the extractor hood — recording dimensions in millimetres. Accurate measurements determine how much material you need and whether a single glass panel is feasible; panels are typically available up to 3000mm wide, so very long runs may need two panels or a tiled solution instead. Use a spirit level to check whether your worktop is perfectly horizontal before you order anything, as an unlevel surface affects the fit of both glass and tile.
Compare Glass and Tile on Your Key Criteria
Weigh up five factors specific to your kitchen: budget, cleaning preference, wall condition, required cut-outs, and desired finish. Glass panels cost more upfront (typically £80–£250 for a standard run) but have no grout lines to harbour grease. Ceramic or porcelain tiles cost less per square metre and are easier to replace individually if damaged, making them popular with landlords and rental properties. If you have multiple awkward cut-outs for sockets, pipes, or extractor brackets, tiles give you far more flexibility — each tile can be cut independently, whereas a glass panel requires factory-precise cut-outs ordered in advance. Check our Kitchen Guide for broader context on planning a kitchen upgrade.
Prepare the Wall Surface
Both glass and tile require a clean, flat, dry, and grease-free wall. Remove any existing tiles, wallpaper, or loose paint — neither adhesive nor panel adhesive will bond reliably to a contaminated surface. Fill any holes or hollows with filler and allow to cure fully. Sand flush and wipe down with a degreasing solution. If the wall is newly plastered, allow at least four weeks before tiling or bonding a glass panel; fresh plaster is too porous and still shrinking. Prime bare plaster before applying tile adhesive. Our Walls & Plastering Guide covers surface prep in full detail.
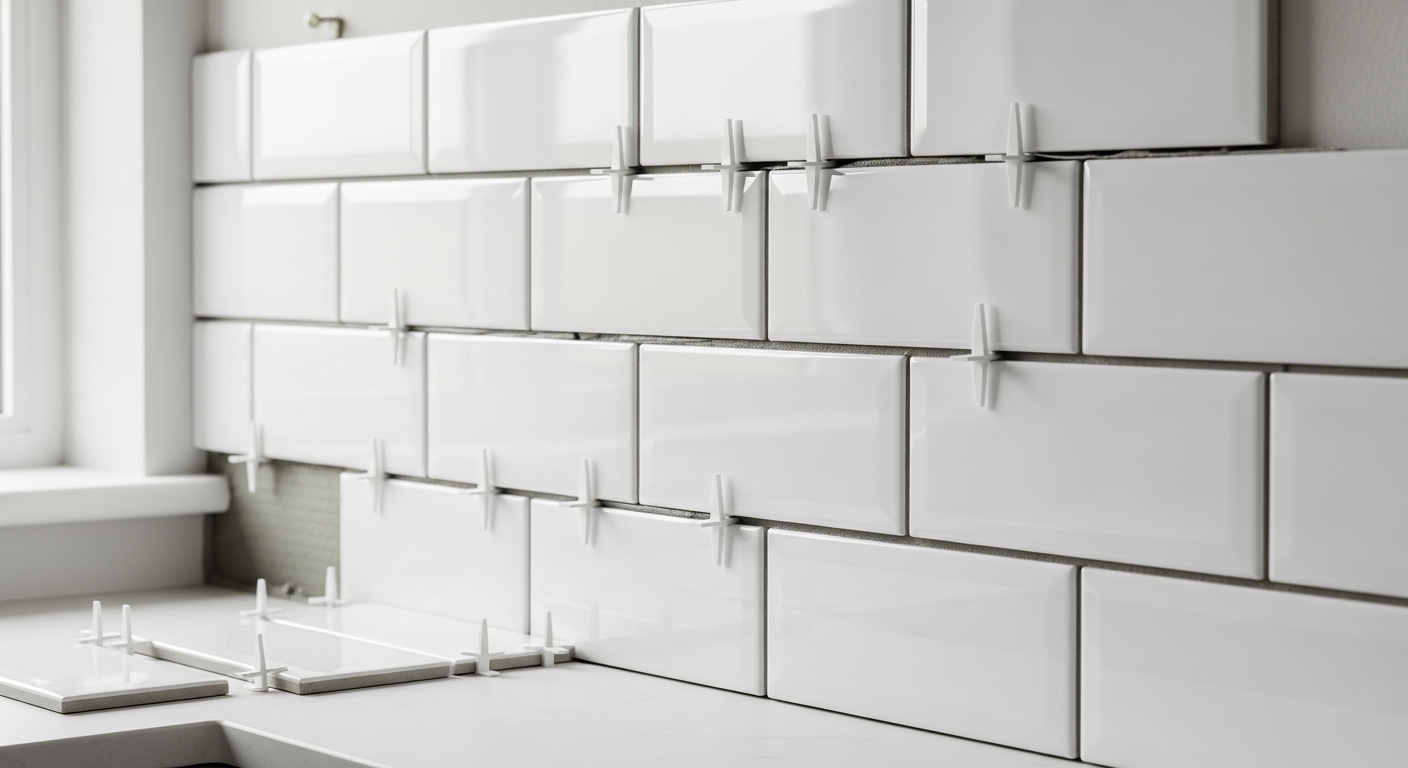
Plan Your Layout Before Fixing Anything
For tiles, establish a centre line and work outward so any cut tiles fall symmetrically at each end — never start from one corner, or you risk a thin sliver of tile on the visible side. Use tile spacers to maintain consistent joint width; 2mm is standard for a kitchen splashback. For glass, dry-fit the panel by holding it in position and checking it clears socket boxes and sits flush to the worktop, with a 2–3mm gap at the bottom to allow for silicone. Mark fixing positions on the wall lightly in pencil. If you are tiling, understanding how to regrout wall tiles now will also help you maintain them later.
Fix and Finish the Splashback
For tiles: apply tile adhesive to the wall in manageable sections using a notched spreader, press tiles firmly and twist slightly to bed them in, then leave to cure as per adhesive instructions before grouting. Remove spacers before grout goes off. Apply grout with a float, working diagonally across joints, then clean residue with a damp sponge. For glass panels: apply panel adhesive in a series of parallel beads to the back of the panel — not the wall — then press firmly into position and support with masking tape or temporary props while it cures (typically 24 hours). Once cured, run a bead of food-safe silicone along the bottom joint between glass and worktop and along any side joints. Resealing kitchen worktop joins uses the same silicone technique if you need a refresher.
Seal and Allow Full Cure Before Use
Whether you have chosen glass or tile, apply a continuous bead of silicone sealant along the worktop-to-splashback joint and smooth with a wet fingertip or silicone tool. This joint must never be grouted — grout is rigid and will crack as the worktop moves slightly with temperature and loading. Allow tile adhesive at least 24 hours before grouting, grout at least 24 hours before getting wet, and panel adhesive the full cure time stated by the manufacturer before removing any temporary supports. Do not use the hob directly below the splashback area until everything has fully cured.
Frequently Asked Questions
Is glass or tile easier to keep clean?
Glass is easier to wipe down because it has no grout lines to trap grease and food residue. A single pass with a damp cloth is usually sufficient. Tiled splashbacks need regular attention to the grout joints, particularly near the hob, where discolouration builds up quickly.
Can I fit a glass splashback myself or do I need a professional?
Most DIYers can fit a glass splashback successfully provided the wall is properly prepared and the panel has been ordered with accurate dimensions and factory-cut socket holes. The fixing process — panel adhesive plus silicone — is straightforward. The difficulty lies in precise measuring before you order, so take your time at that stage.
What thickness of glass should I use for a kitchen splashback?
A minimum of 6mm toughened glass is standard for kitchen splashbacks; 8mm is more rigid and better suited to larger panels or areas directly above a gas hob. Always specify toughened (tempered) glass — standard float glass is not safe in this application. Our install a kitchen splashback guide covers specification in detail.
What tiles work best for a kitchen splashback?
Porcelain and ceramic wall tiles are both suitable. Porcelain is denser, less absorbent, and more durable, making it the better choice near a hob. Avoid highly textured tiles directly behind cooking zones as the surface traps grease and is difficult to clean effectively.
How do I deal with electrical sockets in a splashback area?
For tiles, each tile can be cut around socket boxes individually using a tile cutter. For glass panels, socket cut-outs must be specified at the point of order and cut before the glass is toughened — you cannot alter a toughened panel on site. Always isolate the electrical circuit before working near sockets, and if you are moving socket positions consult a qualified electrician.
When ordering a back-painted glass panel, request the colour match as a RAL or BS code rather than a paint name — manufacturers match to colour standards, not brand names, and specifying a code eliminates the risk of the delivered panel being a noticeably different shade to your kitchen units. Also order 50mm longer than your measured width and have the supplier cut to finished size, rather than ordering to exact measurement, as wall-to-wall dimensions are rarely perfectly square.
Sources
- Which? — Kitchen splashbacks buying guide — which.co.uk
- HSE — Safety in the use of abrasive wheels (relevant to angle grinder use when cutting tiles) — hse.gov.uk
- GOV.UK — Part P electrical safety in the home — gov.uk
This guide is for general information only. Always work safely and follow manufacturer instructions. DIYnut accepts no liability for injury or damage arising from DIY work.