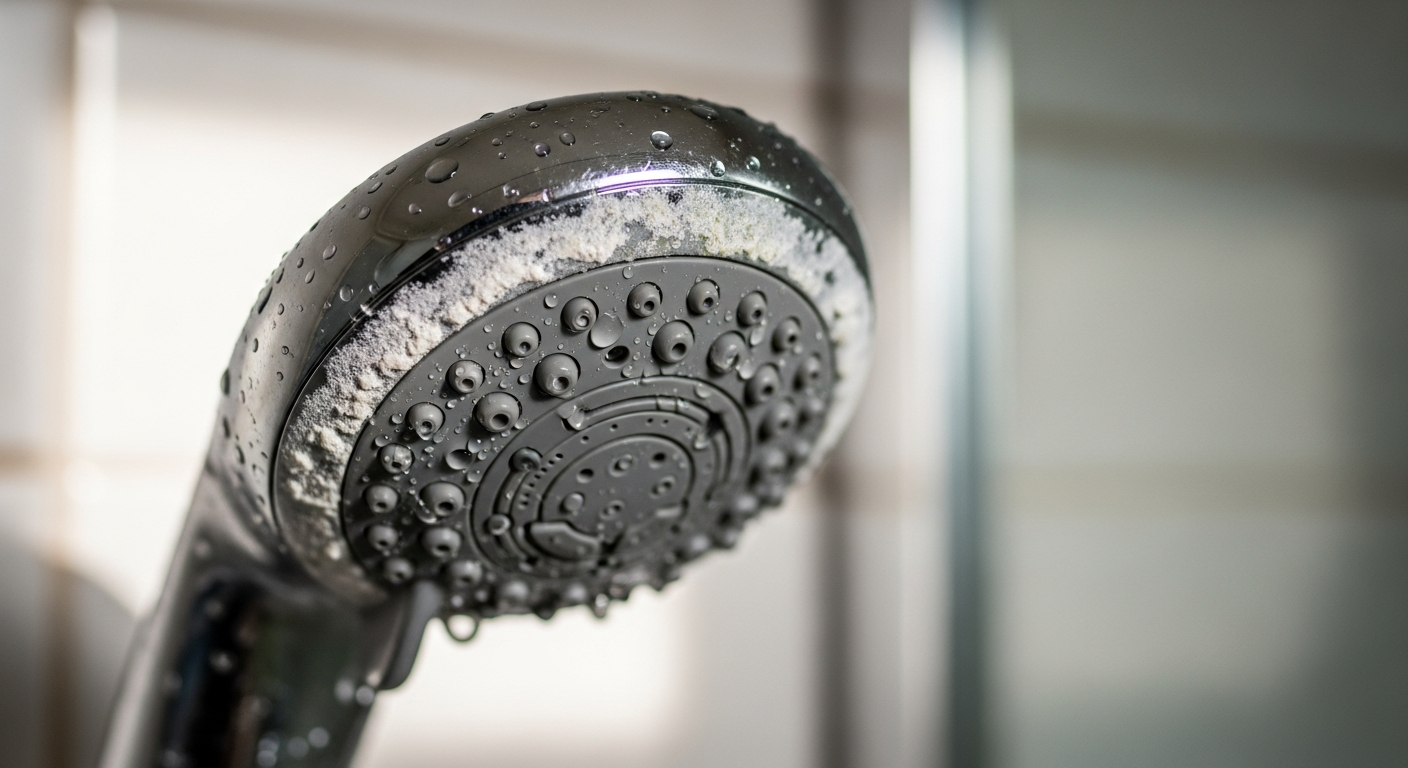
How to Fix a Dripping Shower – DIY Guide
Fix a dripping shower by identifying whether you have a cartridge, ceramic disc, or compression valve, then isolating the water supply, removing the handle, replacing the worn cartridge or washers, and reassembling. Most repairs take under two hours and cost £10–£40.

- Adjustable spanner
- Flathead screwdriver
- Phillips screwdriver
- Needle-nose pliers
- Utility knife
- Cloth or old towel
- Replacement shower cartridge (correct type for valve)
- Replacement rubber washers and O-rings
- Plumber’s grease
- PTFE tape
- Jubilee clip or screw-fit blanking cap (if isolating supply)
- Replacement shower valve (if cartridge is discontinued)
Step-by-Step Guide
Identify Your Shower Valve Type
Before you buy anything, work out what type of shower valve you have. Mixer showers typically use one of three valve types: a cartridge, ceramic disc, or compression (rubber washer) valve. Remove the handle cover — usually a push-off or screw-off cap — to see what’s inside. Cartridge valves have a cylindrical plastic or brass cartridge; ceramic disc valves have a flat ceramic plate assembly; compression valves have a rubber washer on a threaded stem. Knowing your type determines exactly what you replace, so don’t skip this step. If your shower is a power shower or electric unit, see the manufacturer’s instructions — the internals differ significantly. For related shower head issues, see our guide on how to fix a shower head.
Isolate the Water Supply
Turn off the water supply before you touch anything inside the valve. Most modern showers have dedicated isolator valves on the hot and cold supply pipes beneath the shower unit or in an adjacent airing cupboard — turn both quarter-turn valves so the slot is perpendicular to the pipe. If there are no isolators, turn off at the main stopcock. Turn the shower on briefly to release residual pressure and confirm the water is off — no water should flow. If residual pressure takes more than 30 seconds to drop, you may have a pressurised system; allow it to fully depressurise before proceeding. Place an old towel in the tray to catch drips.
Remove the Handle and Access the Valve
With the water off, remove the shower handle. Most handles have a decorative cap covering a central screw — pop the cap off with a flathead screwdriver and undo the screw beneath. Pull the handle straight off the spindle. Some handles are friction-fit; a gentle rocking motion frees them without forcing. Next, remove any decorative fascia plate or shroud — these are often held by two screws or simply clipped on. Once removed, the valve body is exposed. Take a photo on your phone at this stage so you have a reference for reassembly. Note: if your shower valve is surface-mounted, all parts are accessible here; if it is concealed, the valve body sits behind the wall and you access it through the front trim only.
Replace the Worn Cartridge, Disc, or Washer
This is the core of the repair. For a cartridge valve: use needle-nose pliers or an adjustable spanner to unscrew the retaining nut, then pull the cartridge straight out — note the orientation before removing it. Take the old cartridge to a plumbing merchant or use the model number to order an exact replacement. Slide the new cartridge in, matching the orientation precisely. For a ceramic disc valve: unscrew the cartridge assembly and inspect the ceramic discs for cracks or grit — replace the entire cartridge unit rather than the discs individually. For a compression valve: unscrew the headgear with an adjustable spanner, pull out the spindle, and prise off the old rubber washer at the base with a flathead screwdriver. Fit a new washer of the same size, apply a thin smear of plumber’s grease, and reassemble. Apply PTFE tape to any threaded connections before refitting. This is the same principle as fixing a monobloc tap — worn seals are the root cause in both cases.
Reassemble the Valve and Restore the Water Supply
Reassemble in reverse order using your reference photo. Tighten all connections firmly but do not overtighten — ceramic components and plastic cartridges crack under excessive force. Refit the fascia shroud, then the handle, and secure the central screw. Slowly reopen the isolator valves (or main stopcock) — turn them gradually to avoid water hammer. Run the shower for 30 seconds and check the valve for leaks around the handle spindle and at the supply connections. If you spot a weep around the spindle, the O-ring on the cartridge stem may need replacing — isolate again, remove the cartridge, and swap the O-ring. If a supply joint is weeping, re-apply PTFE tape. A persistent drip after reassembly usually means the replacement cartridge is the wrong specification — cross-reference the model number with the valve manufacturer. If your supply pipes have been weeping at joints, our guide to replacing a shower head covers isolating and rejoining supply lines in detail.
Test Thoroughly and Check for Hidden Drips
Run the shower at full temperature and full pressure for at least two minutes. Check behind the fascia plate — use a torch to look for any moisture tracking down the wall or pooling at the base of the valve. A drip from behind a wall-mounted valve that does not resolve after cartridge replacement may indicate a failed back-plate seal or a cracked valve body; at that point the valve body itself needs replacing. If your shower tray is also showing signs of water ingress around the edges, see our guide on how to reseal a shower tray before moisture causes structural damage.
Frequently Asked Questions
Why is my shower still dripping after I replaced the cartridge?
The most common cause is an incorrect replacement cartridge — even a small size difference prevents a proper seal. It can also be a worn O-ring on the spindle or a damaged valve seat inside the valve body; if the seat is pitted or corroded, no cartridge will seal against it and the valve body needs replacing.
Can I fix a dripping shower myself, or do I need a plumber?
Most shower valve repairs — cartridge replacement, washer replacement, and O-ring swaps — are straightforward DIY tasks requiring only basic hand tools. You do not need a licensed plumber for valve maintenance; however, if the repair involves extending or modifying supply pipework, it is worth consulting a plumbing guide or a WaterSafe-registered plumber.
How do I know whether I have a cartridge or ceramic disc valve?
Remove the handle and fascia — a cartridge valve has a cylindrical plastic or brass insert that pulls straight out; a ceramic disc valve has a flat, circular disc assembly. Ceramic disc valves are common in modern thermostatic and sequential mixer showers. If in doubt, photograph the internals and take the image to a plumbing merchant.
Is a dripping shower wasting much water?
Yes — a shower dripping at just 10 drops per minute wastes approximately 3 litres a day, according to the Energy Saving Trust. Over a year that is over 1,000 litres of water, adding unnecessarily to your water bill if you are on a meter.
What if my shower valve is a thermostatic model — is the repair different?
Thermostatic shower valves have an additional thermostatic cartridge alongside the flow cartridge — both may need replacing if the shower drips continuously regardless of handle position. The process is the same, but source replacement cartridges directly from the valve manufacturer to ensure the thermostatic element is correctly rated. If low pressure is also a symptom, check our guide on fixing a tap that won’t turn off for related valve diagnostics.
Before fitting the new cartridge, run your finger around the inside of the valve seat — if you feel any roughness or pitting, the seat is damaged and will cause the new cartridge to fail within months. A seat dressing tool can resurface mild damage, but a heavily pitted seat means the valve body needs replacing regardless of how good the cartridge is.
Sources
- WaterSafe — Find a WaterSafe approved plumber — watersafe.org.uk
- Energy Saving Trust — Saving water at home — energysavingtrust.org.uk
- HSE — Health and Safety in Plumbing Work — hse.gov.uk
Safety Notice: Electrical and plumbing work can be dangerous if done incorrectly. In the UK, certain electrical work must comply with Part P of the Building Regulations and certain plumbing work with Part G. If in doubt, consult a qualified electrician (NICEIC/NAPIT registered) or plumber (CIPHE/WaterSafe registered). This guide is for general information only — it is not a substitute for professional advice.


