How to Fix a Wobbly Toilet – DIY Guide
Fix a wobbly toilet by tightening the floor fixing bolts beneath the pan. If the floor is uneven, use plastic shims to stabilise the base before tightening. Most wobbly toilets are fixed in under an hour with basic hand tools and cost less than £15.

Turn off the water supply and prepare the area
Locate the isolation valve on the supply pipe feeding the cistern — it is usually a slotted valve on the pipework behind or beneath the toilet. Turn it a quarter-turn clockwise to close it. Flush the toilet to empty the cistern, then place a bucket and sponge nearby to catch any residual water in the pan trap. Lay an old towel around the base to protect the floor and give yourself a clean working surface. You do not need to disconnect the water supply fully unless you are replacing the pan entirely.
Tighten or replace the floor fixing bolts
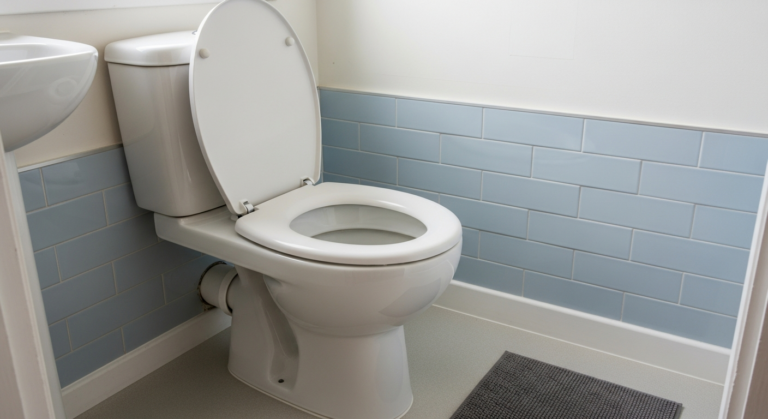
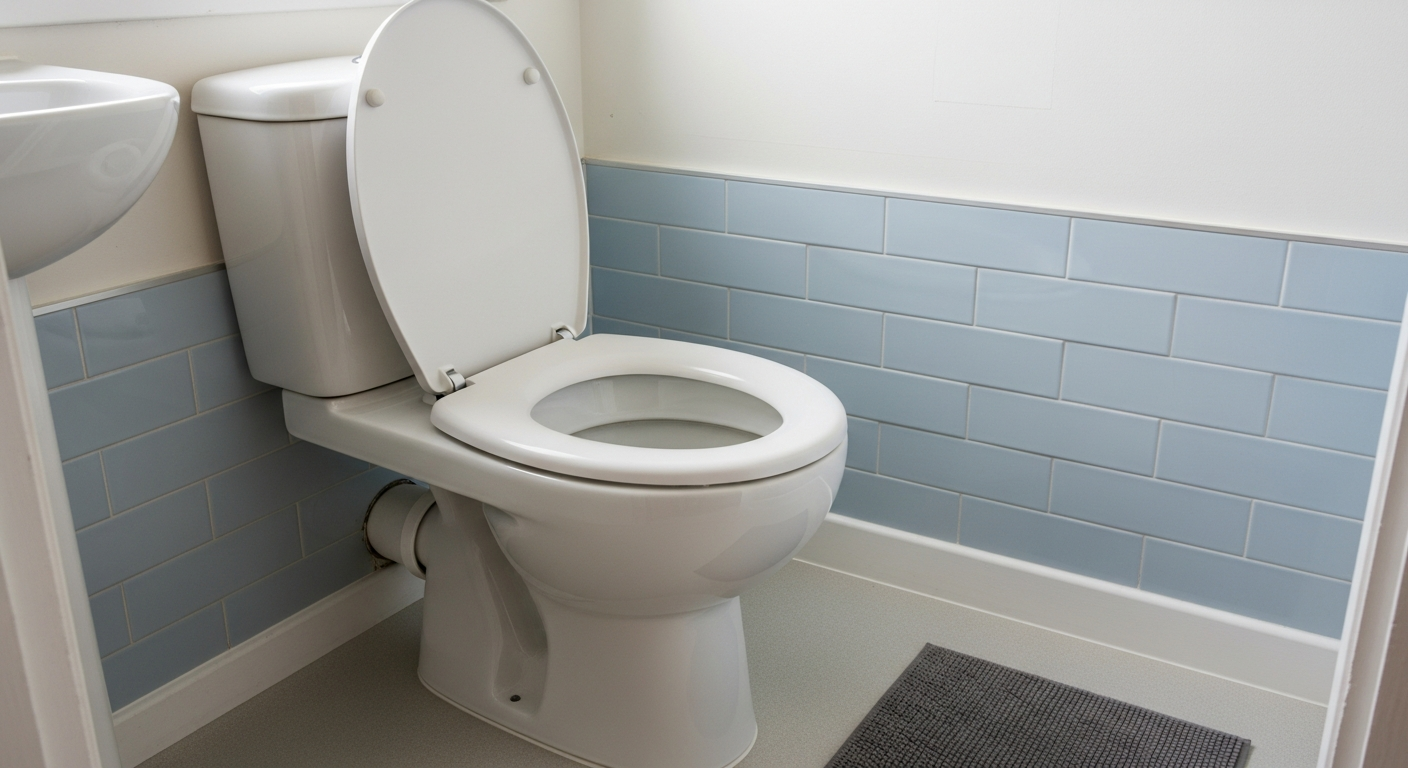
Prise off the decorative plastic caps at either side of the toilet base using a flat-head screwdriver. Beneath you will find the fixing nuts — use an adjustable spanner to tighten these in small increments, alternating between both sides to keep the load even. Tighten until firm, but stop well before you feel resistance building sharply — over-tightening on a ceramic pan will crack the base. If a bolt spins freely or the thread is stripped, the bolt must be replaced. This involves unscrewing the old bolt, fitting a new stainless steel or brass toilet fixing bolt through the existing floor flange, and tightening the nut from above. If there is no floor flange and the toilet was fixed directly to timber, use an appropriate screw fixing through the base holes instead.
Shim the base if the floor is uneven
If tightening the bolts does not stop the rock, the floor beneath is uneven — common in older properties with quarry tiles or slightly bowed floorboards. Place a spirit level across the toilet base and identify which corner or side is proud. Slide plastic toilet shims (available from any plumber’s merchant) under the raised points until the pan sits level and stable. Test by pressing the pan firmly — there should be no movement at all. Once positioned, score around each shim with a utility knife and snap off any excess that protrudes beyond the base of the pan. This keeps the fix tidy and prevents the shims shifting over time.
Reseal the base with silicone
Once the toilet is solid and level, run a neat bead of sanitary-grade silicone sealant around the entire perimeter of the pan base where it meets the floor. Do not seal the rear of the pan fully — leave a small gap at the back so that any future leak from the soil pipe or floor seal can escape outward and be spotted, rather than pooling undetected beneath the pan. Smooth the silicone with a wetted finger and allow it to cure fully before use — typically 24 hours. This seal prevents movement, stops water ingress beneath the base, and keeps the floor clean. For advice on sealant work elsewhere in the bathroom, see our guide on how to reseal a shower tray.
Restore the water supply and test
Open the isolation valve by turning it back a quarter-turn anti-clockwise. Allow the cistern to refill fully, then flush twice and watch the base carefully for any sign of movement or weeping water. Press down firmly on both sides of the pan — if it is completely rigid and no moisture appears around the seal, the job is done. Refit the plastic bolt caps by pressing them firmly over the nuts until they click into place. If you notice the toilet seat also moves independently of the pan, that is a separate issue — the seat hinges may need tightening or replacing, which is a straightforward task covered in our guide to replacing a toilet seat .
Frequently Asked Questions
Is a wobbly toilet dangerous?
It is not immediately dangerous to use, but it should be fixed promptly. Repeated movement will break the seal between the pan and the waste pipe, which can allow foul water to leak beneath the floor — a health hazard and a source of serious structural damage over time.
Can I fix a wobbly toilet without turning off the water?
For minor bolt tightening where you are not disconnecting any pipework, you can technically leave the water on. However, turning off the supply via the isolation valve is always the safer approach and takes seconds — it protects against accidental leaks while you work.
Do I need a plumber to fix a wobbly toilet?
In most cases, no. Tightening fixing bolts and shimming the base are straightforward DIY tasks requiring only basic hand tools. You would only need a qualified plumber if the soil pipe connection is damaged or if the toilet needs to be fully lifted and re-set. For guidance on related plumbing tasks, our complete plumbing guide covers when to call a professional.
Why does my toilet wobble even though the bolts are tight?
If the bolts are firm but the pan still rocks, the floor beneath is almost certainly uneven. Plastic toilet shims placed under the low points of the base will resolve this. Check also that the bolts are gripping a solid floor flange — if the flange is cracked or corroded, it will need replacing before the toilet will sit stably.
How do I know if the toilet seal has already been damaged by the wobble?
Look for staining, soft flooring, or a faint sewage smell around the base of the toilet. If the floor covering feels spongy or has discoloured, the seal has likely failed and may have been leaking for some time. You may also notice the toilet flush behaves differently — if so, check our guide to fixing a toilet flush handle alongside this repair.
When refitting a toilet that has been fully lifted, always replace the soil pipe seal even if it looks intact — the old seal compresses to the shape of the pan over time and will not reseal reliably when repositioned. A replacement foam or rubber donut seal costs under £5 and eliminates any risk of a foul-water leak at the outlet.
Sources
- HSE — Sanitation, toilet facilities and welfare — hse.gov.uk
- WaterSafe — Find a plumber and advice on plumbing work — watersafe.org.uk
- Which? — Plumbing problems you can fix yourself — which.co.uk
Safety Notice: Electrical and plumbing work can be dangerous if done incorrectly. In the UK, certain electrical work must comply with Part P of the Building Regulations and certain plumbing work with Part G. If in doubt, consult a qualified electrician (NICEIC/NAPIT registered) or plumber (CIPHE/WaterSafe registered). This guide is for general information only — it is not a substitute for professional advice.