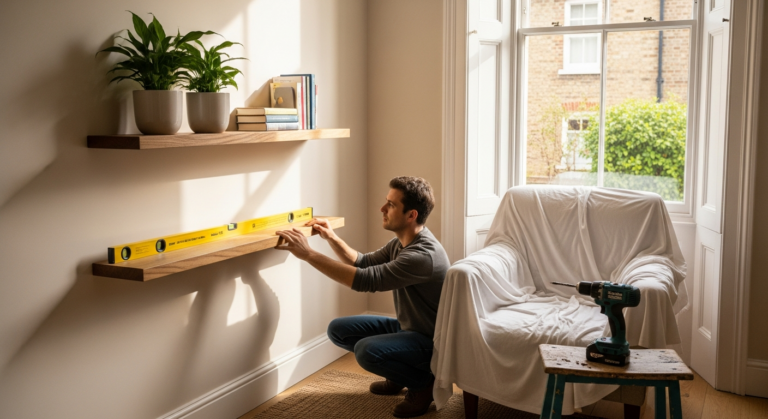
How to Remove Skirting Boards Without Damage – DIY Guide
How to Remove Skirting Boards Without Damage
Strip skirting cleanly, protect your walls, and keep the boards reusable.
To remove skirting boards without damage, score the top edge with a utility knife, insert a bolster chisel behind the board, and lever it away gently using a timber offcut to protect the wall. Work in sections along the length and pull nails cleanly once the board is free.


- Utility knife
- Bolster chisel
- Claw hammer
- Flat pry bar
- Timber offcut
- Nail punch
- Pencil
- Safety glasses
- Decorator’s caulk
- Fine surface filler
- Sandpaper (120 grit)
- Painter’s masking tape
- Wood filler
- Dust sheet
Step-by-Step Guide
Score Along the Top Edge of the Skirting
Run a sharp utility knife along the entire top edge of the skirting board where it meets the plaster, cutting cleanly through any caulk or paint seal. This single step is the most important — skipping it causes the surface plaster to tear away with the board, leaving you with ugly chunks missing from the wall. Take your time and make at least two passes for older boards with thick paint build-up.
Insert a Bolster Chisel Behind the Board
Starting at one end near a corner, tap a bolster chisel gently behind the skirting with a hammer to create an initial gap. Once you have a few millimetres of clearance, switch to a flat pry bar for better leverage. Always place a timber offcut flat against the wall between the pry bar and the plaster — this spreads the load and prevents the bar from punching straight through. If you’re working near a door, check out our guide on timber and joinery techniques for handling tight junctions cleanly.
Lever the Board Away in Sections
Work progressively along the board rather than forcing the whole length free at once — boards fixed with cut nails or screws will split if you rush. Move the bolster chisel every 200–300 mm along the board, increasing the gap gradually until the board pulls away from the wall uniformly. On older properties, the skirting may be fixed directly to timber grounds (horizontal battens) in the wall, so listen for creaking and adjust your lever point above each fixing.
Pull Remaining Nails and Fixings
Once the board is off the wall, any nails that have pulled through the timber will still be embedded in the plaster. Use a claw hammer or pincers to pull these out cleanly, gripping as low as possible to avoid crumbling the surface. If you plan to refit the same boards — for example, when filling gaps in skirting boards after reinstallation — number each board with a pencil on the back so they go back in the same position.
Prepare the Wall Surface
With the skirting removed, fill any holes left by fixings with fine surface filler and sand flush once dry. If the plaster is sound but the surface is uneven, apply a skim of ready-mixed filler and feather the edges. This is also the ideal moment to address any flooring work underneath — if you’re planning to fix lifting laminate edges or lay new flooring, do it before the skirting goes back on.
Store or Dispose of Boards Safely
Stack removed boards flat on dust sheets to prevent warping — leaning them against a wall causes them to bow within hours. If you’re reusing the boards, label them in order and remove any remaining caulk from the faces using a scraper before storage. Old boards with lead paint (common pre-1970s) should be handled with care; HSE guidance on lead paint recommends wet-sanding and appropriate PPE if you’re unsure of the paint age.
Frequently Asked Questions
Can I reuse skirting boards after removing them?
Yes, provided you remove them carefully and they’re in good condition. Number each board on the back before removal so you can refit them in the same positions, and store them flat to prevent warping.
How do I know if my skirting is nailed or screwed?
Older skirting is almost always fixed with cut nails or oval wire nails. Screwed boards are more common in modern properties — if you spot filler plugs along the face of the board, there are likely screws underneath that need removing before you lever.
Will removing skirting boards damage my floor?
What do I do if the plaster comes away with the skirting?
Stop levering and re-score more firmly along the joint. If plaster has already lifted, fill the damage with bonding coat or fine surface filler once all boards are removed, allow it to dry fully, then sand flush before repainting or refitting.
How long does it take to remove skirting boards in an average room?
An average room with four walls typically takes one to two hours including prep, removal, and initial wall tidying. Rooms with multiple doorways or complex corners take longer, and older properties with lime plaster require extra care that adds time. Once the boards are off, consider whether you need to fill gaps in your skirting boards before refitting.
On Victorian and Edwardian properties, skirting is often fixed to timber grounds built into the wall rather than directly to plaster — locate each ground by probing behind the board before you lever, then position your bolster chisel directly over each fixing point. This prevents you from splitting the board between fixings where there is no backing to resist the force.
Sources
- HSE — Lead Paint: Advice for the Public — hse.gov.uk
- Which? — How to remove skirting boards — which.co.uk
- GOV.UK — Control of Lead at Work Regulations 2002 — hse.gov.uk
This guide is for general information only. Always work safely and follow manufacturer instructions. DIYnut accepts no liability for injury or damage arising from DIY work.