How to Lay a Concrete Path – DIY Guide
Driveways & External › Concrete
How to Lay a Concrete Path
Lay a durable concrete path that lasts decades with the right prep and mix.
Lay a concrete path by marking out and excavating 150mm deep, compacting a hardcore sub-base, setting timber formwork, mixing and pouring a 1:2:3 concrete mix, and finishing with a float. Allow 24–48 hours before walking on it and 28 days for full cure.


- Spade
- Wheelbarrow
- Tamping beam
- Float
- Spirit level
- Mixing board or concrete mixer
- Tape measure
- Wooden mallet
- Hardcore sub-base material
- Sharp sand
- Cement
- 20mm aggregate
- Sawn timber planks (formwork)
- Timber pegs
- Releasing agent or polythene sheet
- Water
Step-by-Step Guide
Mark Out and Excavate the Path
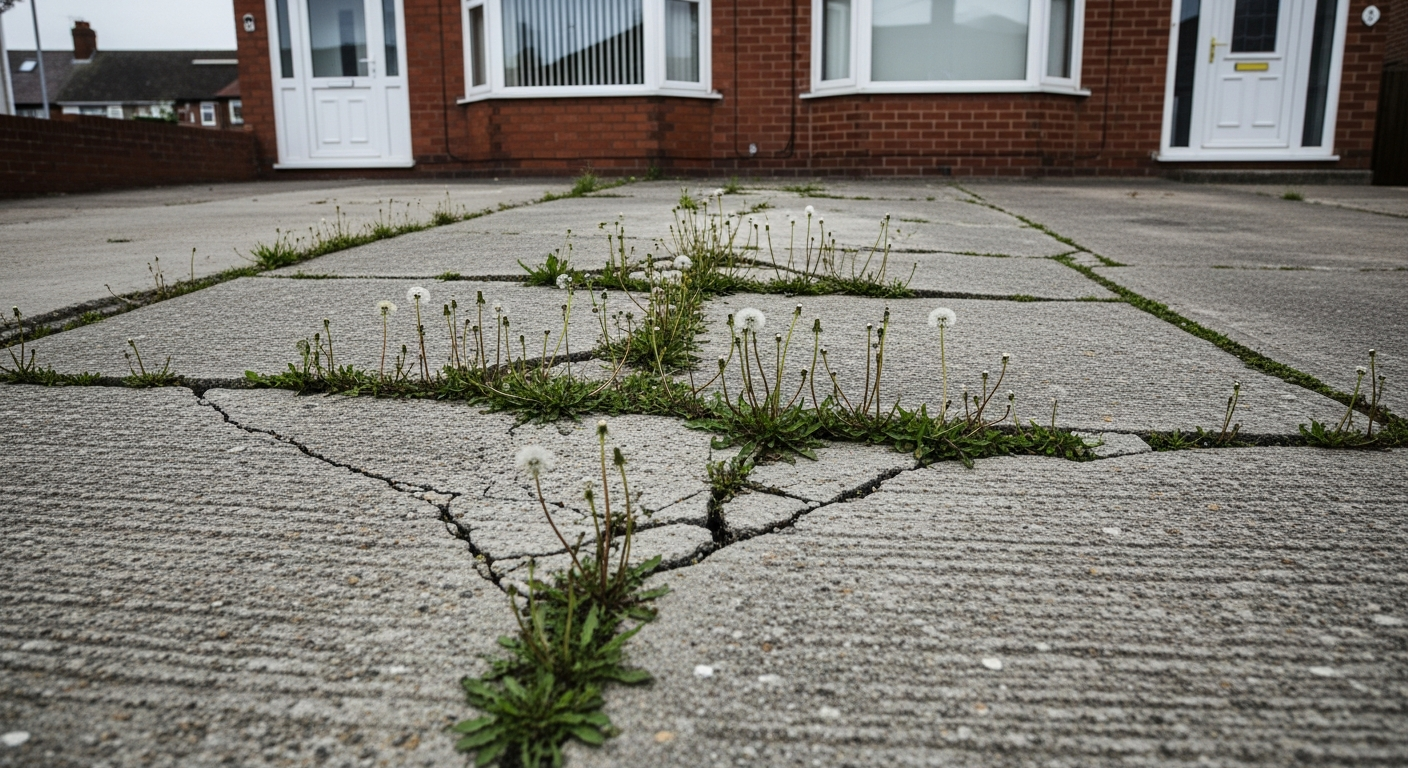
Use pegs and string line to mark the full length and width of the path. Excavate to a depth of 150mm — 100mm for the hardcore sub-base and 75–100mm for the concrete slab on top. A path that takes regular foot traffic needs this depth to prevent cracking. Dispose of excavated soil responsibly, and check for any buried services before you dig using a cable and pipe detector.
Compact the Hardcore Sub-Base
Pour hardcore to a depth of 100mm and compact it thoroughly using a plate compactor or hand tamper. A poorly compacted sub-base is the single biggest cause of concrete paths sinking and cracking over time. Check the surface is level in both directions with a spirit level, and ensure you have a slight crossfall of around 1:60 away from any buildings to allow rainwater to drain clear. If you’re planning other paths nearby, our guide to laying a gravel path covers drainage principles that apply here too.
Set and Secure Timber Formwork
Cut sawn timber planks to length and fix them along both sides of the path using timber pegs driven firmly into the ground every 600mm. Set the top edge of the formwork to your finished concrete level — use a spirit level and string line to get this accurate. The formwork must be rigid; if it flexes when you press it, add more pegs. Apply a thin coat of releasing agent or line the inside face with polythene so the timber strips away cleanly once the concrete sets.
Mix and Pour the Concrete
Use a 1:2:3 mix — one part cement, two parts sharp sand, three parts 20mm aggregate — adding water gradually until the mix is workable but not sloppy. For a path longer than 3 metres, a hired concrete mixer will save significant effort and produce a more consistent mix. Pour the concrete into the formwork in sections and rake it level, slightly above the top of the formwork. If cracking is a concern on a longer path, our guide on repairing concrete explains how movement joints prevent this from the outset.
Tamp and Finish the Surface
Draw a tamping beam across the formwork using a sawing motion to consolidate the concrete and bring the surface level with the top of the boards. Work in one direction along the path. Once tamped, finish the surface with a wooden float for a slightly textured, slip-resistant finish — do not over-trowel to a smooth finish as this becomes dangerously slippery when wet outdoors. For a brushed finish, drag a stiff-bristled broom lightly across the surface before it stiffens. If your path connects to an existing patio, see how to fix sunken patio slabs before joining the surfaces.
Cure the Concrete and Remove Formwork
Cover the finished path with polythene sheeting and leave it undisturbed for at least 24–48 hours before allowing foot traffic. In cold or hot weather, curing is critical — in temperatures below 5°C concrete will not cure correctly and may fail entirely. Leave the formwork in place for at least 24 hours, then tap the pegs free and strip the boards away carefully. Full structural strength takes 28 days, so avoid heavy loads until then. Once fully cured, consider edging the path with stepping stones or planted borders to finish the look.
Frequently Asked Questions
How thick should a concrete path be?
For a standard garden path with foot traffic only, pour concrete to 75–100mm thick over a 100mm compacted hardcore sub-base. If the path will take occasional vehicle overrun, increase the slab thickness to 150mm and use reinforcing mesh within the concrete.
What concrete mix ratio should I use for a garden path?
A 1:2:3 mix — one part cement, two parts sharp sand, three parts 20mm aggregate — is the standard mix for garden paths and gives the right balance of workability and strength. Avoid using building sand in place of sharp sand as it produces a weaker mix.
Do I need planning permission to lay a concrete path?
In most cases, no — laying a concrete path in your garden does not require planning permission. However, if the path forms part of a front garden and could affect surface water runoff, you should check with your local planning authority, as permitted development rules on hard surfaces apply. See our Driveways & External guide for more detail on drainage requirements.
How long before I can walk on a freshly laid concrete path?
Wait at least 24–48 hours before allowing foot traffic on a newly laid concrete path. Full curing to maximum strength takes 28 days, so avoid placing heavy loads or equipment on the surface during this period.
Can I lay a concrete path in winter?
Avoid pouring concrete when air or ground temperatures are at or below 5°C — the hydration process slows dramatically and can stop altogether, resulting in a weak slab that may crumble or fail. If you must work in cooler conditions, use insulating covers and check the HSE cold-weather working guidance.
When tamping, slightly overfill the formwork by 3–5mm before you strike off — concrete compresses more than you expect during tamping, and a path that ends up below the formwork level will collect puddles. Always tamp in two passes: one to consolidate, one to level.
Sources
- HSE — Safe Use of Cement and Concrete — hse.gov.uk
- Which? — How to lay a concrete path — which.co.uk
- gov.uk — Planning permission: hard standings and paving — gov.uk
This guide is for general information only. Always work safely and follow manufacturer instructions. DIYnut accepts no liability for injury or damage arising from DIY work.


