Winter Interior Decorating Guide
Painting & Decorating › Painting & Decorating
Winter Interior Decorating Guide
Make the most of indoor time with smart, season-appropriate decorating projects.
Winter is the ideal season for interior decorating. Lower humidity indoors and central heating create stable drying conditions for paint and filler. Focus on walls, woodwork, ceilings, and crack repairs — tasks that are difficult to do in damp or cold unheated spaces.

Why This Season Matters
Winter keeps you indoors, and that makes it the perfect window for interior decorating work. Centrally heated rooms maintain consistent temperatures — typically 15–20°C — which supports proper paint adhesion and filler curing. You’re not competing with outdoor chores, and rooms that see heavy use over Christmas often show up scuffs, cracks, and tired paintwork that are overdue for attention.
One caveat: ventilation is still essential even in cold weather. Paint fumes build up quickly in sealed rooms, so crack a window and use a fan to keep air moving. Avoid decorating in rooms where the temperature drops below 10°C, as most water-based paints will not cure correctly below this threshold.
Your Complete Checklist
- Fill hairline cracks and settlement cracks — see Fix Hairline Cracks in Walls
- Repair blown or damaged plaster before painting — see Repair Blown Plaster
- Fill and redecorate gaps around skirting boards — see Fill Gaps in Skirting Boards
- Sand, prime, and paint skirting boards — see Paint Skirting Boards
- Repaint ceilings and address any peeling — see Fix Peeling Ceiling Paint
- Repaint or freshen up interior walls — see How to Paint a Room
- Add a feature wall for a winter refresh — see How to Paint a Feature Wall
- Hang lining paper to smooth tired walls before painting — see Hang Lining Paper
- Fix sticking internal doors caused by seasonal swelling — see Plane a Sticking Door
- Build alcove shelving to maximise living space — see Build Alcove Shelves
- Patch holes in plasterboard from picture hooks or fixings — see Patch a Hole in Plasterboard
- Fix squeaky stairs during quieter indoor months — see Fix a Squeaky Staircase
Step-by-Step for Each Task
Filling cracks in walls and ceilings: Rake out loose material from the crack with a scraper or old screwdriver. Dampen the area lightly with a wet brush — this prevents the filler drying too fast and shrinking. Press ready-mixed filler firmly into the crack, overfilling slightly. Once dry, sand flush with 120-grit paper, then 180-grit for a smooth finish. Apply a mist coat of diluted emulsion before full painting if the filler is very porous. For larger or recurring cracks, read Fill Large Cracks in Plaster before proceeding.
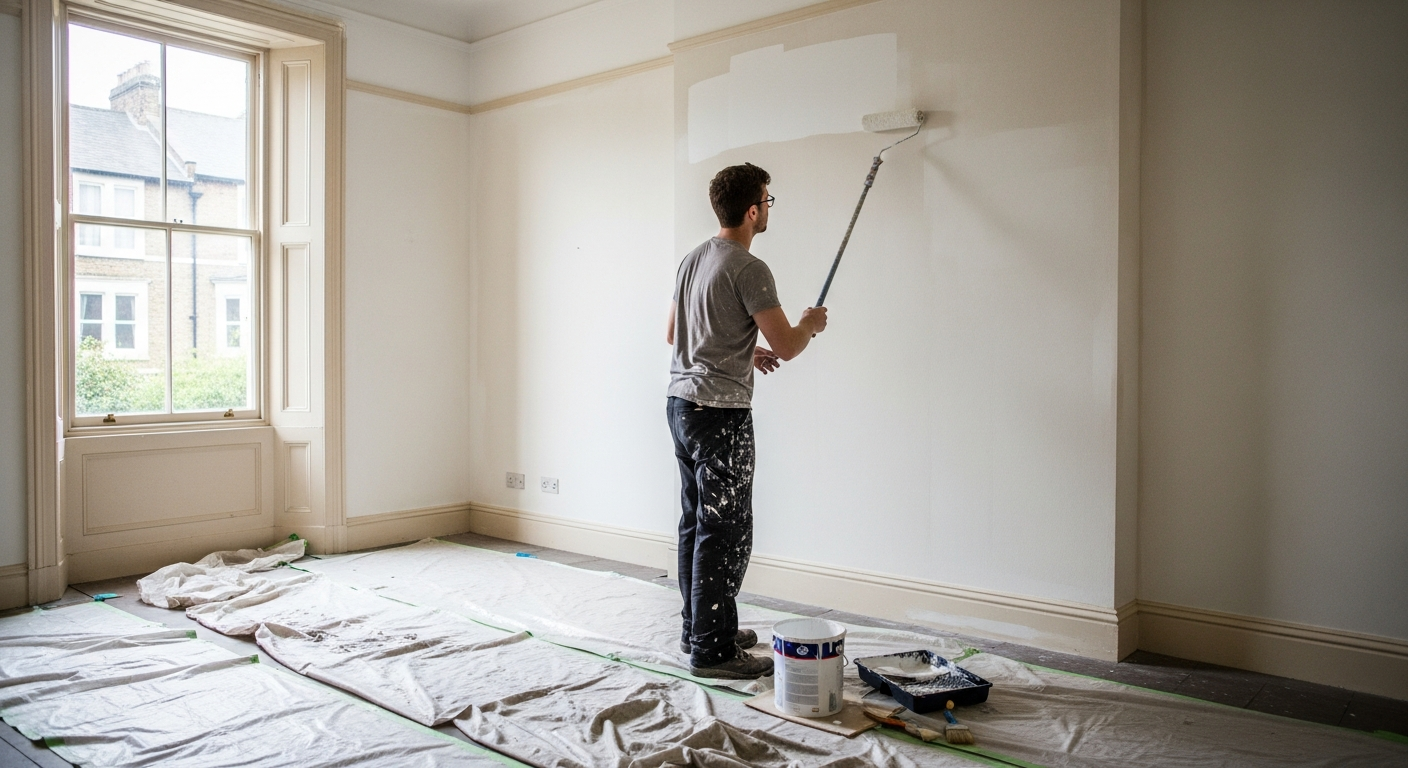
Painting interior walls: Prepare the surface by filling, sanding, and wiping down with a damp cloth to remove dust. Apply a mist coat (emulsion diluted 10% with water) to freshly plastered or porous walls before top coats. Use a brush to cut in around edges and corners first, then fill the main area with a roller. Work in sections from top to bottom. Two full coats of emulsion will usually give an even, washable finish — allow each coat to dry fully before applying the next.
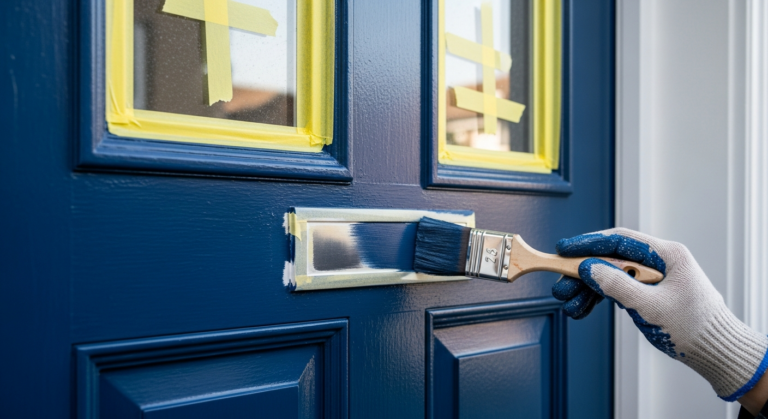
Painting skirting boards and woodwork: Lightly sand existing gloss or satinwood with 120-grit paper to give the new paint a key. Wipe clean, then apply a thin coat of appropriate primer or undercoat. Once dry, apply your topcoat — satinwood or gloss — using a good-quality 50mm brush. Work along the grain and avoid overloading the brush, which causes runs. Mask the floor edge with low-tack tape for a clean line, but remove it while the paint is still slightly tacky to avoid peeling the edge.
Planing a sticking door: Identify exactly where the door is binding by running a piece of card around the frame while the door is closed. Mark the high spots with a pencil. Remove the door from its hinges and plane only the marked areas in short, even strokes, working with the grain. Remove the minimum amount of timber — wood often shrinks back in spring. Rehang, test the swing, and repaint the planed edges promptly to prevent moisture ingress that will cause swelling to return.
Tools and Materials You’ll Need
- Flexible filling knife (100mm and 50mm)
- Ready-mixed interior filler and fine surface filler
- Sandpaper assortment (80, 120, 180, 240 grit)
- Sanding block or pole sander
- 9-inch roller frame with extension pole
- Medium-pile roller sleeves (for emulsion)
- 50mm and 25mm cutting-in brushes
- Paint kettle and roller tray
- Interior matt or silk emulsion paint
- Satinwood or gloss paint for woodwork
- Wood primer and multi-surface undercoat
- Low-tack masking tape
- Dust sheets (fabric preferred over plastic)
- Sugar soap or degreaser for surface prep
- Caulk gun and decorator’s caulk (for skirting gaps)
- Hand plane or power planer (for sticking doors)
- Torch or work light (for identifying surface defects)
Common Mistakes to Avoid
- Painting over condensation or damp walls. Winter brings condensation on cold walls, especially in bathrooms and kitchens. Paint applied over moisture will peel within weeks. Let surfaces dry fully, treat any underlying damp, and use appropriate paint for moisture-prone rooms.
- Skipping surface preparation. Filling and sanding takes longer than painting, but it determines the final result. Painting over cracks, holes, or flaking old paint simply seals in the problem. Clean, sand, and prime before any topcoat goes on.
- Using the wrong paint finish in high-traffic areas. Matt paint marks easily and is hard to wipe down. In hallways, kitchens, and children’s rooms, use a washable silk or eggshell finish on walls. See the Best Paint Finish for Walls guide for help choosing.
- Painting in a room that is too cold. Water-based paints require a minimum of 10°C to cure properly. Painting in an unheated spare room or garage in winter will result in a soft, chalky finish that peels. Heat the room for at least two hours before and during painting.
- Not allowing enough drying time between coats. In winter, lower ventilation means paint takes longer to dry than the tin suggests. Touching a coat too early — even if it feels dry — risks lifting the previous layer. Add at least 30 minutes to recommended recoat times.
Frequently Asked Questions
Can you paint interior walls in winter?
Yes — as long as the room is heated to at least 10°C and adequately ventilated. Water-based paints won’t cure properly in cold conditions, but a centrally heated room is typically ideal for interior painting throughout winter.
Why do cracks appear in walls during winter?
Most winter cracks are caused by thermal movement — materials expand and contract as temperatures fluctuate between heated interiors and cold exteriors. Settlement cracks around door frames and ceilings are common and usually cosmetic rather than structural.
How do I stop condensation affecting freshly painted walls?
Improve ventilation by using extractor fans, opening windows briefly each day, and keeping room temperatures consistent. Anti-condensation or moisture-resistant paint can help in kitchens and bathrooms, but it won’t fix an underlying ventilation problem.
Is satinwood or gloss better for skirting boards in winter?
Satinwood is generally easier to apply and gives a lower sheen that hides surface imperfections better than high gloss. Both are durable for woodwork, but satinwood is more forgiving for DIY application. See the gloss vs satinwood guide for a full comparison.
How long does interior paint take to dry in winter?
Most water-based emulsions are touch-dry in 1–2 hours but need at least 4 hours before recoating in warm conditions. In winter with reduced ventilation, allow 4–6 hours minimum between coats to ensure proper curing and adhesion.
Before painting any wall in winter, run a torch beam at a shallow angle across the surface — this raking light reveals lumps, hollows, and hairline cracks that flat overhead lighting completely misses, saving you from a patchy finish. Addressing these before painting is far quicker than sanding back a completed room.
Sources
- HSE — Paint and decorating: health and safety guidance — hse.gov.uk
- Which? — How to paint a room — which.co.uk
- NHS — Ventilation and indoor air quality in homes — nhs.uk
This guide is for general information only. Always work safely and follow manufacturer instructions. DIYnut accepts no liability for injury or damage arising from DIY work.