Winter Driveway Maintenance
Driveways & External › Driveways & External
Winter Driveway Maintenance
Protect your driveway from frost, ice and water damage before it costs you.
Winter driveway maintenance means inspecting for cracks, clearing debris from drains, applying grit or salt carefully, and sealing minor damage before frost forces it wider. Address issues in late autumn and check again after any hard freeze to stay ahead of expensive repairs.

Why This Season Matters
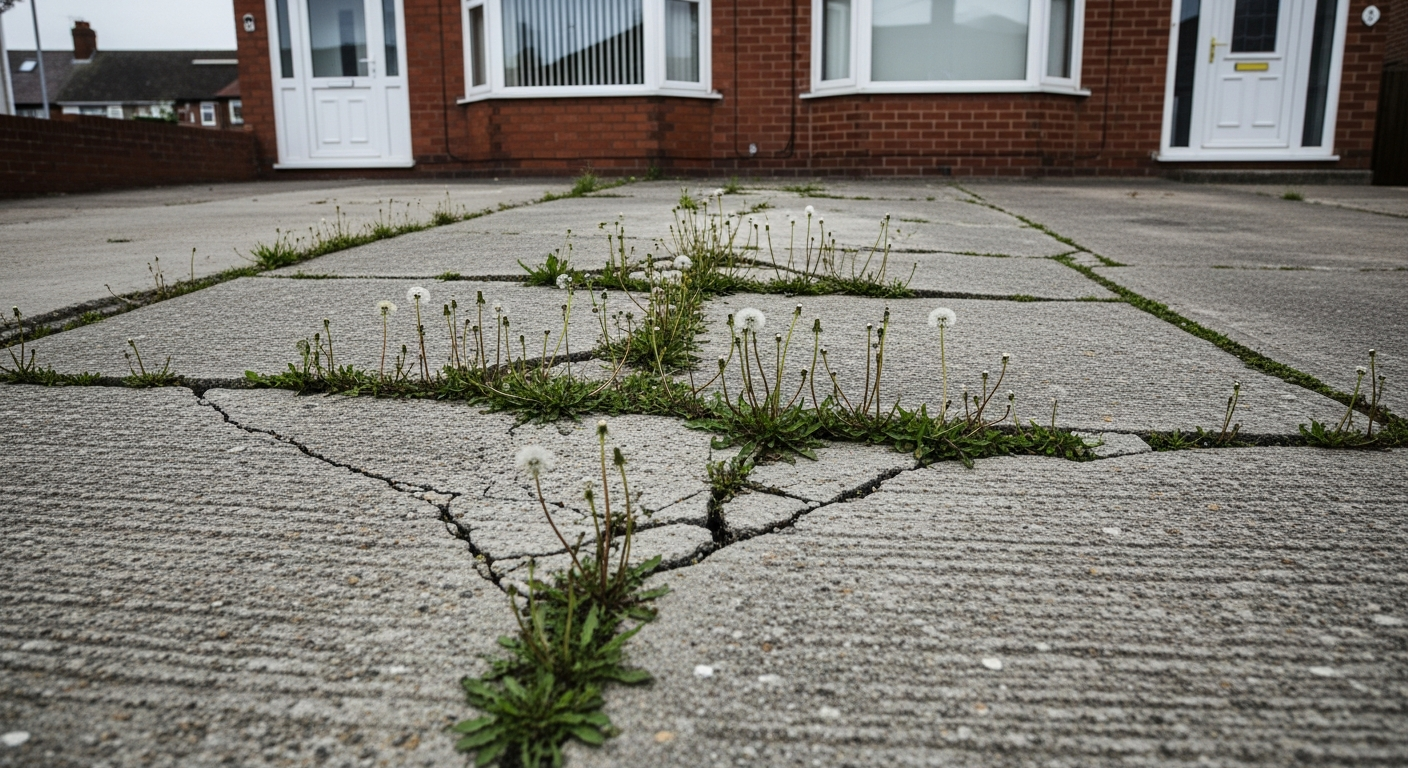
Freeze-thaw cycles are the single biggest cause of driveway deterioration in the UK. Water enters hairline cracks, expands by roughly 9% as it freezes and forces the crack wider with each cycle — turning a minor repair into a major one within a single winter. Acting in October or November, before the first hard frost, means you seal vulnerabilities while temperatures are still above 5°C and repair products can cure correctly.
Winter also brings increased vehicle traffic, road salt tracked on to surfaces, and pooling water from blocked gullies. Left unchecked, these combine to accelerate surface breakdown, undermine sub-bases and create trip hazards. A few hours of preparation now protects both your surface and your household budget through to spring.
Your Complete Checklist
- Inspect the entire surface for cracks and spalling — address concrete issues using guidance from Fix Crumbling Concrete Steps
- Fill and seal tarmac cracks before frost arrives — see Repair Tarmac Cracks
- Clear all drainage channels, gullies and edges of leaf debris to prevent standing water
- Top up or redistribute gravel on gravel driveways — read Stop Gravel Spreading on Driveway
- Remove oil stains that attract de-icing salts and accelerate surface damage — guide at Remove Oil Stains from Driveway
- Stock up on rock salt or grit and store it in a dry, covered container ready for icy spells
- Check that edge restraints, kerbs and border brickwork are secure and repoint any open joints
- Inspect the driveway gate, posts and any retaining walls for movement or loose sections — see Repair a Garden Wall
- Apply a driveway sealant to tarmac or concrete surfaces where the existing seal has worn — full process at Reseal a Tarmac Driveway
- Trim back overhanging shrubs or tree branches that deposit leaves and block light, slowing surface drying
- Mark the driveway edges with snow stakes if deep snowfall is expected, to prevent accidental kerb damage during clearing
Step-by-Step for Each Task
Inspecting and sealing cracks. Walk the full length of the driveway in daylight and mark every crack wider than 3 mm with chalk. Clean out loose material with a stiff brush and blow out dust with a leaf blower or airline. For tarmac, press cold-fill crack compound firmly into the joint, slightly overfilling, then tamp flush with a steel float. Do not apply if surface temperature is below 5°C. For concrete, use a flexible polyurethane or epoxy filler rated for external use. Allow the full cure time before vehicle use.
Clearing drainage channels. Put on gloves and lift any drainage grates. Remove accumulated silt, leaves and grit by hand or with a trowel, bagging the waste. Flush through with a hosepipe to confirm free flow. Check that surface water runs away from the house and towards the drain rather than pooling at the centre of the drive. Refit grates securely so they cannot shift under vehicle weight.
Topping up and securing gravel. Raking gravel level before winter prevents thin patches that expose the membrane or sub-base to frost heave. Rake towards the centre to replace displaced material, then add fresh angular gravel to any areas below 50 mm depth. Check that edging boards or restraints are upright and driven in fully — loose edging lets gravel migrate on to paths and creates a slip hazard in icy conditions.
Applying rock salt correctly. Pre-treat with a thin, even spread of rock salt or grit before a forecast freeze rather than after ice has formed — this prevents bonding rather than melting existing ice, which uses far less product. Roughly 20–30 g per square metre is sufficient for prevention. Avoid heavy over-application near planted borders; excess salt damages soil structure and plant roots. Store unused salt in a sealed container to prevent it absorbing moisture and clumping.
Tools and Materials You’ll Need
- Stiff-bristle brush or wire brush
- Trowel or pointing trowel
- Cold-fill tarmac crack repair compound
- Flexible polyurethane or epoxy concrete filler
- Steel float or tamping tool
- Driveway sealant (tarmac or concrete grade as appropriate)
- Wide-bristle sealant brush or squeegee applicator
- Rock salt or bagged grit
- Garden rake
- Angular gravel (10 mm or 20 mm) for topping up
- Hosepipe with jet nozzle
- Heavy-duty gloves and knee pads
- Chalk or marking paint for crack identification
- Snow stakes or driveway markers
- Leaf blower or hand brush for debris clearance
Common Mistakes to Avoid
- Applying sealant or crack filler in cold temperatures. Most driveway repair products require a surface temperature of at least 5°C to cure. Applying below this threshold causes the product to remain tacky, fail to bond or crack again within weeks. Check the product data sheet and use a surface thermometer, not just the air temperature.
- Over-applying rock salt. Excess salt draws in moisture rather than repelling it, and causes surface spalling on concrete over time. It also damages nearby soil and drainage systems. Use the minimum effective rate and never apply as a substitute for clearing snow mechanically first.
- Ignoring drainage before the first freeze. Blocked gullies and channels cause water to pool, which then freezes as a sheet of ice across the surface. This is both a safety hazard and a direct cause of surface and sub-base damage. Clear drains in October, not January.
- Pressure washing just before winter. High-pressure washing drives water deep into the surface and into any micro-cracks. If this is not followed by adequate drying time and sealant application before frost, the trapped moisture causes significant spalling. Leave pressure washing to spring unless the surface is genuinely contaminated.
- Assuming all cracks are cosmetic. A crack that runs across the full width of a driveway, or one that is wider at one end than the other, may indicate sub-base movement rather than surface shrinkage. Filling the surface without addressing the underlying cause means the crack will reopen. If you are uncertain, probe the edges of wider cracks for softness beneath before deciding on a DIY repair versus professional investigation.
Frequently Asked Questions
Can I repair driveway cracks in winter?
You can repair cracks during mild spells when surface temperatures remain above 5°C, using cold-fill or flexible repair compounds rated for low temperatures. Avoid working during frost or rain, as moisture in the crack prevents proper adhesion.
Is rock salt safe to use on all driveway surfaces?
Rock salt is generally safe on tarmac and gravel, but repeated heavy use on concrete can accelerate surface spalling over time. Use the minimum effective quantity and avoid letting salty melt water sit on the surface for prolonged periods.
How do I stop water pooling on my driveway in winter?
First clear all drainage channels and gullies of leaf litter and silt. If water still pools after drainage is clear, the surface may have developed a low spot or the sub-base may have settled — both are best addressed in spring when conditions allow more comprehensive work.
When is the best time to seal a tarmac driveway before winter?
Apply tarmac sealant in September or October when daytime temperatures are reliably above 10°C and there is no rain forecast for at least 24 hours after application. Sealing in mid-winter is not effective because the product cannot cure correctly in cold or damp conditions.
Do I need planning permission to alter my driveway drainage in winter?
Routine clearing and maintenance of existing drainage requires no permission. However, if you are installing new drainage or changing the direction of surface water run-off, you may need to comply with permitted development rules or contact your local planning authority — gov.uk sets out the current permitted development guidance for driveways.
Before applying any crack filler, heat the crack area gently with a hot-air gun for 30–60 seconds on a cool day — this drives residual moisture out of the joint and dramatically improves adhesion on both tarmac and concrete. Standard advice focuses on surface temperature but ignores moisture trapped inside the crack itself, which is the most common cause of premature filler failure.
Sources
- Which? — Driveway maintenance and repair advice — which.co.uk
- HSE — Slips and trips: managing risks in workplaces and public spaces — hse.gov.uk
- gov.uk — Permitted development rights for householders: driveways and hard standings — gov.uk
This guide is for general information only. Always work safely and follow manufacturer instructions. DIYnut accepts no liability for injury or damage arising from DIY work.


