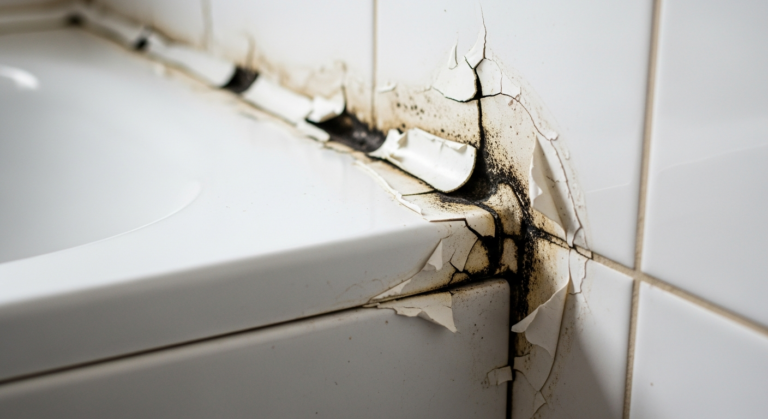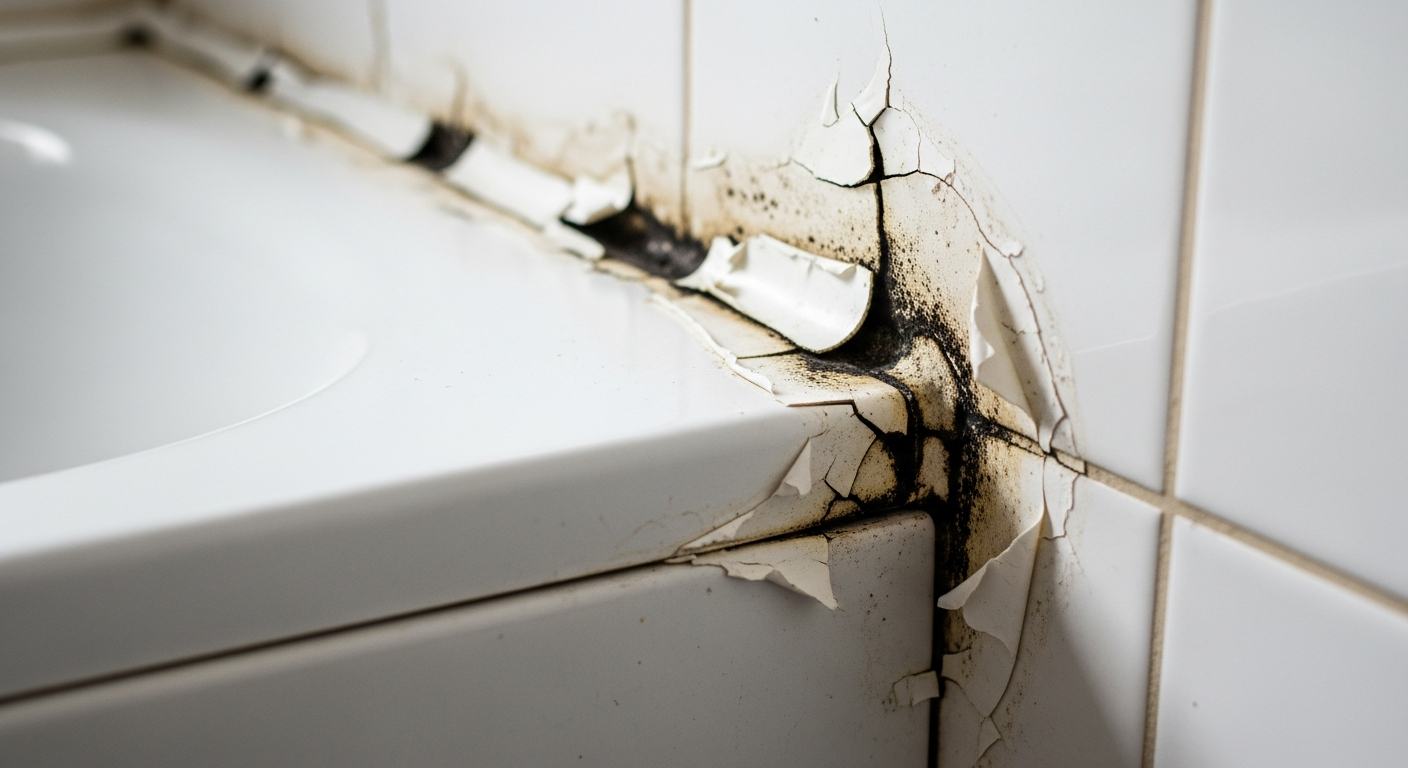
How to Re-Silicone a Bath – DIY Guide
To re-silicone a bath, remove the old sealant with a Stanley knife and silicone remover, clean the joint thoroughly, apply masking tape, gun in a fresh bead of sanitary silicone, smooth with a wet finger, and leave to cure for 24 hours before use.


- Silicone sealant gun
- Stanley knife or scraper
- Plastic scraper
- Sponge
- Bucket
- Scissors
- Sanitary silicone sealant (mould-resistant)
- Silicone remover gel
- Masking tape
- White spirit or isopropyl alcohol
- Clean cloths
- Anti-mould spray
Step-by-Step Guide
Fill the Bath Before You Start
Fill your bath with water before removing the old sealant and leave it full throughout the job. The weight of water causes the bath to flex and drop slightly — typically 3–5 mm on an acrylic bath — so applying silicone with the bath full ensures the joint won’t crack open the first time someone gets in.
Remove the Old Silicone
Score along both edges of the old sealant with a Stanley knife, then apply silicone remover gel directly onto the bead and leave it for the manufacturer’s recommended dwell time (usually 30–60 minutes). Once softened, peel away the bulk of the sealant by hand, then use a plastic scraper — not a metal one — to avoid scratching the bath surface. If you have persistent mould on surrounding tiles, now is a good time to check our guide on how to regrout bathroom tiles before you reseal.
Clean and Dry the Joint Thoroughly
Wipe down both surfaces with white spirit or isopropyl alcohol on a clean cloth to remove all silicone residue, grease, and soap scum — new silicone will not bond properly to a contaminated surface. Follow with a dry cloth and allow the joint to dry completely; if the gap shows any signs of damp or black mould deep in the substrate, treat with an anti-mould spray and allow to dry fully before continuing. Any moisture trapped under new silicone will cause it to fail within weeks.
Apply Masking Tape and Gun On the Silicone
Run two strips of masking tape along each side of the joint, leaving a gap exactly the width you want your finished bead — typically 6–8 mm. Cut the nozzle of the silicone cartridge at a 45-degree angle to match that width, load it into the sealant gun, and apply a continuous bead in a single smooth pass without stopping. Keep consistent pressure on the trigger and move at a steady pace; if you stop mid-run, you’ll create a lump that is difficult to smooth out. For related sealing work elsewhere in the bathroom, see our guide to fixing a leaking shower tray.
Smooth the Bead and Remove the Tape
Dip your finger in clean water (or a 50/50 water and washing-up liquid solution to reduce drag), then draw it firmly along the bead in a single stroke to press the silicone into the joint and form a neat concave profile. Pull the masking tape away immediately while the silicone is still wet — one strip at a time, peeling back at 45 degrees — to leave a clean, sharp edge. Do not go back over the bead with your finger once the tape is off.
Allow to Cure Before Using the Bath
Leave the bath undisturbed for a minimum of 24 hours — ideally 48 hours — before draining and using it, even if the surface feels dry to the touch. Sanitary silicone cures from the outside in and needs time to fully vulcanise through the depth of the bead. Check the product datasheet for the specific cure time, as anti-mould formulations can sometimes require longer. Good ventilation during curing helps; if your bathroom lacks adequate airflow, our guide to installing a bathroom extractor fan is worth reading.
Frequently Asked Questions
How long does re-siliconing a bath take?
The hands-on work takes around 2–3 hours, including removal, cleaning, and application. You then need to allow at least 24 hours for the silicone to cure before using the bath.
What type of silicone should I use around a bath?
Always use a sanitary-grade, mould-resistant silicone specifically formulated for wet areas. General-purpose silicone is not designed for constant moisture exposure and will discolour and fail much sooner.
How do I remove old silicone without damaging the bath?
How long does bath silicone last before it needs replacing?
Good-quality sanitary silicone, properly applied and maintained, typically lasts 5–10 years. Poor ventilation, soap scum build-up, and using abrasive cleaners on the bead will reduce its lifespan significantly.
Can I silicone over old silicone?
No. Silicone does not bond reliably to itself, so applying a new bead over old sealant almost always results in early failure. All old sealant must be removed and the surface cleaned before applying a fresh bead. If you are also dealing with a leaking or blocked drain nearby, see how to unblock a bath drain before resealing.
Use a sealant gun with a smooth-action ratchet drive rather than a basic stick-ratchet gun — it gives you far more control over flow rate and prevents the cartridge from continuing to ooze after you release the trigger, which is what causes the uneven blobs most DIYers struggle to smooth out. After applying the bead, cut the job at one corner of the bath rather than mid-run, so any imperfect join point is hidden in the least visible spot.
Sources
- HSE — Approved Code of Practice: Dampness, condensation and mould in homes — hse.gov.uk
- Which? — How to seal a bath or shower — which.co.uk
- WaterSafe — Find an approved plumber — watersafe.org.uk
Safety Notice: Electrical and plumbing work can be dangerous if done incorrectly. In the UK, certain electrical work must comply with Part P of the Building Regulations and certain plumbing work with Part G. If in doubt, consult a qualified electrician (NICEIC/NAPIT registered) or plumber (CIPHE/WaterSafe registered). This guide is for general information only — it is not a substitute for professional advice.