How to Replace a Shower Head – DIY Guide
To replace a shower head, turn off the water supply, unscrew the old head by hand or with a spanner, wrap the threaded connector with PTFE tape, and screw on the new head. Most standard shower heads use a universal ½-inch BSP fitting and require no specialist tools.


- Adjustable spanner
- Slip-joint pliers
- Old cloth or rag
- Small wire brush
- Bucket or towel
- PTFE tape dispenser
- Replacement shower head
- PTFE tape
- Silicone grease
- Limescale remover solution
- Replacement shower hose (if required)
- Thread seal compound (optional)
Step-by-Step Guide
Turn Off the Water Supply
Shut off the water to the shower before you start — either at the dedicated isolator valve on the supply pipe or at the main stopcock if no isolator is fitted. Turn on the shower briefly to release any residual pressure and drain water from the hose. Place a towel or small bucket beneath the fitting to catch any drips. If you are unsure how to locate your stopcock, see our guide on fixing a tap that won’t turn off for stopcock location tips.
Remove the Old Shower Head
Grip the shower hose connector firmly with one hand to keep it steady, then unscrew the shower head anti-clockwise by hand — most heads will come off without tools after years of light use. If it is stuck, wrap a cloth around the connection and use an adjustable spanner to avoid scoring the fitting. Do not apply excessive force directly to the hose or ball joint, as these can crack. Once removed, inspect the hose end for corrosion, cracked rubber washers, or stripped threads. If the hose itself looks degraded, replace it at the same time.
Clean the Threaded Connector
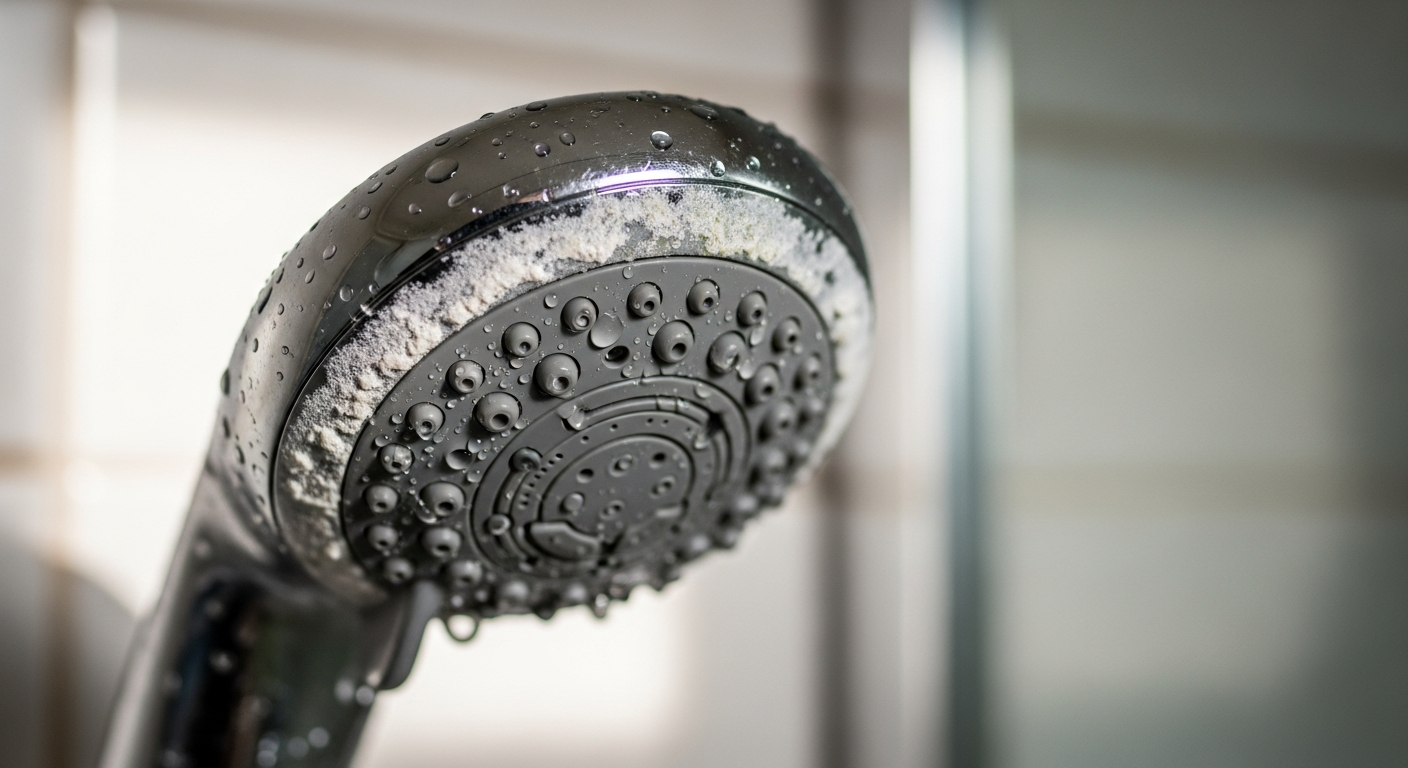
Use a small wire brush to remove any limescale, old PTFE tape residue, or corrosion from the male thread on the hose end. Limescale build-up here is one of the most common causes of leaks after fitting a new head. If the threads are heavily furred, soak a cloth in limescale remover solution and hold it against the fitting for five minutes before brushing. Rinse and dry the thread thoroughly before proceeding. If you deal with persistent hard water issues, our guide on fixing a shower head covers limescale maintenance in detail.
Apply PTFE Tape to the Thread
Wrap PTFE tape around the male thread of the hose connector in a clockwise direction — that is, in the same direction as the shower head will be screwed on — so the tape tightens rather than unwraps as you fit the new head. Apply three to five overlapping layers, stretching the tape slightly as you go to seat it into the thread. PTFE tape is the correct sealant for this type of compression-free threaded joint; do not use jointing compound on shower fittings intended for plastic-to-plastic or plastic-to-chrome connections, as it can damage the material.
Fit the New Shower Head
Check that the new shower head includes a rubber washer inside its connector — most do, but some budget heads do not, so always verify before fitting. Hand-tighten the new head clockwise onto the PTFE-wrapped thread until it is snug. Give it a final quarter-turn with a cloth-wrapped spanner to ensure a watertight seal, but avoid over-tightening, which can crack plastic connectors or distort the washer. Angle the head to the desired position if it has an adjustable ball joint. For a wider shower upgrade project, our Bathroom Guide covers related tasks from resealing to tap replacement.
Restore the Water Supply and Test for Leaks
Turn the water supply back on slowly and run the shower at full pressure for 30 seconds. Inspect the hose-to-head joint and the hose-to-rail connection closely for any drips. A properly sealed joint will be completely dry. If you spot a weep of water, turn off the supply, remove the head, add one or two more layers of PTFE tape, and refit. Do not attempt to seal a leaking joint by over-tightening — this rarely works and risks cracking the fitting. Once confirmed dry, test all spray settings and adjust the head angle to suit.
Frequently Asked Questions
Are all shower heads the same fitting size?
Most shower heads sold in the UK use a standard ½-inch BSP (British Standard Pipe) thread, which means they are interchangeable between brands and hoses. However, some power showers or electric shower units use proprietary fittings, so always check the specification of your existing hose before buying a replacement head.
Do I need to turn off the water to replace a shower head?
Yes — always isolate the water supply before disconnecting the shower head. Although the shower head itself is at the end of the hose and not directly pressurised when the shower is off, turning off the supply prevents unexpected pressure surges and avoids water spillage when you unscrew the fitting.
My new shower head has low pressure — what is causing it?
Low pressure after fitting a new head is usually caused by a flow restrictor built into the new unit — many water-saving shower heads include one as standard. You can often remove it from inside the inlet with a pair of needle-nose pliers. If pressure was low before the replacement too, see our guide on fixing low shower pressure for a full diagnosis.
Can I replace a shower head on an electric shower?
No — electric showers have an integrated handset and hose connected internally to the heater unit. Replacing components on an electric shower involves work inside the unit itself, which is governed by Part P of the Building Regulations in England and Wales and must be carried out by a registered electrician. Contact a qualified professional listed on the NICEIC Find a Contractor register for this type of work.
How do I remove a shower head that is stuck solid with limescale?
Soak a cloth in a limescale remover solution and wrap it tightly around the joint for 15–20 minutes to dissolve the mineral deposits. Once the limescale has loosened, use a cloth-wrapped adjustable spanner for grip — never grip chrome fittings with bare metal jaws. If the fitting still will not move, apply gentle heat with a warm (not hot) damp cloth to expand the metal slightly before trying again.
Before wrapping PTFE tape, run your fingernail lightly over the male thread — if you can feel a burr or flattened thread from a previous over-tightening, chase the thread with a thread file first. Fitting PTFE tape over a damaged thread gives you a false sense of seal that will fail within weeks.
Sources
- WaterSafe — Finding a plumber for water fittings work — watersafe.org.uk
- HSE — Part P: Electrical safety in dwellings — hse.gov.uk
- NICEIC — Find a registered electrician — niceic.com
Safety Notice: Electrical and plumbing work can be dangerous if done incorrectly. In the UK, certain electrical work must comply with Part P of the Building Regulations and certain plumbing work with Part G. If in doubt, consult a qualified electrician (NICEIC/NAPIT registered) or plumber (CIPHE/WaterSafe registered). This guide is for general information only — it is not a substitute for professional advice.


