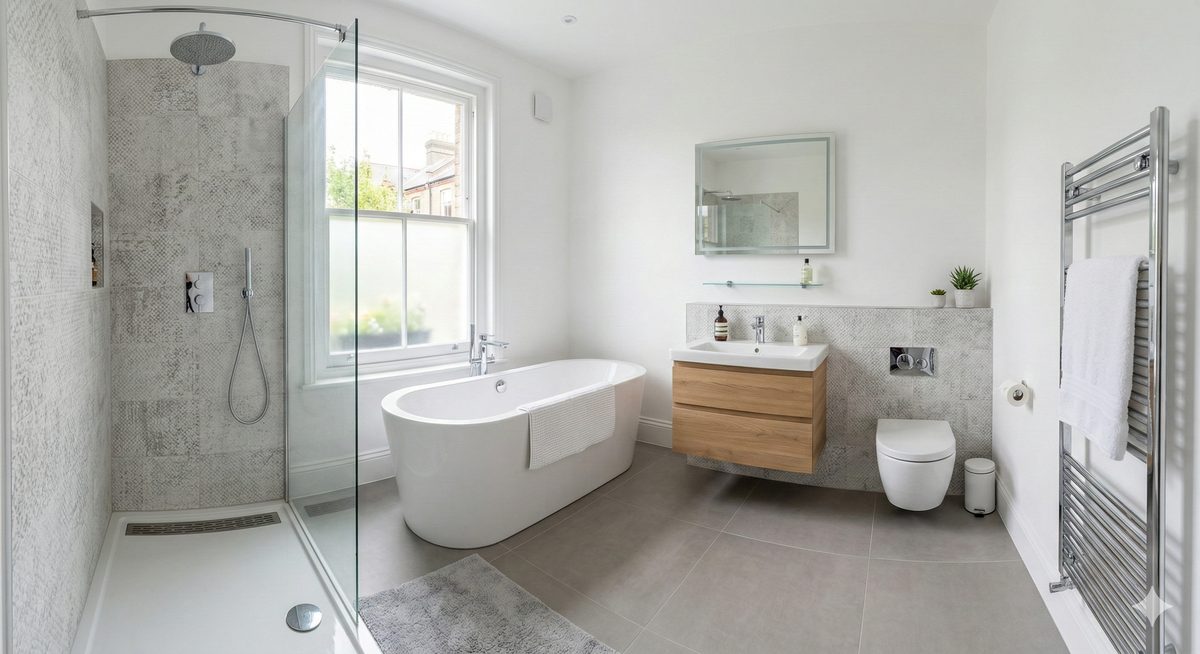
How to Replace a Cracked Bath Panel – DIY Guide
To replace a cracked bath panel, remove the old panel by unscrewing or unclipping it, measure the opening, cut your new panel to size, and clip or screw it back into the frame. Most standard baths take a 5mm acrylic or MDF panel available from any builders’ merchant.

- Tape measure
- Pencil
- Jigsaw or panel saw
- Cordless drill or screwdriver
- Utility knife
- Spirit level
- Sealant gun
- Replacement bath panel (acrylic or MDF)
- Bath panel clips or screws
- Waterproof silicone sealant
- Panel adhesive (if required)
- Fine-grit sandpaper
- Masking tape
- Plastic packers or shims
Step-by-Step Guide
Remove the old bath panel
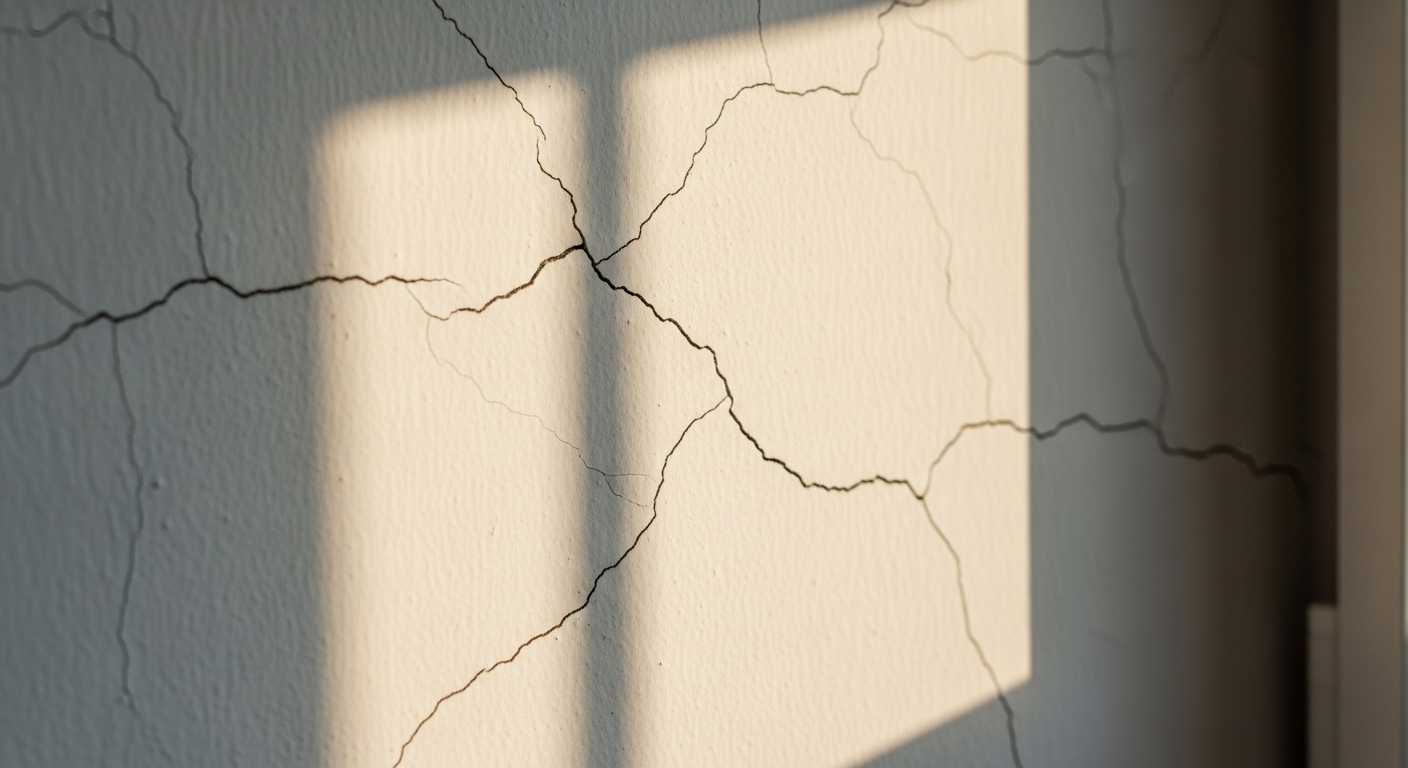
Check how your existing panel is fixed — most modern panels clip onto a plastic track around the bath frame, while older installations may be screwed directly into timber battens. Run a utility knife along any silicone seal at the top and bottom edges first to avoid tearing the wall surface. Ease the panel away gently; acrylic panels flex and clip out, MDF panels often need a screw along the bottom lip removed first. If you notice any signs of damp or mould behind the panel, address these before fitting the new one — persistent moisture can point to a leak worth investigating before you seal everything back up.
Measure and mark the new panel
Measure the height and length of the bath aperture carefully — measure in at least three places along the length as floors are rarely perfectly level. Use the smaller of the height measurements so the panel sits flush without bowing. Transfer your measurements onto the new panel using a pencil and straight edge. For acrylic panels, leave the protective film on during marking and cutting to prevent scratching.
Cut the panel to size
Cut acrylic panels with a fine-toothed jigsaw blade on a slow setting to avoid cracking; cut MDF panels with a panel saw or jigsaw with a medium-tooth blade. Always cut on the reverse face of an acrylic panel to minimise surface chipping. For any cutouts required around pipes or feet, drill a pilot hole first and work outward with the jigsaw. Smooth any rough cut edges with fine-grit sandpaper before fitting. If you need guidance on working with sheet materials, our cut and fit plasterboard guide covers the same principles for handling and scoring sheet goods cleanly.
Fit the panel clip track or battens
If the existing clip track or timber battens are damaged, replace them before fitting the new panel. Fix a horizontal batten or clip track along the floor level and one along the top edge of the bath frame, checking both are level with a spirit level. Use plastic packers to level the floor batten if the floor is uneven — this is what keeps the panel sitting flush and gap-free. Secure battens with screws into sound timber or use appropriate wall plugs if fixing into a solid floor. For clip-track systems, follow the manufacturer’s fitting sequence; most click the top track onto the bath rim first.
Fit and secure the new panel
Offer the panel up and check the fit before committing. For clip systems, press the top edge into the top track first, then push the bottom edge in to lock — you should hear it click. For screw-fixed panels, pre-drill clearance holes through the panel face to avoid cracking, then drive screws into the battens. Do not overtighten. If your panel sits proud at any point, recheck your battens for level and use additional packers as needed. One section of the panel should ideally remain accessible (e.g., an end panel) so you can reach the bath trap in future — consider fitting that section with removable clips rather than permanent adhesive. You can find advice on maintaining bathroom seals in our guide on how to reseal a shower tray, which uses the same silicone techniques.
Seal the top edge with silicone
Apply masking tape 3mm above and below the joint line between the panel top and the bath rim, then run a bead of waterproof silicone sealant into the gap. Wet your finger with a little washing-up liquid and draw it along the bead in a single smooth stroke to tool the joint. Remove the masking tape immediately before the silicone skins over. Leave the silicone to cure fully — typically 24 hours — before running a bath. A clean silicone joint here is what keeps water from tracking behind the panel and causing the damp problems that cracked the old panel in the first place. If you want to understand full bathroom sealing best practice, see our complete Bathroom Guide.
Frequently Asked Questions
Do I need to turn off the water to replace a bath panel?
No — replacing a bath panel is cosmetic and does not require disturbing any plumbing. You only need to isolate the water supply if you are also working on the bath trap or pipework behind the panel. If you do find a leak once the old panel is off, our guide on replacing bathroom taps explains how to isolate the supply safely.
What is the best material for a bath panel — acrylic or MDF?
Acrylic panels are more water-resistant and easier to clean, making them the better long-term choice for a wet environment. MDF panels are cheaper and easier to cut to non-standard sizes but must be sealed on all cut edges with waterproof primer or they will swell and delaminate over time.
My bath panel is not a standard size — what are my options?
Most suppliers sell full sheets of acrylic or moisture-resistant MDF that you cut to your exact measurements, which is the most cost-effective route for non-standard baths. Alternatively, a timber-framed panel clad in waterproof tongue-and-groove boarding or tiles can be built to any dimension.
Can I tile directly onto a bath panel?
Yes, but only onto a suitable substrate — use moisture-resistant MDF or tile backer board rather than standard MDF or acrylic. Fix the board rigidly to prevent any flex, as movement will crack the grout joints over time. Our guide on how to seal around a basin covers finishing silicone joints next to tiled surfaces cleanly.
Is there any electrical risk when working near a bath panel?
Bath panels themselves carry no electrical risk, but be aware that bathroom zones defined under BS 7671 restrict where electrical fittings and accessories can be located near a bath. If your panel work reveals any wiring that looks damaged or incorrectly positioned, do not attempt to repair it yourself — contact a Part P registered electrician. You can verify registered electricians at NICEIC.com.
Before fitting the new panel, run a thin bead of clear silicone along the inside face of the top clip track rather than the outside joint — this creates a hidden waterproof barrier that won’t discolour or need replacing, while keeping the external joint line clean and minimal.
Sources
- HSE — Bathroom electrical safety zones and requirements — hse.gov.uk
- NICEIC — Find a registered electrician (Part P compliance) — niceic.com
- Which? — How to fit a bath panel — which.co.uk
Safety Notice: Electrical and plumbing work can be dangerous if done incorrectly. In the UK, certain electrical work must comply with Part P of the Building Regulations and certain plumbing work with Part G. If in doubt, consult a qualified electrician (NICEIC/NAPIT registered) or plumber (CIPHE/WaterSafe registered). This guide is for general information only — it is not a substitute for professional advice.


