How to Replace a Toilet Seat – DIY Guide
To replace a toilet seat, remove the old seat by unscrewing the wing nuts beneath the pan, lift it clear, position the new seat over the hinge holes, feed the bolts through, and tighten the wing nuts firmly. Most toilet seat replacements take under 30 minutes and require no plumbing knowledge.

- Adjustable spanner
- Flat-head screwdriver
- Phillips screwdriver
- Tape measure
- Pen or marker
- Cleaning cloth
- Replacement toilet seat with fixings
- White spirit or all-purpose cleaner
- Disposable gloves
- Plastic washers (if not supplied)
- Anti-bacterial spray
- Masking tape (optional, to protect pan)
Step-by-Step Guide
Measure Your Toilet Pan Before Buying
Before purchasing a replacement seat, measure the pan from the centre of the hinge holes to the front edge, and across the widest point. UK toilet pans are typically either standard D-shaped or round — fitting the wrong shape means the seat will not sit flush or close properly. Note the hinge fixing centres (usually 155 mm apart) as these vary between manufacturers. If you are also dealing with other toilet issues, check our guide on how to fix a running toilet before you start, as it may be worth tackling both jobs together.
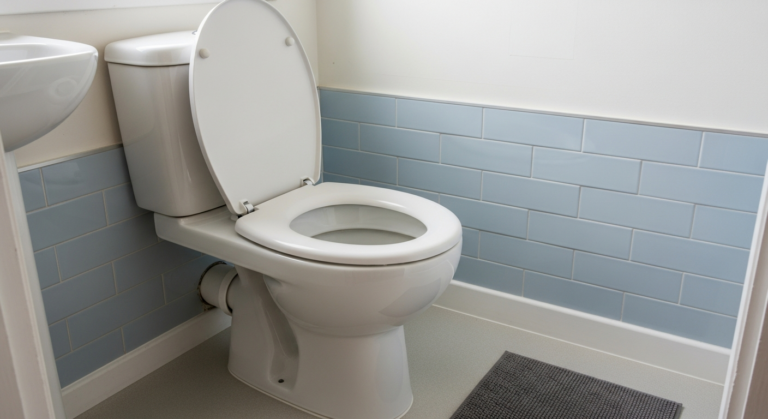
Remove the Old Toilet Seat
Open the hinge cover caps at the back of the seat — these usually flip up or prise off with a flat-head screwdriver. Beneath them you will find the bolt heads on top and plastic wing nuts underneath the pan rim. Hold the bolt steady with a screwdriver and turn the wing nut anticlockwise by hand or with an adjustable spanner. Once both wing nuts are free, lift the entire seat and lid assembly straight up and off the pan. Old fixings can be corroded and stiff; apply a small amount of penetrating oil and leave for five minutes if they will not budge.
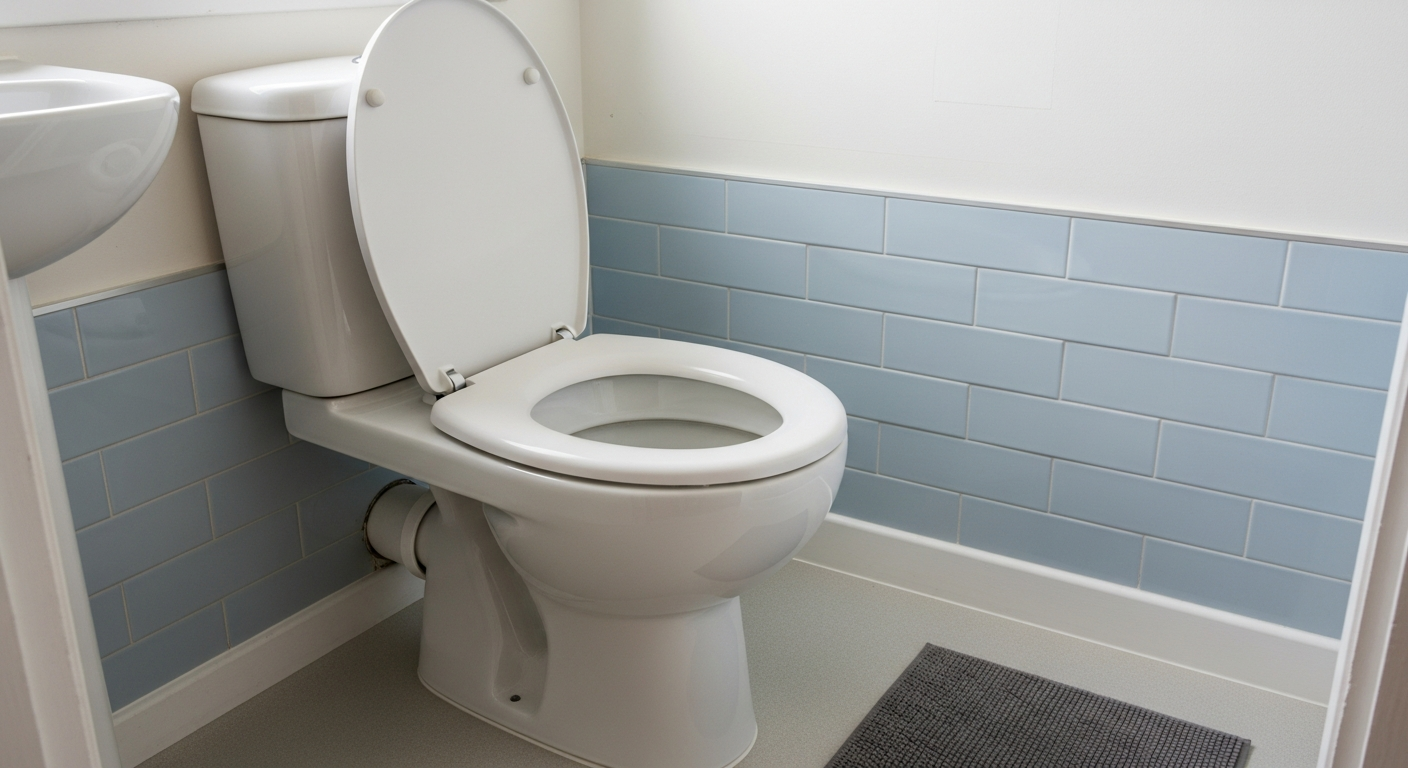
Clean the Hinge Area Thoroughly
With the old seat removed, clean around the hinge holes and the full top rim of the pan with anti-bacterial spray and a cloth. Limescale and grime collect under the hinge points and, if left, will prevent the new seat from sitting level. Pay particular attention to the area directly beneath where the hinges will sit — any debris here causes rocking. Dispose of gloves and old fixings hygienically. This is also a good moment to inspect the pan itself; if you notice persistent blockage issues, address those before refitting.
Fit the New Seat Hinges and Bolts
Most modern toilet seats use a top-fixing system: feed the plastic or metal bolts down through the hinge holes in the seat, then down through the fixing holes in the pan rim. Place any supplied rubber or plastic washers onto the bolts below the pan rim before threading on the wing nuts — these washers protect the porcelain and prevent the fixings working loose through vibration. Position the seat centrally over the pan before tightening anything, checking it is equally spaced on both sides. If your pan has concealed fixings (no holes visible from the top), follow the specific instructions supplied with the seat, as these use a different expanding-bolt mechanism.
Tighten the Fixings and Check Alignment
Tighten both wing nuts evenly — alternate between left and right rather than fully tightening one side first, which can skew the seat off-centre. Firm hand-tight is correct; overtightening with a spanner risks cracking the porcelain pan. Once secure, lower the seat and lid to check they sit flat, close smoothly, and the seat does not move sideways when sat on. Snap the hinge cover caps back into place. If your bathroom is also due other maintenance, our complete bathroom guide covers all the common jobs in one place.
Test the Seat and Dispose of the Old One
Sit on the seat to confirm it is stable and does not shift or creak. Open and close the lid several times — soft-close hinges should lower with controlled resistance, not drop freely. If the seat rocks, re-loosen the wing nuts, reposition, and re-tighten. Old toilet seats cannot go in general household recycling due to mixed materials; check your local council’s bulky waste collection service or take it to a household waste recycling centre.
Frequently Asked Questions
Are all toilet seats the same fitting?
No. UK toilet seats come in different shapes (D-shape and round are the most common) and with varying hinge fixing centres, typically either 155 mm standard or a wider spread on larger pans. Always measure your existing pan before buying. Most seats now use a universal top-fix system, but some older or designer pans require specific seat models.
How do I remove a toilet seat with hidden fixings?
Seats with concealed fixings have no visible bolts on top. Lift the small plastic covers at the rear of the seat — behind these you will find a screwdriver slot or a lever that releases a locking collar below the pan. Turn or press to release, then lift the seat free. Replacement seats with this system come with full fitting instructions specific to that mechanism.
Can I replace a soft-close toilet seat myself?
Yes — soft-close seats fit in exactly the same way as standard seats and are suitable for a beginner. The fitting process is identical; the difference is entirely in the hinge damper mechanism, which is self-contained within the seat. No special tools or skills are required.
What should I do if the fixing bolts are seized or corroded?
Apply a small amount of penetrating oil around the wing nut and bolt thread and leave it for at least five to ten minutes before attempting to loosen. If the bolt spins freely in the hole rather than the nut releasing, hold the bolt head firmly with a screwdriver from above while turning the wing nut below. As a last resort, the bolt can be cut through with a junior hacksaw. If you are finding other parts of the toilet are also deteriorating, our guide to replacing a toilet cistern covers what to look for.
Do I need to turn off the water supply to replace a toilet seat?
No. Replacing a toilet seat involves no plumbing connections whatsoever — you are only working with the seat and its mechanical fixings, not the pan, cistern, or water supply. The water does not need to be isolated for this job. If you do need to isolate the supply for a different toilet task, see our guide on how to turn off the water supply.
When fitting a soft-close seat, check the damper tension before fully tightening the fixings — most soft-close hinges have a small adjustment screw on each hinge barrel that controls closing speed, and it is far easier to set this correctly before the seat is locked down than after. A correctly tensioned seat should take two to three seconds to close from fully open.
Sources
- Which? — Toilet seats buying guide — which.co.uk
- HSE — Sanitation, toilet facilities and welfare — hse.gov.uk
- WaterSafe — Find a plumber and plumbing advice — watersafe.org.uk
Safety Notice: Electrical and plumbing work can be dangerous if done incorrectly. In the UK, certain electrical work must comply with Part P of the Building Regulations and certain plumbing work with Part G. If in doubt, consult a qualified electrician (NICEIC/NAPIT registered) or plumber (CIPHE/WaterSafe registered). This guide is for general information only — it is not a substitute for professional advice.