Driveways & External Surfaces: Complete UK DIY Guide 2026
DIY Guides › Driveways & External
Driveways & External
Everything you need to know about block paving, resin driveways, tarmac maintenance, pressure washing, oil stain removal, driveway edging, and pointing — with full UK planning and drainage guidance.
Most driveway DIY work — from re-pointing block paving to pressure washing and oil stain removal — is well within reach of a competent homeowner with the right tools and preparation. The critical thing to get right before laying any new driveway surface is UK planning permission rules: front garden driveways over 5 square metres must use a permeable surface or include adequate drainage to a soakaway under Permitted Development rights. Get the sub-base, drainage, and edging right first, and the surface work becomes straightforward.

- Pressure washer (minimum 1,800 PSI for driveways)
- Plate compactor / wacker plate (hire)
- Block splitter or angle grinder with diamond blade
- Pointing brush and soft-bristled broom
- Long spirit level and string line
- Rubber mallet
- Bolster chisel and club hammer
- Stiff-bristled deck scrubbing brush
- Kiln-dried jointing sand or polymeric jointing compound
- Sharp sand and MOT Type 1 sub-base aggregate
- Block paving or resin-bound aggregate
- Concrete edging restraints and haunching mix
- Tarmac cold-lay patching compound
- Patio and driveway cleaner / oil stain remover (biodegradable, UK-compliant)
The Process Overview
Step 1 – Check Planning Permission and Drainage Requirements
Before breaking ground, confirm whether your project requires planning permission. Under the Town and Country Planning (General Permitted Development) Order 2008, front garden driveways over 5 square metres must use a permeable surface (permeable block paving, resin-bound, gravel) or drain to a lawn or border — not directly to the road. Rear and side driveways are generally unrestricted. Contact your local planning authority if in any doubt, especially in conservation areas or if your property is listed.
Step 2 – Prepare and Excavate the Sub-Base
Excavate to a minimum depth of 200mm for light vehicle traffic: 100mm of compacted MOT Type 1 hardcore, followed by 30–40mm of sharp sand laying course, then the surface material. Use a hired wacker plate to compact each layer thoroughly — skipping this is the single biggest cause of sinking and cracking. Ensure a minimum 1:60 fall away from the house and any structures to achieve adequate surface drainage.
Step 3 – Install Edging Restraints
Concrete edging kerbs or block paving soldiers must be haunched in with a semi-dry concrete mix on both sides before any surface laying begins — these hold the entire surface in place under vehicle loads. Set edging to your finished surface level using a string line and spirit level, allowing for the material thickness. Allow haunching concrete to cure for at least 24 hours before continuing.
Step 4 – Lay the Surface Material
For block paving, lay blocks in your chosen pattern (herringbone at 45° is strongest for driveways) on the screeded sand bed, keeping joints tight and using a string line every few courses to stay straight. For resin-bound surfaces, mix aggregate and UV-stable resin in a forced-action mixer and apply at 15–18mm depth in one continuous pour using a trowel and float — do not stop mid-area as join lines will show. For tarmac patching, cut back to sound edges, apply a tack coat, fill with cold-lay compound, and compact firmly.
Step 5 – Point, Seal, and Finish
For block paving, brush kiln-dried jointing sand across the surface and compact with the wacker plate (use a rubber pad protector) to vibrate sand into joints — repeat until joints are full. Polymeric jointing compound is worth the extra cost as it sets firm, resists weeds, and remains flexible. For existing driveways showing failed pointing, rake out loose material to 20–25mm depth, re-point with an appropriate product, and seal if desired with a block paving sealer.
Step 6 – Ongoing Maintenance: Cleaning, Oil Stains, and Tarmac Care
Pressure wash block paving and resin surfaces annually at no more than 1,800–2,000 PSI to avoid dislodging jointing sand — always work in the direction of the joint pattern. For oil stains, apply a dedicated biodegradable driveway degreaser, agitate with a stiff brush, leave 15–30 minutes, then pressure wash; repeat for deep stains. Tarmac driveways benefit from an application of tarmac sealer every 3–5 years to prevent oxidation and cracking; fill any cracks above 5mm first with cold-lay compound before sealing.
Frequently Asked Questions
Do I need planning permission to lay a new driveway in the UK?
For front gardens in England, you do not need planning permission if the surface is permeable (such as permeable block paving, resin-bound gravel, or loose gravel) regardless of size, or if rainwater drains to a lawn, border, or soakaway rather than into the road or public drain. If you want to use a non-permeable surface (standard concrete or tarmac) and the area is over 5 square metres, you will need planning permission. Rules differ slightly in Scotland, Wales, and Northern Ireland, so always check with your local planning authority. Rear and side driveways are not subject to the same restriction under Permitted Development.
What is the best way to remove oil stains from a block paving driveway?
Act quickly — fresh oil is far easier to remove than cured staining. Apply an absorbent material (cat litter, sand, or sawdust) to soak up excess oil, then sweep away. Apply a purpose-made biodegradable driveway degreaser generously to the stain, work it in with a stiff brush in a circular motion, and leave for the manufacturer’s recommended dwell time (typically 15–30 minutes). Rinse thoroughly with a pressure washer. For older, set-in stains you may need two or three applications. Products containing d-limonene or surfactant-based formulations tend to perform best. Avoid using washing-up liquid or bleach as these can discolour blocks and damage jointing sand.
How long does a resin-bound driveway last and can I DIY it?
A properly installed resin-bound driveway should last 15–25 years with basic maintenance, provided the sub-base is sound and the correct UV-stable resin system is used. DIY installation is possible but demands careful preparation: the existing surface (or new sub-base) must be solid and free of movement, the weather must be dry and above 5°C, and you need a forced-action mixer (not a drum mixer) to combine resin and aggregate without air pockets. The entire area must be laid in one continuous pour to avoid visible joins. For areas over 20–30 square metres, most experienced DIYers find it worth getting at least one extra pair of hands.
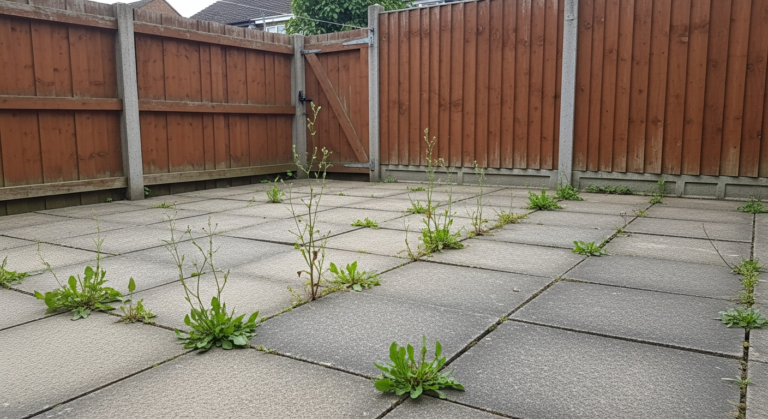
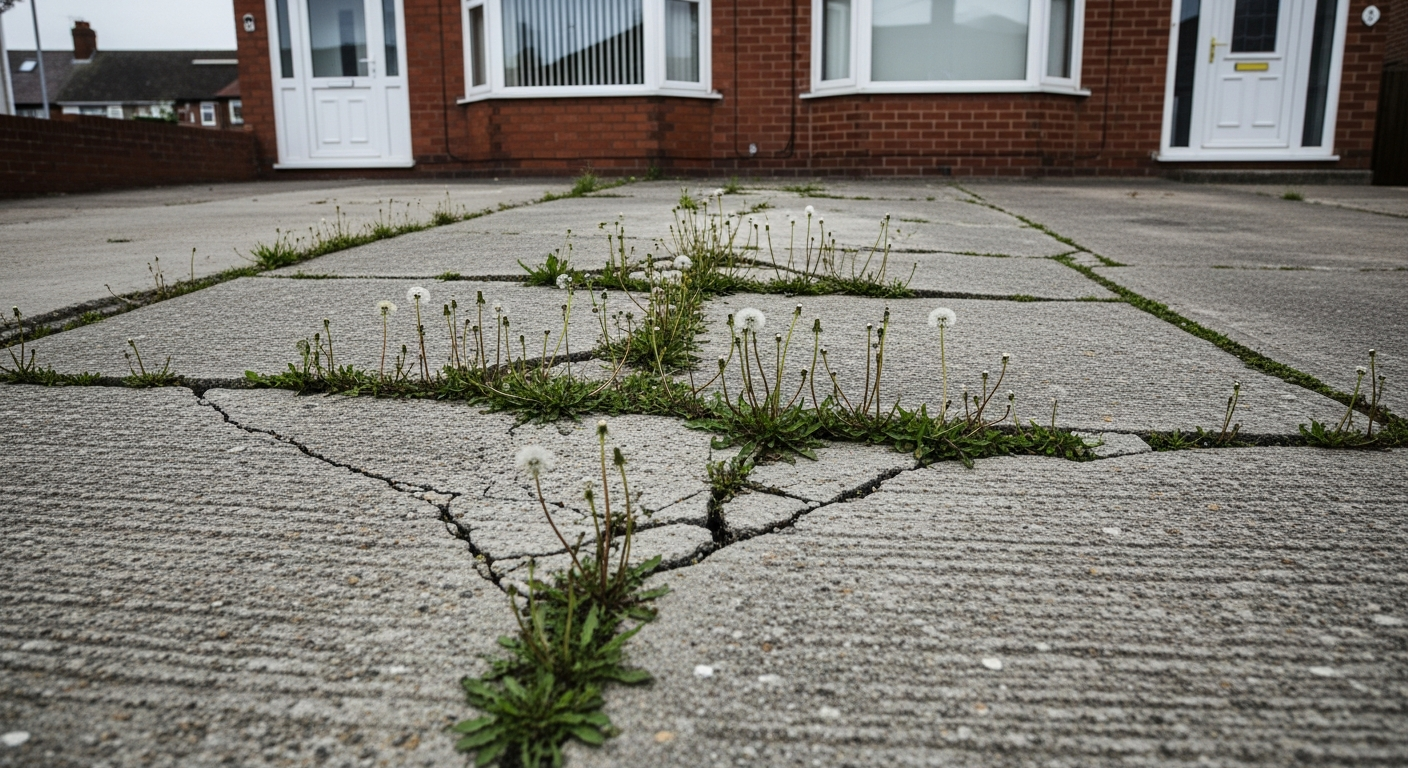
How do I re-point block paving that has weeds growing through the joints?
Start by killing the weeds with a path weedkiller (allowing it to fully work before disturbing roots — usually 2 weeks), then remove dead material with a stiff brush or jointing tool. Pressure wash the driveway to clean the surface and flush out loose sand, then allow to dry completely — this is important as damp joints prevent proper bonding of new material. For standard re-pointing, brush kiln-dried jointing sand across the dry surface, compact with a wacker plate to vibrate it into joints, and repeat until joints are filled to just below block surface level. For a longer-lasting result, use a polymeric jointing compound such as Rompox or a similar resin-based product, which sets firm and is highly resistant to weed regrowth and ant damage.
Can I lay block paving over an existing concrete driveway?
Yes, provided the existing concrete is structurally sound with no significant cracking, movement, or drainage issues. You save considerable excavation work this way. Lay a 30–40mm sharp sand laying course directly over the concrete, ensuring adequate falls are maintained (you may need to adjust edge heights to accommodate the added depth). Check that the new finished level won’t cause issues at the threshold, garage door, or drainage gullies. One important consideration: laying over concrete without addressing any existing drainage problems will just trap those issues — check gullies are clear and functioning before you begin.
The difference between a driveway that lasts 20 years and one that starts failing within 3 years almost always comes down to two things: sub-base depth and edge restraints. I’ve seen homeowners spend serious money on premium block paving or resin, then lay it on a poorly compacted 50mm sub-base with no haunched edging, and wonder why it’s rocking and sinking by the following winter. Hire a wacker plate for at least two days — compact your Type 1 in two 75mm layers, not one hit at 150mm. And never rely on the blocks themselves to stay put without properly haunched concrete edging on every free edge. It’s unglamorous groundwork, but it’s where your money is best spent. Also: always check your gully and drainage positions before you start laying. Repositioning a drain after the surface is down is an expensive nightmare.
Sources
- Planning Portal guidance on householder permitted development, including the rules on hard surfaces and driveways in front gardens under the Town and Country Planning Act — the definitive UK government source for planning permission requirements. — planningportal.co.uk
- Which? guide to driveway types, costs, and planning rules for UK homeowners — independent consumer advice covering block paving, tarmac, resin, and gravel options with cost benchmarks. — which.co.uk
- GOV.UK guidance on sustainable drainage systems (SuDS) in England, including the requirements for new drainage infrastructure and permeable surfaces to manage surface water run-off under Schedule 3 of the Flood and Water Management Act 2010. — gov.uk
This guide is for general information only. Always work safely and follow manufacturer instructions. DIYnut accepts no liability for injury or damage arising from DIY work.