How to Hang Wallpaper – 2026 Guide
DIY Guides › Painting & Decorating
How to Hang Wallpaper
Get perfectly aligned, bubble-free wallpaper on your first attempt with this complete guide.
To hang wallpaper, prepare the wall with lining paper or size, mark a true vertical line, cut and paste your drops, then hang each strip working away from the window, butting seams tightly and smoothing out bubbles as you go.


- Pasting table
- Wallpaper brush or smoother
- Seam roller
- Plumb bob or spirit level
- Scissors
- Craft knife and spare blades
- Bucket and paste brush
- Pencil
- Wallpaper
- Wallpaper paste
- Lining paper
- Wall size or diluted paste
- Decorator’s sponge
- Sandpaper (medium grit)
- Filler
- Clean water
Step-by-Step Guide
Prepare the wall surface
Fill any holes or cracks with filler, sand smooth once dry, then apply a coat of wall size (diluted wallpaper paste) to the entire surface and allow to dry fully. Sizing seals the wall, prevents it from absorbing paste too quickly, and allows you to slide drops into position without tearing.
Mark a true vertical guideline
Measure one roll-width away from your starting corner, mark a point, then use a plumb bob or spirit level to draw a perfectly vertical pencil line from ceiling to skirting board . Never trust a corner as a guide — they are almost never truly straight, and using one will cause your pattern to drift across the room.
Cut and paste your drops
Measure the wall height and add 100 mm for trimming allowance top and bottom, then cut each drop to length. Lay the drop face-down on the pasting table, apply paste from the centre outwards to avoid getting paste on the table, then fold the drop loosely — paste to paste — and leave it to soak for the time stated on the packet. Under-soaked paste causes bubbles; over-soaked paste causes tearing.
Hang the first drop
Unfold the top half of the pasted drop, align the edge precisely to your pencil guideline, and allow 50 mm to overlap onto the ceiling for trimming. Smooth from the centre outwards and downwards with a wallpaper brush or smoother to push out air bubbles, then unfold the bottom half and continue smoothing down to the skirting board. Use a craft knife and a straight edge to trim cleanly at ceiling and skirting .
Hang subsequent drops and match the pattern
Butt the edge of each new drop tightly against the previous one — do not overlap seams. Slide the drop up or down on the wall to align the pattern before pressing it firmly into place, then run a seam roller lightly along the join. Wipe any paste from the face of the wallpaper immediately with a damp sponge, as dried paste will show as shiny marks under light.
Trim and finish around obstacles
At windows, doors, and light switches, crease the paper firmly into the angle with the back of your scissors to mark the cut line, then trim with a sharp craft knife. Switch off the electricity at the consumer unit before papering around electrical sockets or switches, and never cut wallpaper directly over a live fitting.


Similar Posts
How to Paint Over Woodchip Wallpaper – DIY Guide
Paint over woodchip wallpaper the right way — prep, prime, and roll for a clean, even finish without stripping.
How to Hang Lining Paper – DIY Guide
Hang lining paper the right way — prep walls, size, paste, and cross-line for a smooth, paint-ready finish every time.
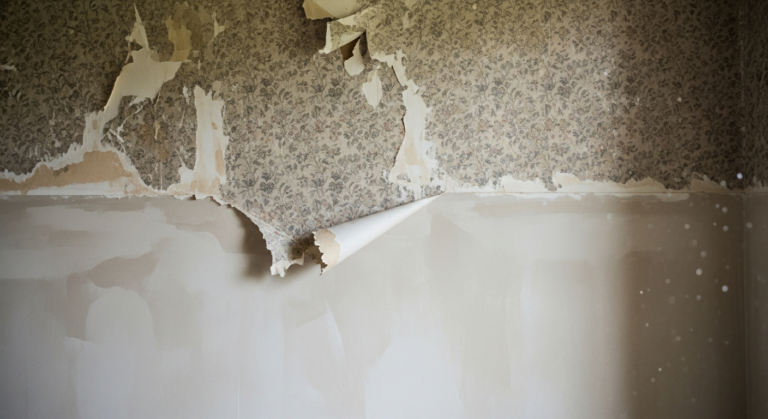
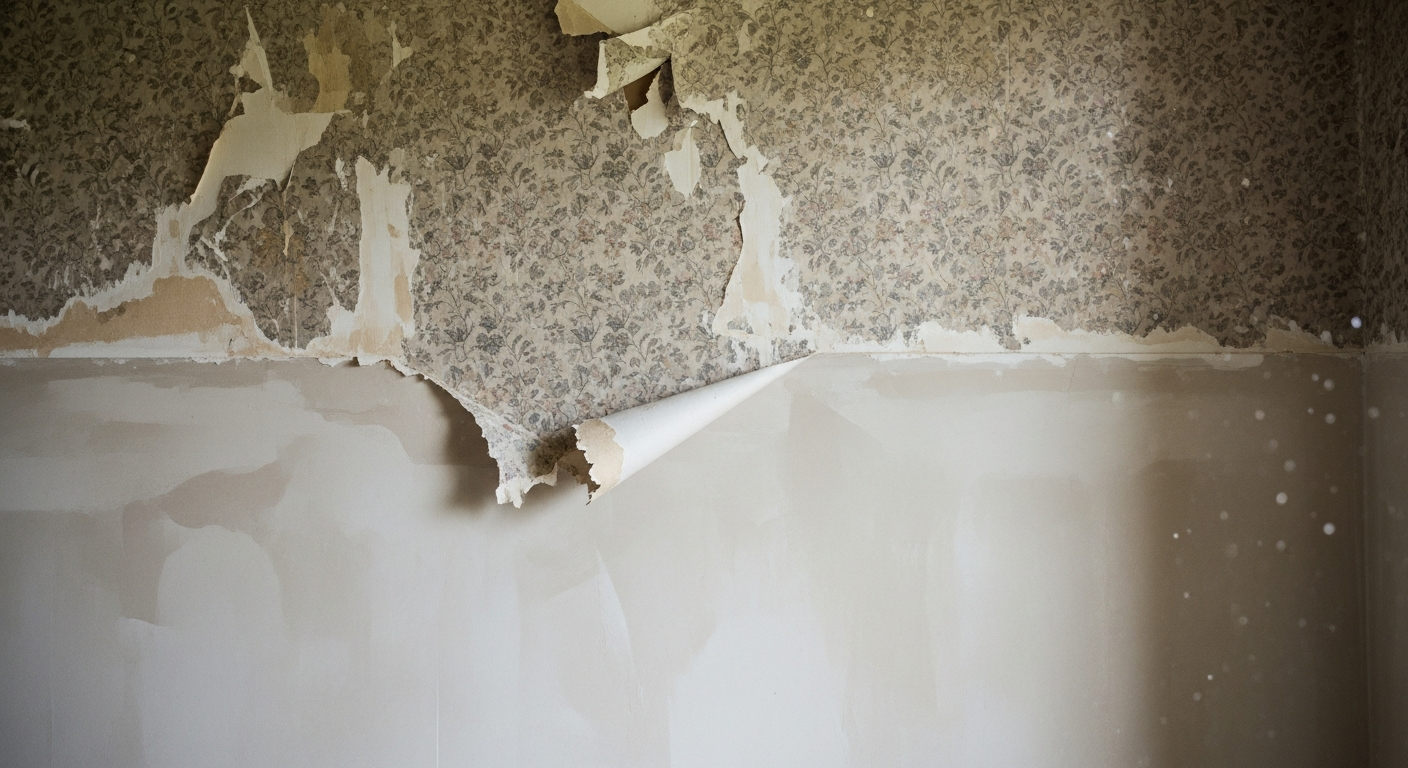
How to Remove Old Wallpaper – DIY Guide
Remove old wallpaper cleanly with our step-by-step guide. Score, soak, scrape and prep walls ready for painting or re-papering.
How to Hang Wallpaper Around Corners – DIY Guide
Hang wallpaper around corners cleanly every time. Step-by-step guide covering inside and outside corners, plumb lines, and pattern matching.