How to Regrout Bathroom Tiles – 2026 Guide
How to Regrout Bathroom Tiles
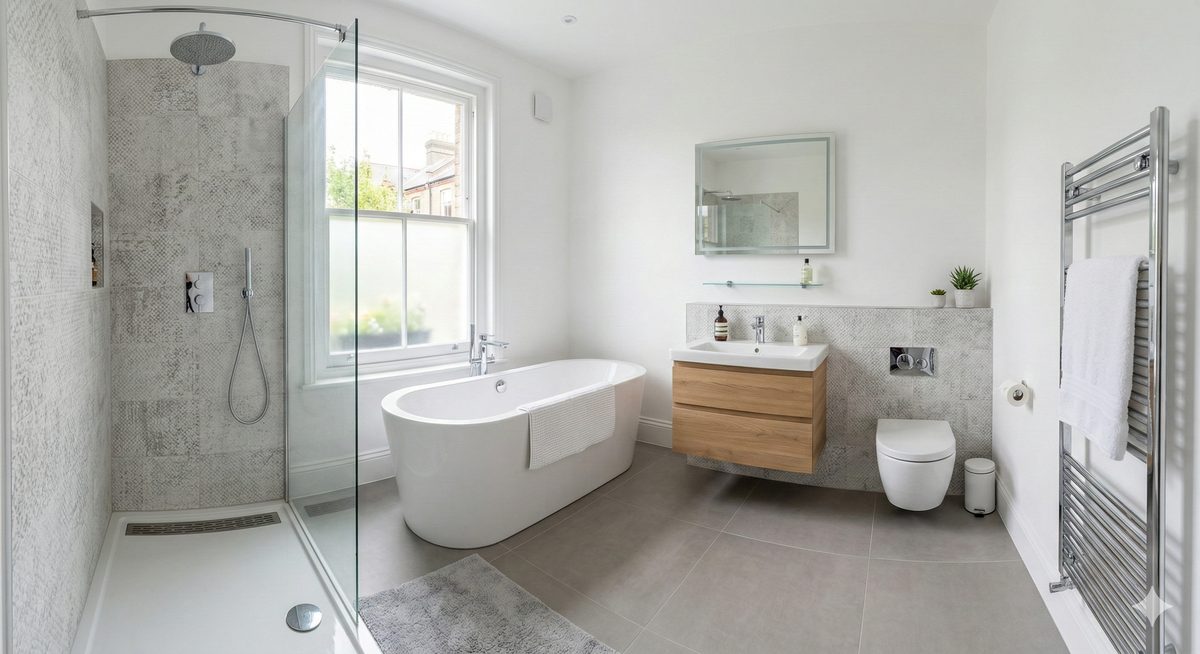
Refresh tired, mouldy grout and make your bathroom look new again.
To regrout bathroom tiles, rake out the old grout with a grout remover tool, clean the joints, then apply fresh grout with a rubber float, working it into the gaps before wiping excess away with a damp sponge. Allow to cure fully before exposing to water.

- Grout rake or oscillating multi-tool with grout blade
- Rubber grout float
- Grout sponge
- Bucket
- Pointing brush or stiff bristle brush
- Safety goggles
- Dust mask (P2 rated)
- Sealant gun (for silicone joints)
- Unsanded or sanded wall tile grout (as appropriate for joint width)
- Grout cleaner or mould and mildew remover
- Tile and grout sealer
- Silicone sealant (for corner and bath/wall joints)
- Painter’s masking tape
- Clean cloths or microfibre cloths
- Warm water
Step-by-Step Guide
Remove the Old Grout
Fit a grout rake or oscillating multi-tool with a grout removal blade and work along each joint at a shallow angle, removing grout to a depth of at least 2–3 mm without scoring the tile faces. Wear safety goggles and a P2 dust mask throughout — grout dust is a respiratory irritant. For a standard bathroom, this stage takes the most time, so work methodically in sections rather than rushing across the whole wall at once. Once done, vacuum or brush away all loose debris from every joint. If you are starting a full bathroom tile project from scratch, see our how to tile a bathroom wall guide for guidance on laying tiles from the beginning.
Clean the Joints Thoroughly
Apply a dedicated grout cleaner or mould and mildew remover to all open joints and leave it to dwell according to the product instructions — typically five to ten minutes. Scrub the joints with a stiff bristle brush, then wipe down with a damp cloth and allow the surface to dry completely. Any residual mould, grease, or soap scum left in the joint will prevent the new grout from bonding correctly and will cause it to fail prematurely. Do not proceed until the tile surface and joints are completely dry.
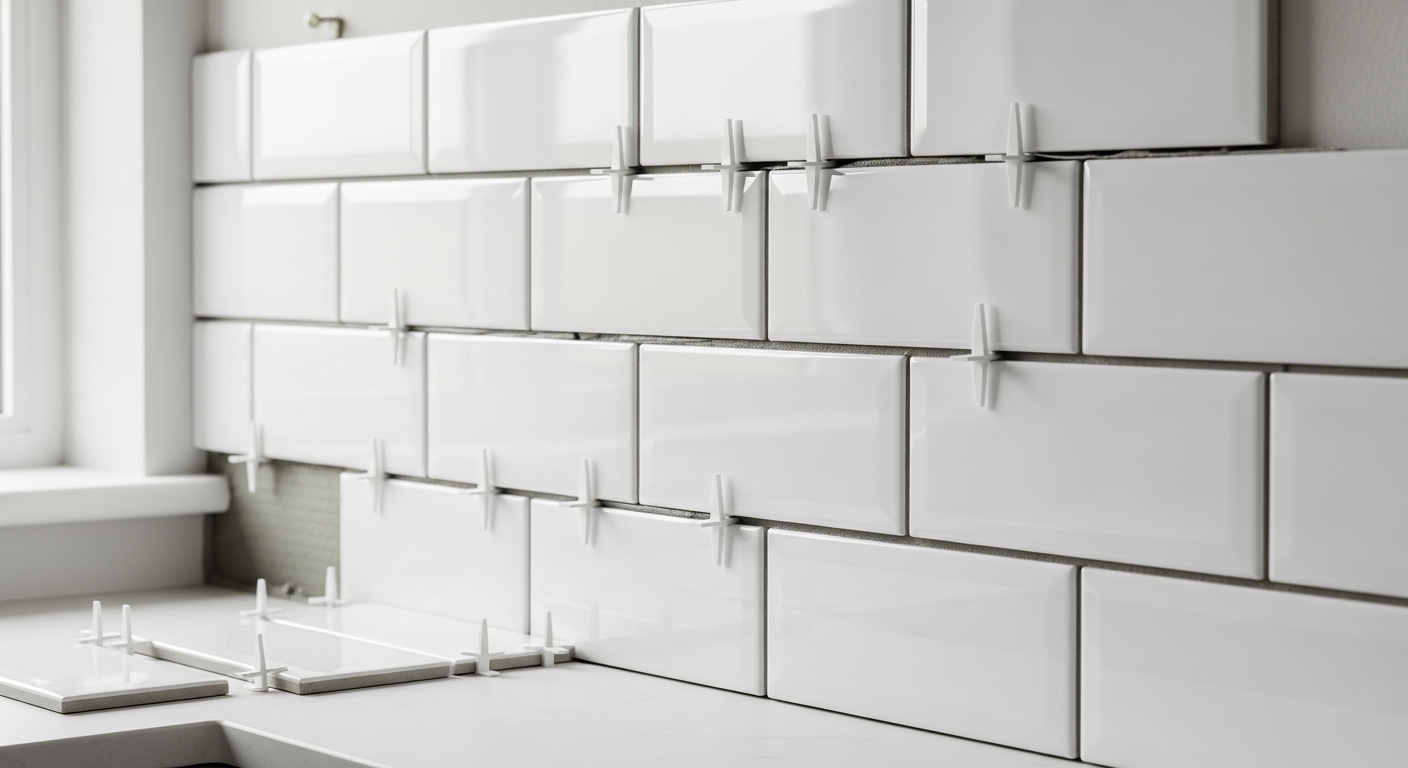
Mix and Apply Fresh Grout
Mix your grout powder with clean water in a bucket, following the manufacturer’s ratio instructions, until you achieve a smooth, lump-free paste with the consistency of peanut butter. Load a rubber grout float and spread the grout diagonally across the tile surface, pressing firmly into each joint to pack it fully — working diagonally prevents the float edge from dragging grout back out of the joints. For wall tiles in a bathroom, an unsanded grout is correct for joints up to 3 mm wide; use sanded grout for wider joints. Our how to grout tiles guide covers mixing ratios and float technique in full detail.
Clean Excess Grout from Tile Faces
After grouting a section of approximately one square metre, wring out a grout sponge in clean water until barely damp and wipe the tile faces in a circular motion to remove the surface haze. Rinse the sponge frequently and change the water often — dirty water smears grout residue back onto tiles rather than removing it. Do not press so hard into the joints that you pull the fresh grout out; a light touch is all that is needed at this stage. Work in sections across the whole surface until all tiles are clean and joints are flush and even.
Seal Internal Corners and Bath-to-Tile Joints with Silicone
Once the grout has dried for 24 hours, replace any grout in internal corners and along the bath-to-wall or tray-to-wall joint with flexible silicone sealant — never rigid grout in these locations, as movement will crack it within weeks. Apply masking tape either side of the joint for a clean line, gun in a continuous bead of silicone, smooth it with a wetted fingertip or silicone tool, then remove the tape before the sealant skins. This is the same principle used when you reseal a bath, so follow those steps if the existing silicone also needs replacing.
Seal the Grout and Allow Full Cure
Once the grout has cured for the time specified by the manufacturer — typically 24–48 hours — apply a grout sealer using a small brush or applicator along each joint to protect against moisture penetration and future staining. Allow the sealer to dry before exposing the tiled surface to water. Avoid using the shower or bath until the full cure period is complete; steam and water introduced too early will weaken the grout and cause premature cracking or discolouration. Your bathroom is now ready for use and should look noticeably fresher.
Frequently Asked Questions
How do I know if my tiles need regrouting or replacing?
If the grout is cracked, crumbling, heavily stained, or showing black mould that cannot be cleaned away, regrouting is the right fix. If the tiles themselves are cracked, hollow-sounding when tapped, or lifting, the tiles need to come off and be relaid — see our how to tile a bathroom wall guide for that process.
Can I regrout without removing all the old grout?
You can apply new grout over old if the existing grout is still sound and firmly bonded, but you must remove at least 2 mm to give the new layer something to key into — otherwise it will not adhere and will simply fall away.
What type of grout should I use in a bathroom?
Use an unsanded, water-resistant wall tile grout for standard joints up to 3 mm wide — the most common specification for bathroom wall tiles. For wider floor tile joints, use a sanded grout. Always check the manufacturer’s joint width specification on the packaging before buying.
How long does regrouting a bathroom take?
A typical bathroom takes 3–5 hours of active work across a day, but you must allow 24–48 hours cure time before using the shower or bath. Plan to be without the bathroom for at least one full day. If you are also fitting new splashback tiles elsewhere in the home, our how to tile a kitchen splashback guide explains grouting technique for that project too.
How often should bathroom grout be resealed?
Apply a grout sealer once a year in a regularly used shower enclosure or bath surround — more frequently if you notice water no longer beading on the grout surface. Regular sealing is the single most effective way to prevent mould taking hold and to extend the life of the grout.
Mix your grout slightly stiffer than the bag instructions suggest for wall tile work — a firmer mix is less likely to slump out of vertical joints while it cures, and it produces a crisper, more uniform finish. You can always add a tiny splash more water if it becomes unworkable, but you cannot stiffen it back up once it is too slack.
Sources
- HSE — Construction dust: silica and other hazardous dusts — hse.gov.uk
- Which? — How to clean bathroom grout — which.co.uk
- NHBC — Good practice guide: Ceramic and porcelain floor and wall tiling — nhbc.co.uk
This guide is for general information only. Always work safely and follow manufacturer instructions. DIYnut accepts no liability for injury or damage arising from DIY work.


