How to Fix a Door That Won’t Close – DIY Guide
How to Fix a Door That Won’t Close
Diagnose and fix a sticking or misaligned door in an afternoon.
Fix a door that won’t close by identifying the cause — swollen timber, loose hinges, or a dropped frame — then plane the binding edge, tighten or reposition the hinges, or adjust the striker plate accordingly. Most repairs take under two hours.


Check and tighten the hinges
Loose hinges are the most common cause of a door that won’t close, and they’re the easiest fix. Remove the door by driving out the hinge pins, then inspect each hinge leaf — they should sit perfectly flush in their recesses with no movement. If screws spin freely, the holes are stripped. Pack the holes with wooden toothpicks or matchsticks dipped in wood glue, let the glue dry fully (minimum 30 minutes), then re-drive the original screws. If the hinges need more strength, replace the existing screws with longer 50–75 mm screws that bite into the structural timber behind the door lining.
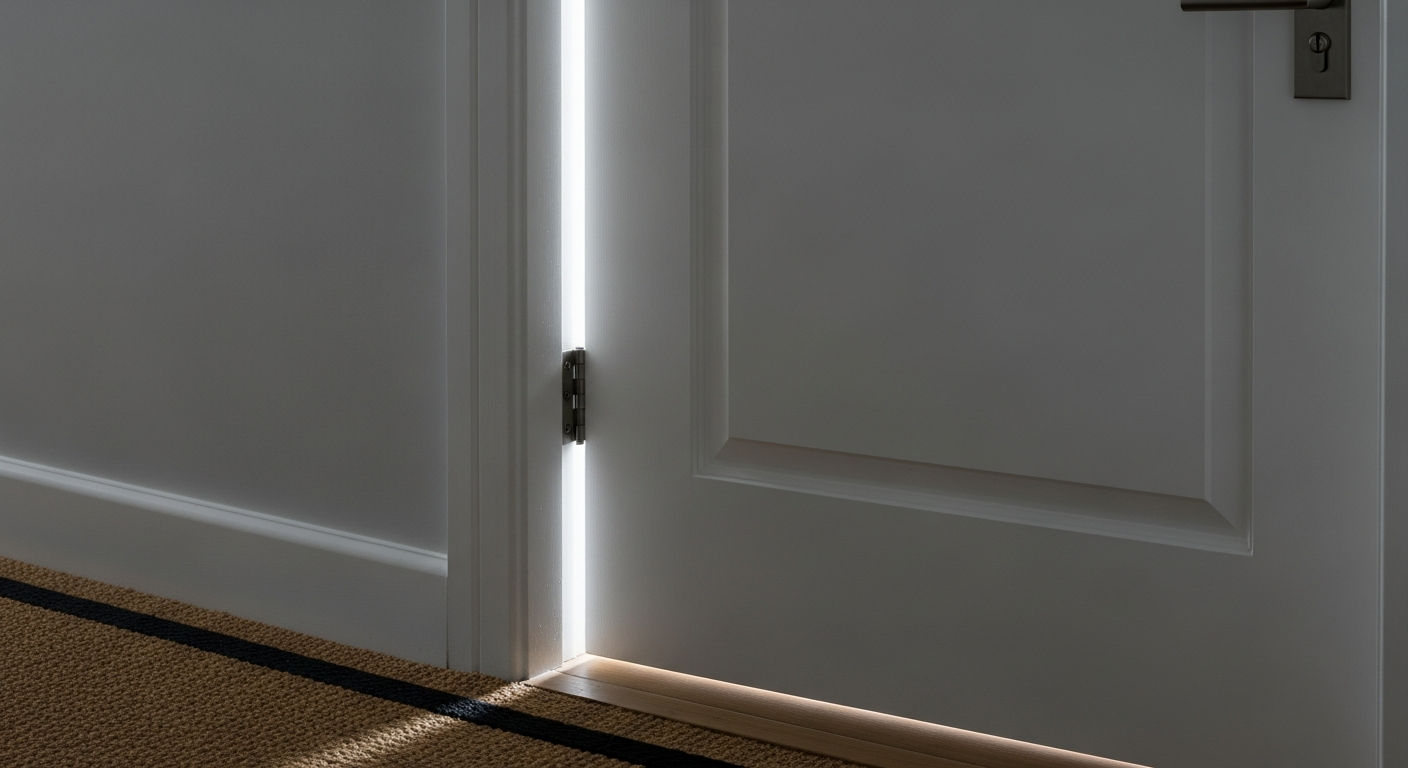
Assess whether the frame has dropped or the timber has swollen
Hold a long, straight piece of timber or a spirit level against the door frame to check for racking or bowing. In older properties, frames settle and go out of square — this is different from seasonal timber swelling, which typically occurs after prolonged damp weather. If the binding is worse in winter or after wet weather, swelling is the likely cause. If the door has always bound or the gap is uneven around the whole perimeter, a dropped or racked frame is more probable and the fix involves shimming the hinges or re-hanging at a slight angle. A racked frame in a newer build can indicate structural movement — consult a builder before proceeding.
Plane or sand the binding edge
If the diagnosis points to a swollen or oversized edge, remove the door and plane the marked high spots. Work with the grain using a sharp hand plane or electric plane set to a very fine cut (0.5 mm or less per pass). Refit the door after every two or three passes to check progress — it is far easier to remove a little more timber than to replace timber you have taken off. Once the door closes freely with a consistent 2–3 mm gap all round, sand the planed edge to 120 grit and seal it immediately with primer or exterior-grade sealant; bare end grain absorbs moisture and will cause the swelling to recur. If you need to plane a sticking door in more detail, follow our dedicated step-by-step guide.
Adjust the striker plate if the latch isn’t engaging
If the door closes but the latch doesn’t catch, the striker plate is out of alignment — the latch bolt is either hitting the face of the plate or missing the hole entirely. Rub chalk or lipstick on the latch bolt, close the door gently, then open it to see where the bolt marks the plate. If the offset is small (under 3 mm), use a chisel to elongate the striker plate hole in the direction needed. For larger misalignment, unscrew the plate, chisel the recess slightly wider, reposition the plate, and fix it with the original screws. Fill the old screw holes with glue-packed toothpicks first if needed.
Rehang the door and seal all bare timber
Refit the door, check it swings without binding, and confirm it latches cleanly first time with no shoulder pressure required. Check the gap around all four sides — aim for 2 mm at the sides and top, 4–8 mm at the bottom (more if carpet is fitted). Once satisfied, touch up any bare planed timber with primer followed by the appropriate topcoat to match the existing finish. Sealing bare timber is not cosmetic — it prevents moisture re-entry that would cause the same problem to return next winter.
Frequently Asked Questions
Why does my door only stick in winter or after rain?
Timber absorbs moisture and expands when humidity is high — this is normal, especially in older softwood doors. Sealing all edges and faces of the door (including the top and bottom) with primer and paint is the most effective long-term prevention.
Can I fix a door that won’t close without taking it off its hinges?
For minor striker plate adjustments or tightening hinge screws, yes. For planing, you must remove the door — trying to plane in situ risks uneven cuts and is harder to control safely.
How do I know if my door frame has moved rather than the door swelling?
Check whether the gap around the door is uneven — a large gap at one corner and no gap at the opposite corner suggests the frame has racked. Seasonal swelling usually creates a uniform binding along one edge rather than a diagonal misalignment. If you also notice skirting boards or plasterwork cracking near the door frame, structural movement may be involved — get a builder to assess it.
My door latch doesn’t catch even though the door seems to close — what’s wrong?
The striker plate on the door frame is almost certainly misaligned. Use the chalk-on-latch-bolt test described in Step 5 to find exactly where the bolt is hitting, then chisel the plate opening to match. A 1–2 mm adjustment is often all it takes.
How do I fix a door that drags on the floor?
A door dragging on the floor is usually caused by dropped hinges — tighten or replace the hinge screws first (Step 2). If the screws are sound but the door still drags, the door itself may have warped or the floor level may have changed (common after fitting new flooring). Laying laminate flooring raises floor height and often requires trimming the bottom of doors — remove the door and plane or saw the bottom rail to restore the correct clearance, then seal the cut edge.
When shimming a hinge to correct a dropped door, cut the shim from a cereal-box card to fit the exact hinge recess — a single layer adds roughly 0.5 mm and lets you dial in the door position in increments without touching the timber. Stack two layers before you consider moving the hinge position.
Sources
- HSE — Safe use of hand tools including planes and chisels — hse.gov.uk
- Which? — How to fix a sticking door — which.co.uk
- Historic England — Timber windows and doors: maintenance and repair — historicengland.org.uk
This guide is for general information only. Always work safely and follow manufacturer instructions. DIYnut accepts no liability for injury or damage arising from DIY work.


