How to Fix a Sticking Door – 2026 Guide
DIY Guides › Carpentry & Woodwork
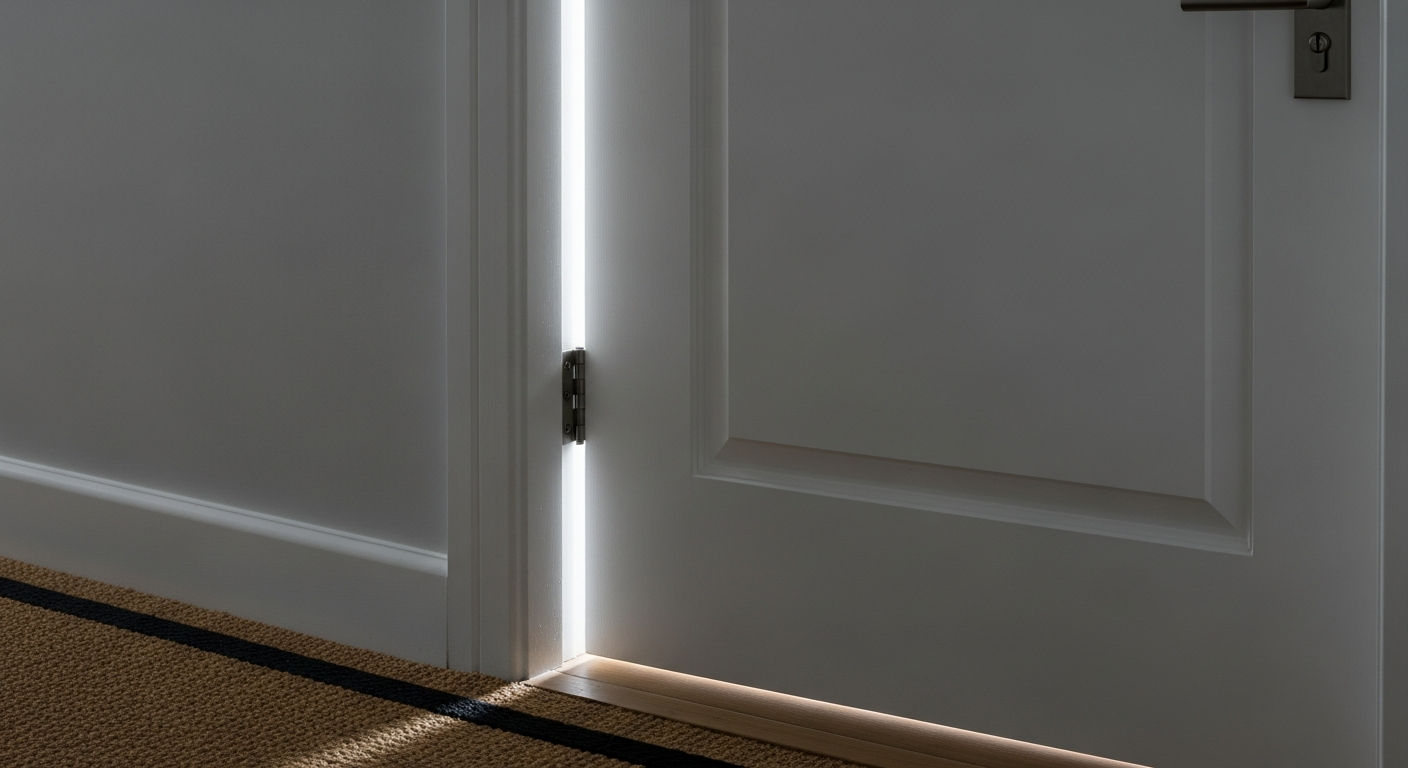
How to Fix a Sticking Door
Diagnose and cure a sticking door in a few hours, no specialist skills needed.
To fix a sticking door, identify where it binds, then plane, sand, or tighten the hinges to remove the excess material or movement causing the problem. Most sticking doors are fixed in under two hours with basic hand tools.


- Hand plane
- Electric sander
- Screwdriver
- Hammer
- Pencil or chalk
- Combination square
- Utility knife
- Workbench or door clamps
- Coarse and fine abrasive paper
- Wood primer
- Exterior or interior wood paint
- Wooden matchsticks or cocktail sticks
- Wood glue
- Replacement screws (longer gauge)
- Hinge recessing chisel
- Candle wax or dry lubricant
Step-by-Step Guide
Identify Exactly Where the Door Is Sticking
Close the door slowly and watch precisely where it binds against the frame — top corner, latch edge, or bottom rail are the most common points. Rub a stick of chalk or a wax crayon along the door edge, then close it; the chalk transfers to the frame exactly where contact is made, giving you a clear target. This step saves you removing material from the wrong place entirely, which is the most common reason a sticking door fix fails. If the door has recently started sticking after damp weather, give it two to three dry days first — our Carpentry & Woodwork Guide explains how timber movement affects joinery throughout the year.
Check and Tighten the Hinges
Before reaching for a plane, inspect both hinges closely — loose screws are responsible for a large proportion of sticking doors. Tighten every screw firmly; if any spin freely without gripping, the holes have stripped. Pack the holes by dipping wooden matchsticks in wood glue, snapping them flush, and leaving them to set for an hour before re-driving the original screws. Also check whether the hinge leaves are sitting flush with the frame and door edge — a proud hinge leaf will cause the door to bind on the opposite side. If a hinge has worked itself out of its recess, use a sharp chisel to pare the recess a fraction deeper until the leaf sits perfectly flat.
Plane or Sand the Sticking Edge
If tightening the hinges does not resolve the problem, you need to remove material from the marked area. For small amounts of binding — up to about 2 mm — a sanding block with 80-grit abrasive paper is sufficient and controllable. For anything greater, use a hand plane set to a fine cut, working with the grain in long, even strokes. Remove a small amount at a time and test the door frequently rather than taking too much off in one pass. On the hinge side, use a chisel rather than a plane to avoid disturbing the hinge recesses. If the door is sticking at the bottom and you cannot remove it, a coarse abrasive sheet taped to the floor and the door dragged across it works well for minor clearance. This is the same careful approach recommended when you are working on any fitted joinery, including when you hang a new door from scratch.
Remove the Door for Access If Needed
If the sticking point is on the top or hinge edge and you cannot plane it in situ, take the door off its hinges for easier access. Drive the hinge pins upward with a screwdriver and hammer, remove the door, and lay it flat on a workbench or across two sawhorses. Mark the area to be planed with clear pencil lines so you stay within bounds. Work in short, confident strokes and check with a combination square that you are keeping the edge square and not introducing a taper. Once planing is complete, smooth the surface with 120-grit abrasive paper before moving to finishing.
Seal and Repaint the Planed Area
Bare timber left unsealed will absorb moisture and swell again, causing the same problem within a few months — this step is non-negotiable. Apply a coat of wood primer to any newly planed or sanded surface and allow it to dry fully according to the product instructions. Follow up with one or two topcoats of interior or exterior wood paint to match the rest of the door, feathering the edges so the repair blends in. For doors between rooms, this is also a good moment to check whether the skirting boards on the adjacent wall need attention — our guide to painting skirting boards covers the correct prep and paint sequence. Re-hang the door and test the swing through several full cycles before declaring the job done.
Lubricate and Test the Final Fit
Run a household candle or a stick of dry wax lubricant along the door edge and frame rebate to reduce friction on any points of light contact. Test the door across a range of temperatures if possible — a door that swings freely in cold weather may tighten slightly in summer humidity, so leave a small consistent gap of 2–3 mm around the entire frame as your target clearance. Check the latch engages cleanly and the door does not rattle when closed. If you notice any uneven gaps around the frame now that the door moves freely, this may indicate a larger structural issue with the frame itself that warrants further investigation rather than more planing.
Frequently Asked Questions
Why does my door only stick in summer or after wet weather?
Timber expands as it absorbs moisture, so doors often stick seasonally as humidity rises. If the problem consistently resolves itself in dry weather, you can usually solve it permanently by planing a small amount off the binding edge and sealing it well against moisture uptake.
Can I fix a sticking door without removing it from its hinges?
Yes — for light sticking on the latch edge or bottom rail, in-situ sanding or planing is perfectly manageable. Use a sanding block or a rebate plane with the door wedged open. Removing the door is only necessary when access to the hinge edge or top rail requires it. If you find yourself needing to do more extensive work, our guide on how to hang a door covers full removal and rehang safely.
My door is sticking at the bottom but the gap at the top looks fine — what is causing it?
A door sticking at the bottom while the top gap looks correct usually means the top hinge is loose or the hinge recess has become shallow, tilting the door forward. Check the top hinge first — tightening or repacking its screws often lifts the bottom edge back into clearance without any planing at all.
Is a sticking door ever a sign of structural movement?
It can be. If multiple doors in the same building start sticking at the same time, or if you see diagonal cracks radiating from door corners alongside the sticking, this can indicate foundation movement or subsidence. A single door sticking in isolation is almost always a timber or hinge issue rather than a structural one, but recurring movement in floors and doors together warrants a professional survey.
What gap should there be around a correctly hung door?
A correctly hung door should have a consistent 2–3 mm gap at the top and sides, and a clearance of 8–10 mm at the bottom for carpeted floors or 3–5 mm over hard flooring — enough to allow smooth operation without draughts. If you are considering replacing a door entirely rather than repairing it, our Carpentry & Woodwork Guide covers sizing and fitting options in full.
When planing the hinge edge of a door, take a shaving or two from the back of each hinge recess with a sharp chisel at the same time — this effectively lets the hinge sit a fraction deeper and pulls the door away from the stop side, which is often where binding on the lock edge actually originates. Fixing the cause at the hinge is faster and cleaner than chasing the symptom at the latch.
Sources
- HSE — Safe use of hand tools including planes and chisels — hse.gov.uk
- Which? — How to fix a sticking door — which.co.uk
- gov.uk — Renting: repairs and maintenance responsibilities — gov.uk
This guide is for general information only. Always work safely and follow manufacturer instructions. DIYnut accepts no liability for injury or damage arising from DIY work.


