How to Change a Door Lock – DIY Guide
How to Change a Door Lock
Replace a worn or compromised door lock quickly, correctly, and with confidence.
To change a door lock, remove the old lock cylinder and handle hardware, note the backset and case size, fit a like-for-like replacement into the existing mortice, and secure with the supplied screws. Most standard mortice or rim lock swaps take under an hour.


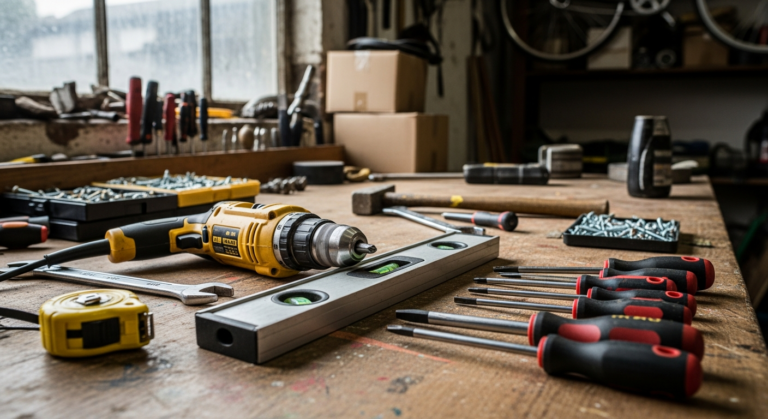
- Flathead screwdriver
- Crosshead screwdriver
- Tape measure
- Chisel
- Mallet
- Utility knife
- Pencil
- Replacement door lock cylinder or lock case
- Replacement strike plate
- Screws (supplied with lock)
- Timber filler or packing shims
- Wood primer
- Sandpaper (medium grit)
Step-by-Step Guide
Measure and identify your existing lock
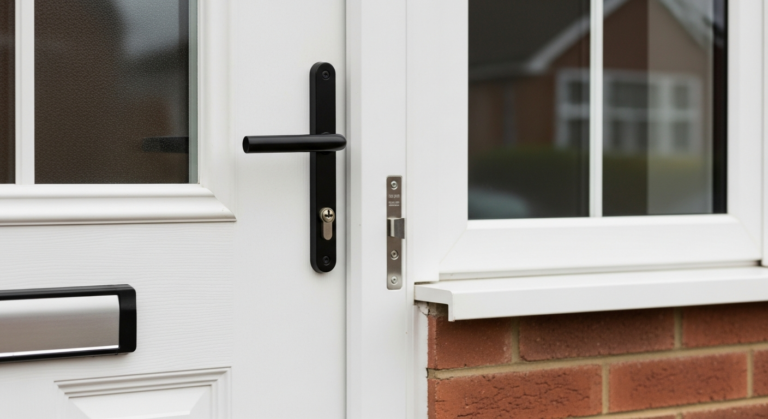
Before buying a replacement, establish exactly what type of lock you have — most UK front doors use either a British Standard 5-lever mortice deadlock or a rim lock (nightlatch). Measure the backset (distance from the door edge to the keyhole centre) and the case dimensions so your replacement is a direct fit. A mismatched case means chiselling out a larger mortice pocket, which is avoidable.
Remove the door handles and face plate
Open the door and unscrew the handle rose or backplate on both faces of the door — there are typically two to four crosshead screws. Slide the spindle out and set the handles aside. For a mortice lock, also unscrew the face plate (the narrow metal strip flush with the door edge) using a flathead screwdriver, then withdraw the lock body from the mortice pocket by pulling on the cylinder or using the face plate screw holes as leverage.
Remove the old cylinder on a rim lock
If you have a rim nightlatch, open the door and unscrew the backplate on the inside. The cylinder is held from the outside by one or two screws through the backplate — remove these and the cylinder slides out from the exterior face. See our Doors & Windows Guide for help identifying lock types before you purchase a replacement.
Fit the replacement lock body
Slide the new mortice lock body into the existing pocket, aligning the face plate flush with the door edge. Insert and tighten the face plate screws, then refit the spindle through the lock body and attach both handle roses. For a rim lock, insert the new cylinder from outside, align the cam with the backplate slot, and secure the screws through the backplate from inside. Check that the latch or bolt operates smoothly before fully tightening everything. If your uPVC door needs a multipoint lock cylinder swap, the same general process applies but the cylinder is retained by a single bolt through the face plate.
Refit or adjust the strike plate
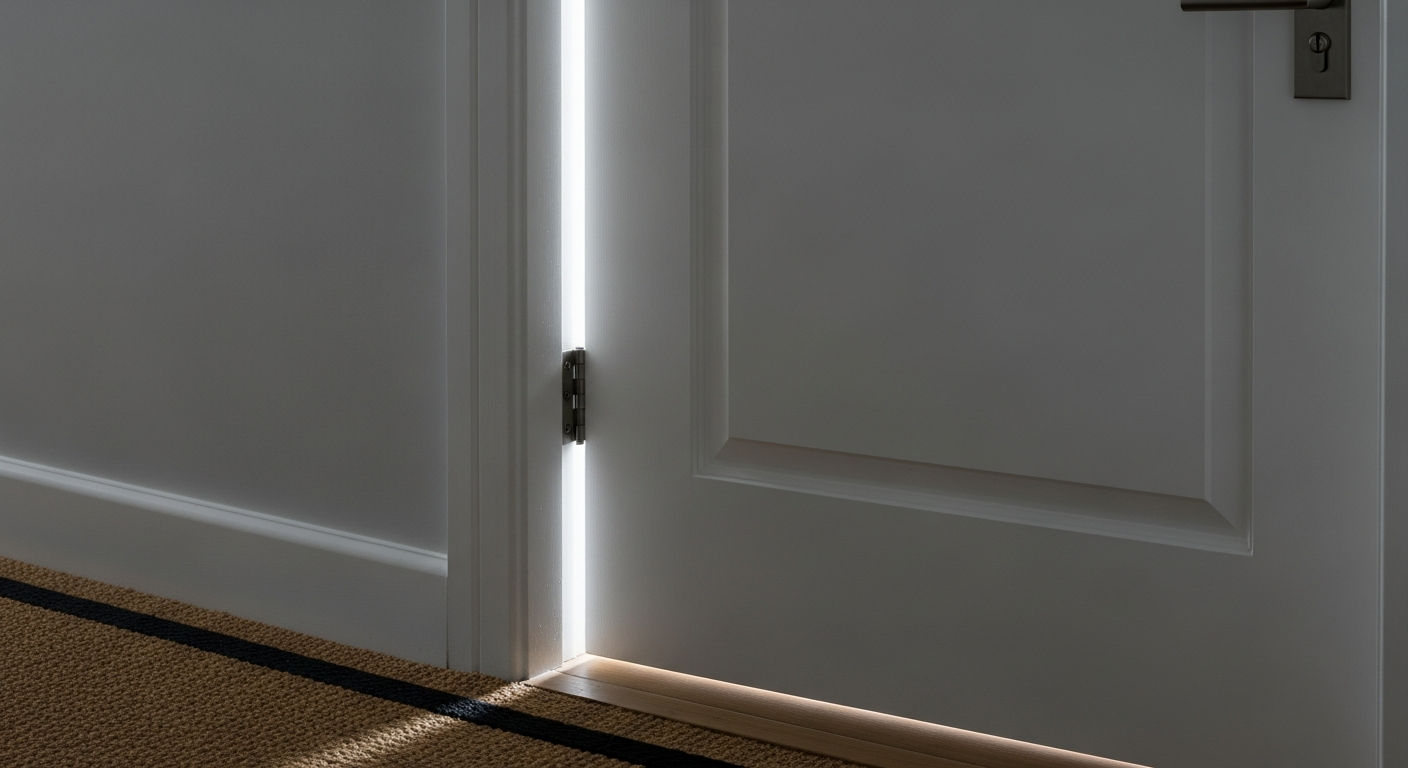
Test the bolt or latch against the frame-mounted strike plate. If the replacement lock has a slightly different throw length, the bolt may not seat fully — use a chisel to deepen the keep pocket by a few millimetres as needed. Refit the strike plate screws and check the door locks and unlocks cleanly from both sides. Misaligned strike plates are the most common reason a new lock feels stiff. If the door itself is dropping or binding, check and replace the door hinges before blaming the lock.
Test the lock and label the keys
Lock and unlock the door at least five times with each new key to confirm smooth operation. Test from both sides and with the door in the closed position under natural pressure against the frame. If the bolt drags on the strike plate, a small rub of candle wax on the bolt face eases the action immediately. Label your new keys and distribute copies to all relevant household members — do not retain old keys once the cylinder has been changed.
Frequently Asked Questions
Do I need a locksmith to change a door lock?
No — replacing a like-for-like lock on a standard timber door is a straightforward DIY job requiring only basic screwdrivers. A locksmith is only necessary if the lock mechanism is damaged, the door has been forced, or the job involves a specialist multipoint system.
What is the difference between changing a lock cylinder and changing the whole lock?
Changing a cylinder replaces only the barrel that the key operates, leaving the lock body and handles in place — this is the quickest option. Changing the whole lock involves removing the full mortice case or rim lock body, which is necessary when the mechanism itself is worn or you are upgrading to a higher security rating.
Can I change a uPVC door lock myself?
Yes, uPVC door cylinders are usually euro-profile and are held in by a single retaining screw through the lock face plate. Remove that screw, turn the key slightly to release the cam, and slide the cylinder out — then reverse the process with a new cylinder of the same length. If the latch mechanism is also faulty, see our guide on fixing a uPVC door latch.
How do I know if my new lock meets insurance requirements?
Look for the British Standard BS 3621 kite mark on the lock packaging or the lock body itself. Most UK home insurance policies require external door deadlocks to carry this mark — if in doubt, check your policy wording or contact your insurer directly before purchasing.
My new lock feels stiff — what should I do?
A stiff new lock is almost always caused by a misaligned strike plate or a slightly tight cylinder fit. Check that the strike plate keep lines up exactly with the bolt throw, adjust with a chisel if needed, and apply a small amount of graphite powder (not oil) inside the cylinder to free the key action. If the problem persists, see our guide on how to fix a door lock.
When fitting a new euro-profile cylinder, measure the existing one with the door open before ordering — you need the exact distances from the centre of the retaining screw hole to each end (e.g. 35/45), not just the overall length. Even a 5 mm difference leaves the cam in the wrong position and the lock will not engage properly.
Sources
- Which? — Door lock buying guide and security advice — which.co.uk
- HSE — Workplace and domestic security: lock standards — hse.gov.uk
- GOV.UK — Secured by Design: door security standards — gov.uk
This guide is for general information only. Always work safely and follow manufacturer instructions. DIYnut accepts no liability for injury or damage arising from DIY work.