Winter Window Draught Proofing
Doors & Windows › Doors & Windows
Winter Window Draught Proofing
Stop cold air at the source and cut heating bills this winter.
Winter window draught proofing means sealing gaps around frames, sashes, and glazing beads before temperatures drop. Use self-adhesive foam strips, silicone sealant, or brush pile seals depending on window type. Most jobs take under an hour per window and require no specialist tools.

Why This Season Matters
October and November sit in a narrow window before sustained cold sets in — temperatures are cool enough to reveal draughts but not so low that sealants and adhesives struggle to cure or bond properly. Silicone sealant and self-adhesive foam strips both perform best when applied above 5°C; wait until January and you may be working in conditions that compromise the seal before it even sets.
Acting before the heating season peaks also means you benefit from reduced energy loss throughout the coldest months rather than partway through them. The Energy Saving Trust notes that draught proofing is one of the cheapest and most effective ways to cut heat loss in older UK homes, and windows are a primary weak point — particularly in properties with timber sash frames or ageing uPVC seals.
Your Complete Checklist
- Inspect all window frames for visible gaps and failed sealant — see the Doors & Windows Guide for a full inspection walkthrough
- Remove old or crumbling silicone sealant from frame-to-wall joints before resealing — see Seal a Leaking Window
- Apply brush pile or foam seal to sash window meeting rails and runners — see Draught Proof Sash Windows
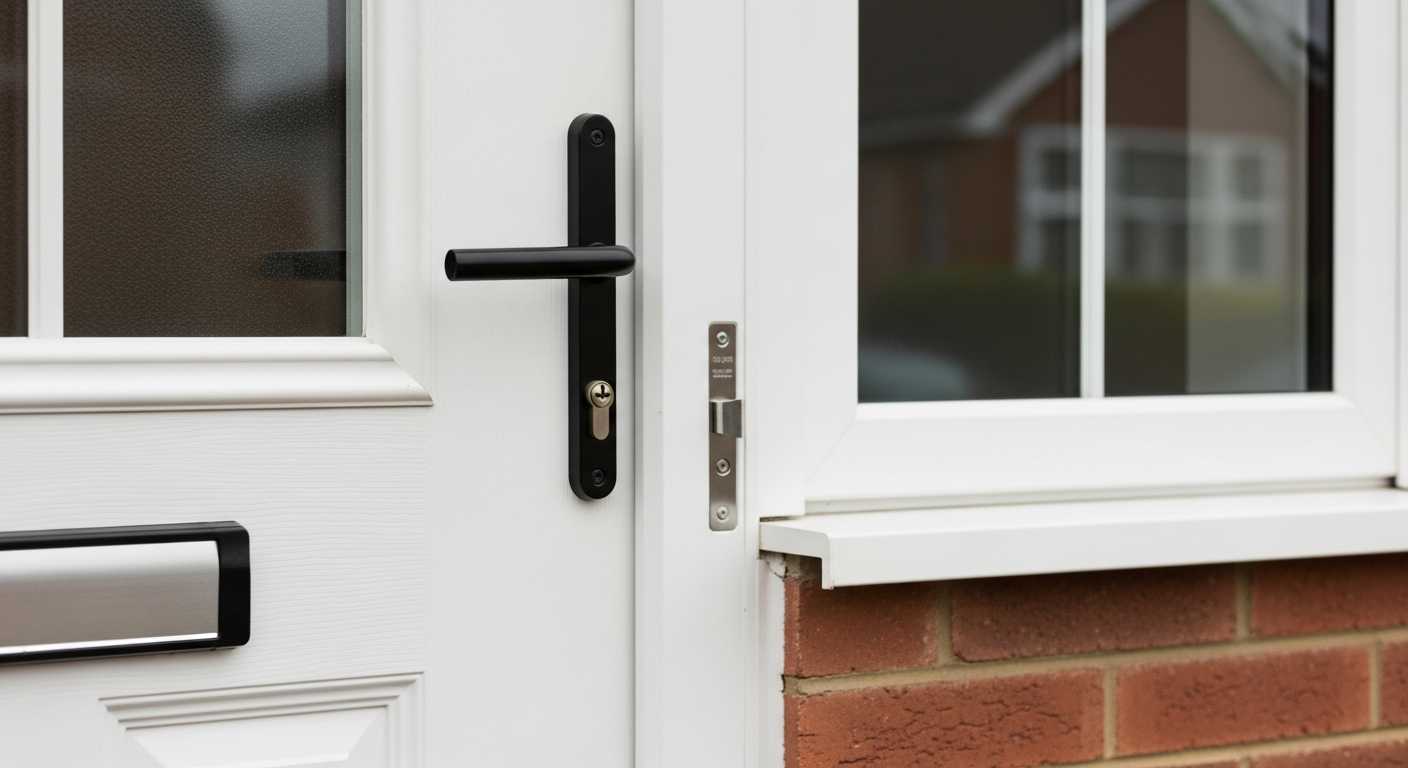
- Check uPVC window handles are closing frames fully against the seal — see Fix a uPVC Window Handle
- Replace perished rubber gaskets or glazing seals on double-glazed units — see Replace a Window Seal
- Repair any rot or damage to wooden window frames before sealing — see Repair a Wooden Window Frame
- Investigate and address internal condensation forming between double-glazed panes — see Fix Condensation in Double Glazing
- Fill any hairline cracks in the plaster or render around window reveals — see Fix Hairline Cracks in Walls
- Seal gaps where skirting boards meet the floor under bay windows — see Fill Gaps in Skirting Boards
- Fix any jammed sash windows that prevent a full draught-proof close — see Fix a Jammed Sash Window
- Repoint or reseal the external window sill if cracking or water ingress is visible — see Fix a Rotting Window Sill
Step-by-Step for Each Task
1. Resealing frame-to-wall joints with silicone
Cut away all existing sealant using a sealant remover tool or Stanley knife. Clean the channel thoroughly with a dry cloth and, if needed, a small amount of methylated spirit to remove grease. Apply low-modulus silicone in a single continuous bead, holding the gun at 45°. Smooth immediately with a wet finger or caulk tool, then leave undisturbed for at least 24 hours before exposing to rain.
2. Fitting brush pile seals to sash windows
Measure the combined length of both sash runners (sides) and the meeting rail. Cut brush pile strip to length with scissors. Peel the adhesive backing and press the strip into the groove in the runner channel — most sash windows have a routed slot designed for this purpose. For the meeting rail, attach the pile strip to the face of the lower sash’s top rail so it compresses against the upper sash when both are closed. Test the sashes run smoothly after fitting.
3. Replacing a perished window rubber gasket
Open the window fully and locate the rubber gasket seated in the glazing rebate around the edge of the glass unit. Starting at a corner, use a flat-bladed tool to lift the gasket free — work slowly to avoid disturbing the glass. Take a short section to a window specialist or builders’ merchant to match the profile exactly. Press the new gasket into the rebate from a corner, working around the perimeter and leaving a small overlap, which you cut flush with a Stanley knife once seated.
4. Filling plaster cracks around window reveals
Use a filling knife to rake out any loose material from the crack. Dampen the area with a brush dipped in water to prevent the filler drying too fast and shrinking. Apply flexible decorators’ filler in a single pass for hairline cracks, or two passes for anything wider than 2mm, allowing the first to dry before adding the second. Sand flush when fully cured and redecorate to match the surrounding wall finish.
Tools and Materials You’ll Need
- Sealant remover tool or Stanley knife
- Caulking gun
- Low-modulus silicone sealant (clear or white)
- Flexible decorators’ filler
- Self-adhesive foam draught strip (E-profile or P-profile)
- Brush pile draught seal strip
- Replacement rubber window gasket (matched to your profile)
- Filling knife (100mm)
- Flat-bladed pry tool
- Tape measure and scissors
- Fine-grit sandpaper (120 grit)
- Methylated spirit and clean cloths
- Small paintbrush (for dampening plaster)
- Bucket of warm water
- Stepladder (if working on upper-floor windows)
Common Mistakes to Avoid
- Applying sealant in freezing temperatures. Silicone and acrylic sealants need a minimum of around 5°C to cure correctly. Applied in frosty conditions, the bond fails prematurely and the sealant peels away within weeks.
- Fitting foam strip without cleaning the surface first. Dust, paint flakes, and grease prevent the adhesive backing from bonding. The strip appears stuck but lifts off within days of use.
- Over-compressing foam strips on opening casements. If the foam is too thick for the gap, the window will not close fully against the latch — leaving a larger gap than you started with. Match strip thickness to the actual gap measurement.
- Sealing weep holes in uPVC frames. These small slots at the bottom of uPVC frames allow condensation to escape. Blocking them with sealant causes moisture to build up inside the frame, leading to mould and structural damage over time.
- Ignoring internal reveals while only tackling the frame exterior. Cold air enters through multiple routes — a crack in the plaster around the window reveal can let in as much cold air as a gap in the frame itself. Treat the whole window opening, not just the frame.
Frequently Asked Questions
What is the cheapest way to draught proof windows in winter?
Self-adhesive foam strip is the lowest-cost option and suits most hinged casement windows. For sash windows, brush pile seals offer better durability and are still inexpensive. Both are available from builders’ merchants and hardware shops.
Can I draught proof windows myself or do I need a professional?
Most window draught proofing is suitable for a competent beginner — it requires no specialist tools or qualifications. The exception is replacing failed double-glazed sealed units, which is best left to a registered glazing installer.
Will draught proofing windows cause condensation problems?
Reducing air infiltration can increase indoor humidity if you have no other ventilation. Keep trickle vents open in uPVC frames and ensure kitchens and bathrooms have adequate extraction. Draught proofing and controlled ventilation should work together, not against each other.
How do I find draughts I cannot see?
On a windy day, hold a lit incense stick or a thin strip of tissue paper near window frames and meeting rails. Movement in the smoke or paper reveals exactly where air is entering. Do this with the heating off so temperature differences do not confuse the test.
Does draught proofing windows add any value to a home?
Draught proofing contributes to a higher Energy Performance Certificate (EPC) rating, which is increasingly important to buyers and mortgage lenders. The Energy Saving Trust advises that good draught proofing across windows and doors is a cost-effective way to improve an EPC band.
When fitting brush pile seal to sash windows, cut the pile strips for the side runners fractionally long — around 3mm — and compress them into the channel ends rather than cutting flush. This prevents the gap that typically opens at the top and bottom of the travel where cold air bypasses a perfectly measured but slightly short strip.
Sources
- Energy Saving Trust — Draught proofing — energysavingtrust.org.uk
- Which? — How to draught-proof your home — which.co.uk
- Historic England — Draught-proofing windows and doors in traditional buildings — historicengland.org.uk
This guide is for general information only. Always work safely and follow manufacturer instructions. DIYnut accepts no liability for injury or damage arising from DIY work.