How to Replace a Window Seal – DIY Guide
How to Replace a Window Seal
Stop draughts and damp in an afternoon with a fresh window seal.
To replace a window seal, remove the old perished seal, clean the frame channel thoroughly, cut the new foam or rubber seal to length, and press it firmly into place. The job takes under two hours and requires no specialist tools.
- Craft knife or Stanley knife
- Scissors
- Flat-head screwdriver
- Tape measure
- Cloth or rag
- Hairdryer or heat gun (low setting)
- Self-adhesive foam or rubber draught-seal strip
- Silicone-based frame cleaner or white spirit
- Mild detergent and warm water
- Fine sandpaper (120 grit)
- Dry cloth
- Corner joining clips (if required for frame type)
Step-by-Step Guide
Assess and identify the seal type
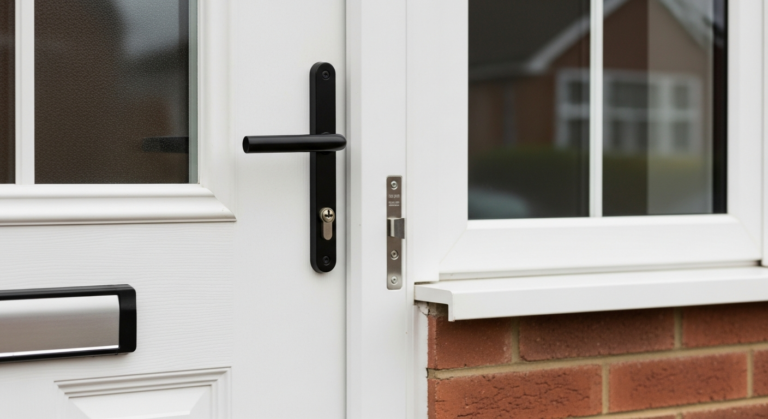
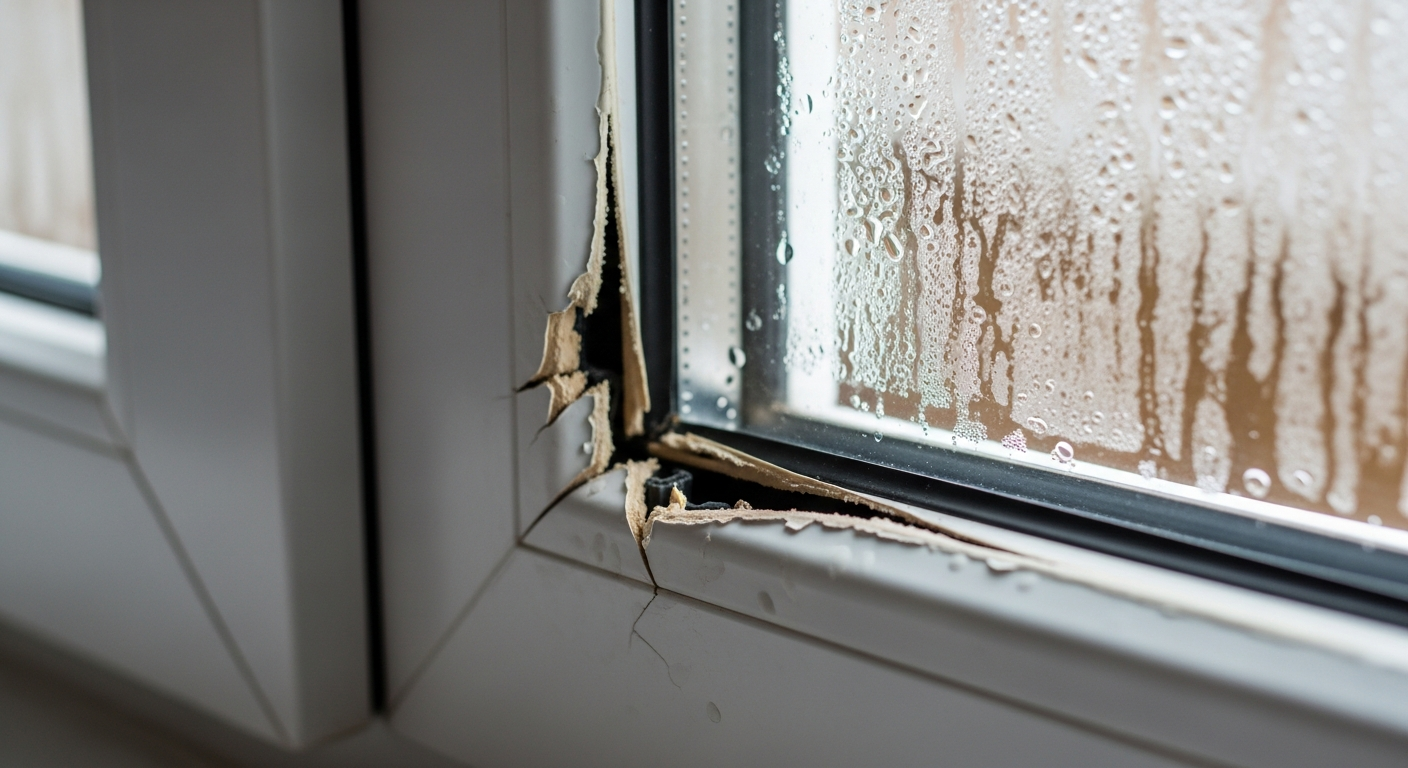
Open the window fully and inspect the existing seal. Window seals fall into two main types: self-adhesive foam strip pressed into a channel, and compression rubber seal (sometimes called a bubble or P-profile seal) that clips or pushes into a groove in the frame. Identifying which type you have determines what replacement product to buy. Run your finger along the seal — if it crumbles, flattens without springing back, or has gaps, it needs replacing. For uPVC frames, refer to our guide on fixing a uPVC window handle to understand how the sash assembly fits together before you begin.
Remove the old seal completely
Starting at a corner, use a flat-head screwdriver or your fingernail to lift the edge of the old seal. Peel it away steadily — pull at a shallow angle to avoid leaving adhesive behind. For compression seals seated in a groove, press the screwdriver gently into the groove and lever the seal out in sections. Work around all four sides of the frame until every scrap of old seal is removed. Do not leave partial sections in place; uneven old seal beneath new seal will cause it to lift and fail within weeks.
Clean and prepare the frame channel
Remove all adhesive residue from the channel or rebate using a cloth dampened with white spirit or a silicone-based frame cleaner. Work in short strokes and swap to a clean section of cloth regularly. Once the residue is gone, wash the channel with warm soapy water and dry it completely — adhesive bonds poorly to damp or greasy surfaces. If any paint or corrosion has roughened the surface, lightly sand it with 120-grit sandpaper and wipe away the dust. Allow the channel to dry fully, ideally 15–20 minutes in a warm room, before fitting the new seal.
Cut and fit the new seal
Measure each side of the frame separately — windows are rarely perfectly square, so measure all four individually. Cut the new seal slightly long (2–3 mm) at the corners so it compresses into place without leaving gaps. For self-adhesive foam strip, peel back 100–150 mm of backing at a time rather than all at once; this prevents the strip twisting out of alignment. Press the seal firmly into the channel with your thumb, running it in from corner to corner. For push-in compression seals, use your thumb or the flat-head screwdriver handle to seat the seal fully into the groove so it sits flush and even. If you have a wooden window frame that also needs attention, see our guide to fixing a rotting window sill before fitting the new seal.
Mitre or join the corners neatly
Seal performance at the corners determines how draught-proof the finished result is. For foam strip, cut each corner at 45 degrees with a craft knife so the ends meet cleanly. For compression seals, cut square and butt the ends together tightly — use corner joining clips if they were supplied with your seal. Avoid overlapping the seal at corners; this creates a raised bump that stops the window closing flush. If the seal needs softening to go around tight corners on older timber frames, briefly warm it with a hairdryer on a low setting to make it more pliable. Draught-proofing other openings in the same session maximises the energy savings from your work.
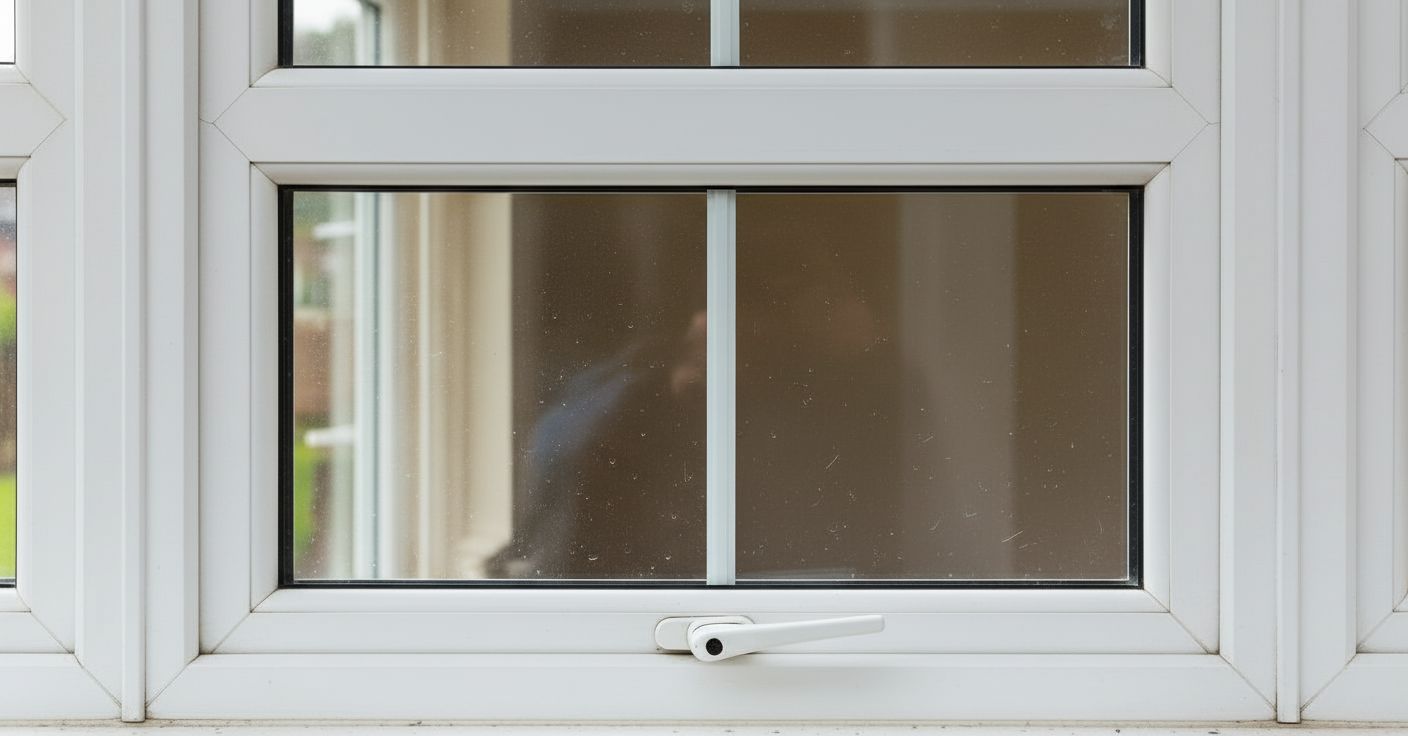
Test the window and check the seal
Close the window and lock it fully. The sash should close without excessive force — if you have to slam it, the new seal is too thick for the rebate. Open the window again and check the seal has not lifted or twisted at any point. Run your hand around the closed frame on a cold or breezy day to feel for any residual draught. For self-adhesive foam seals, allow 24 hours before operating the window repeatedly, as the adhesive continues to cure and bond during this period. If you are concerned about persistent draughts from the frame itself rather than the seal, the next step is to seal a leaking window with silicone sealant around the external frame.
Frequently Asked Questions
How do I know what type of window seal to buy?
Take a short length of the old seal to your local builders’ merchant and match it by profile — P-shape, D-shape, E-shape or flat foam strip. If the old seal has completely disintegrated, measure the rebate gap with the window closed (typically 2–4 mm) and buy compression seal rated for that gap size.
Can I replace the seal on a double-glazed uPVC window myself?
Yes — the perimeter draught seal on a uPVC sash is a DIY job. The rubber gasket bonded between the two panes of glass (the inter-pane seal) is a different component and requires a glazier if it has failed, which is indicated by condensation between the panes. If that is your problem, see our guide on fixing condensation in double glazing.
How long does a replacement window seal last?
Quality rubber compression seals typically last 10–15 years in normal conditions. Self-adhesive foam strips have a shorter lifespan of 3–5 years, particularly on windows that are opened frequently. Exposure to UV light and cleaning chemicals accelerates deterioration, so inspect seals annually.
My window still feels draughty after fitting a new seal — what should I check?
First check that the window locks fully — a misaligned sash that does not compress the seal evenly is a common cause. Also inspect the outer silicone bead where the frame meets the masonry; if that is cracked or missing, cold air bypasses the seal entirely. You may also need to adjust the sash compression on uPVC frames using the hinge or locking-point screws.
Do I need to replace all the seals on a window at the same time?
If one side has perished, the others are typically the same age and will fail soon. Replacing all four sides in one session is more cost-effective and ensures even compression around the full frame — replacing just one side often results in the window sitting unevenly and still draughting from the intact but compressed opposite seal.
When fitting self-adhesive foam seal in cold weather, warm the channel and the backing tape with a hairdryer before applying — cold adhesive bonds at roughly half the strength of warm adhesive and will begin lifting within weeks. Run the window’s locking mechanism a few times with the new seal fitted before allowing the adhesive to fully cure; this imprints a compression set into the foam that exactly matches your specific rebate gap.
Sources
- Energy Saving Trust — Draught-proofing: how to do it — energysavingtrust.org.uk
- HSE — Working safely: general guidance for workers — hse.gov.uk
- Which? — How to draught-proof your home — which.co.uk
This guide is for general information only. Always work safely and follow manufacturer instructions. DIYnut accepts no liability for injury or damage arising from DIY work.