How to Seal a Leaking Window – DIY Guide
How to Seal a Leaking Window
Stop water ingress for good with the right sealant and a clean application.
To seal a leaking window, remove the old sealant, clean and dry the frame and surround thoroughly, then apply a fresh bead of exterior-grade silicone sealant. Smooth it off with a wet finger or tool, and allow 24 hours to cure before exposing it to rain.


- Sealant gun
- Stanley knife or sealant scraper
- Stiff brush
- Clean cloths or rags
- Masking tape
- Smoothing tool or wet finger
- Exterior-grade silicone sealant
- Sealant remover or solvent cleaner
- White spirit or methylated spirit
- Masking tape
- Backer rod (for wider gaps)
- Dry cloth or paper towels
Step-by-Step Guide
Identify the Source of the Leak
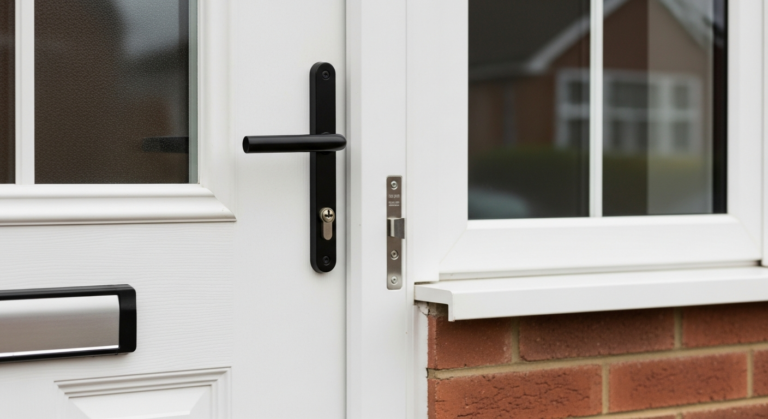
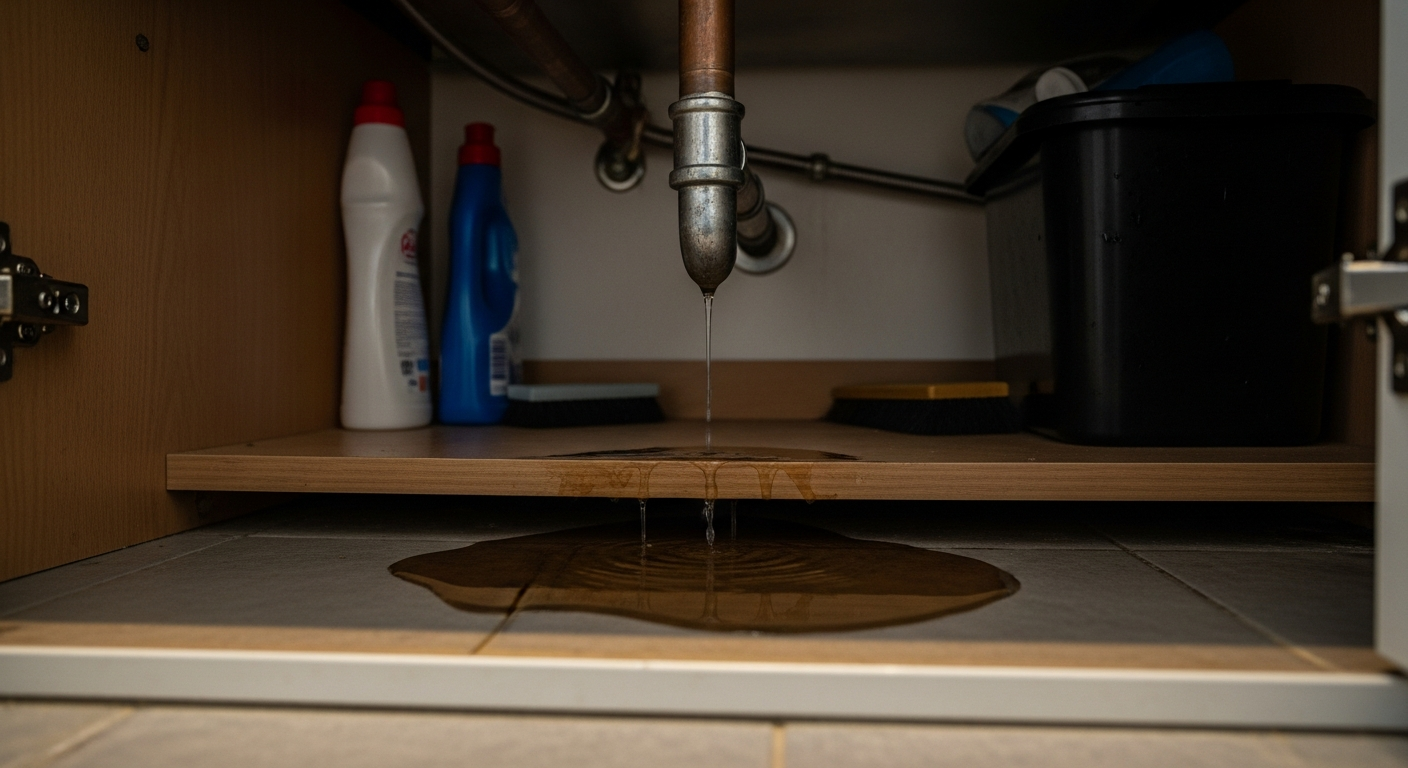
Before applying any sealant, locate exactly where water is entering — check the junction between the window frame and the external wall, the glazing bead where glass meets frame, and any visible cracks in the surrounding render or brickwork. Running water over the frame with a hose can help pinpoint the gap. Treating the wrong area is one of the most common reasons a re-seal fails within months. If you also notice staining or bubbling inside, check our guide to fix damp on interior walls, as the problem may extend beyond the frame.
Remove All Old Sealant
Use a Stanley knife or dedicated sealant scraper to cut and pull away every trace of the existing sealant. Work methodically along the entire joint — leaving any old material behind will prevent the new sealant from bonding correctly. Apply a sealant remover product to any stubborn residue, leave it to soften for the manufacturer’s recommended time, then scrape clean. Do not rush this step: fresh sealant over old sealant is a temporary fix at best.
Clean and Dry the Surface
Wipe down the entire joint with white spirit or methylated spirit on a clean cloth to remove grease, dust, and any remaining residue. Follow with a dry wipe, then allow the surface to dry completely — ideally for at least one hour in dry weather. Silicone will not bond to a damp substrate, so never attempt this job during rain or on a morning with heavy condensation. A stiff brush is useful for clearing out any loose mortar or grit from the gap before the final wipe.
Apply Masking Tape and Load the Sealant Gun
Run two strips of masking tape parallel to the joint, set back by approximately 5 mm on each side, to give a clean straight finish. Cut the nozzle of the sealant cartridge at a 45-degree angle to give a bead roughly 5–6 mm wide — matching the gap size. Load the cartridge into the sealant gun and do a short test bead on a scrap surface to check flow before starting on the frame. For wider gaps over 10 mm, press backer rod into the gap first to reduce the depth and avoid using excessive sealant.
Apply and Smooth the Sealant Bead
Hold the gun at 45 degrees and move along the joint in a single continuous pass at a steady pace, keeping the bead consistent. Immediately smooth the wet sealant with a moistened finger or a smoothing tool, pressing it slightly into the joint to ensure full contact. Remove the masking tape straight away while the sealant is still wet — pulling it off at a low angle — to leave clean, sharp edges. Do not attempt to re-work sealant that has started to skin, as this will drag and leave an uneven finish. If you notice any cracks in the surrounding wall near the frame, fill those separately once the sealant has cured.
Allow Full Cure and Test
Leave the sealant to cure for a minimum of 24 hours — check the product data sheet, as some exterior silicones require up to 48 hours for a full weather-resistant cure. Keep the area dry during this period. Once cured, test by running water over the external frame and checking internally for any sign of moisture. A successful seal should be fully watertight with no visible gaps or lifting edges. For draught issues around the same window, see our guide to draught proofing techniques that apply equally to windows.
Frequently Asked Questions
What type of sealant should I use to seal a leaking window?
Use an exterior-grade silicone sealant — ideally one rated for use on UPVC, timber, or masonry depending on your frame material. Avoid general-purpose interior silicone on external joints, as it will not withstand outdoor conditions.
Can I seal a leaking window from the inside?
You can apply an interior bead to reduce draughts and minor condensation routes, but water ingress must be addressed externally at the source. Sealing internally only without addressing the external gap traps moisture inside the joint, which can cause further damage over time.
How long does window sealant last?
A well-applied exterior silicone sealant typically lasts 10–20 years before it degrades, cracks, or loses adhesion. Joints in exposed or south-facing positions may need checking sooner due to UV and thermal movement.
My window is leaking but the sealant looks intact — what else could it be?
Can I use mastic instead of silicone to seal a window?
Acrylic mastic is paintable and suitable for interior use or sheltered joints on timber frames, but it is less flexible and less water-resistant than silicone over time. For exposed external joints, silicone or a hybrid polymer sealant is the more durable choice. For related timber frame repairs, see our guide to repair a wooden window frame.
Cut the sealant nozzle smaller than you think you need — a 4 mm opening gives far more control than a wide cut, and you can always make a second pass if the gap is deep. Running the gun at a consistent speed matters more than applying pressure; let the gun do the work and the bead stays even.
Sources
- HSE — Working at height: windows and external maintenance — hse.gov.uk
- Which? — How to draught-proof windows and doors — which.co.uk
- Energy Saving Trust — Draught-proofing your home — energysavingtrust.org.uk
This guide is for general information only. Always work safely and follow manufacturer instructions. DIYnut accepts no liability for injury or damage arising from DIY work.