Best Flooring for Bathrooms – DIY Guide
The best flooring for bathrooms is luxury vinyl tile or sheet vinyl — both are fully waterproof, warm underfoot, and easy to lay. Porcelain tiles are the most durable long-term option. Avoid solid wood and standard laminate, which swell and delaminate when exposed to moisture.


- Tape measure
- Utility knife
- Notched trowel
- Rubber mallet
- Spirit level
- Grout float
- Pencil and chalk line
- Luxury vinyl tile or sheet vinyl
- Porcelain or ceramic floor tiles
- Flexible floor adhesive
- Waterproof grout
- Flexible silicone sealant
- Self-levelling compound
- Waterproof tile backer board
- Expansion gap trim strips
Step-by-Step Guide
Assess Your Subfloor and Moisture Levels
Before choosing any flooring material, check the condition of your subfloor. A solid concrete subfloor is ideal for tiles. Timber joists need to be firm with no flex — more than 2 mm of movement over a 2 m span will crack grout lines in a tiled floor. Check for existing damp or leaks around the bath, toilet, and basin before laying anything. A solid, level, dry subfloor is the single most important factor in how long your bathroom floor lasts. See our guide to fixing a dip in the floor if your subfloor needs levelling first.
Choose the Right Flooring Material for Your Bathroom
Luxury vinyl tile (LVT) and sheet vinyl are the top choices for most bathrooms — fully waterproof, comfortable underfoot, and achievable for a confident beginner. Porcelain tiles are the most durable option and the best for a wet room or family bathroom with heavy foot traffic, but they require a rigid subfloor and more skill to lay. Ceramic tiles are a cheaper alternative to porcelain with good water resistance but are less hard-wearing. Engineered wood with a high lacquer or oil finish can be used in low-splash bathrooms if moisture exposure is minimal, but it is a risk in a busy household. Standard laminate and solid hardwood must be avoided entirely — they are not suitable for bathrooms. For a detailed comparison of vinyl options, read our vinyl plank vs laminate guide.
Prepare the Subfloor Surface
Fill any gaps, cracks, or dips with a floor-grade self-levelling compound and allow it to cure fully — typically two to four hours depending on depth. For tiles over a timber subfloor, fix a layer of waterproof tile backer board using screws at 200 mm centres to eliminate flex and prevent cracked grout over time. For vinyl, the surface must be smooth and free of ridges — old adhesive bumps or screw heads will telegraph through the finished floor within months. Sand down high spots and fill low spots before proceeding.
Plan Your Layout and Mark Reference Lines
Measure the room and find the centre point. Snap a chalk line across the longest axis of the room and a second line perpendicular to it — these are your laying reference lines. For tiles, do a dry run from the centre outward to check cut sizes at the edges. Aim for cuts no smaller than half a tile at the perimeter. For vinyl planks or LVT, start from the most visible wall and work away from the door. Always leave a 10 mm expansion gap around the full perimeter of the room, which will be covered by the skirting board or a trim strip. If you are also fitting new tiles on the floor, our guide to laying floor tiles without lippage covers this in detail.
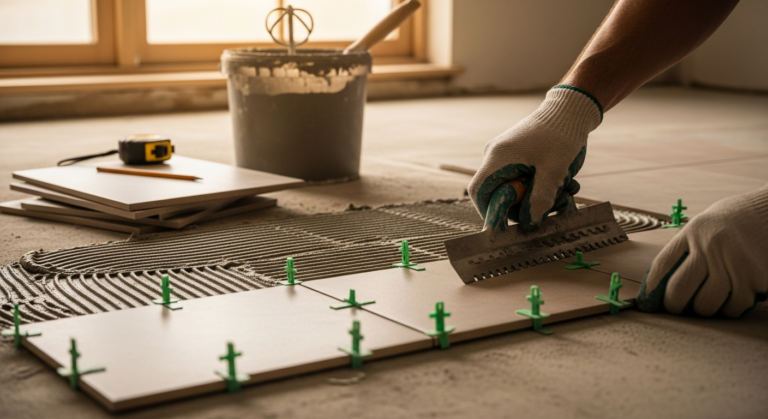
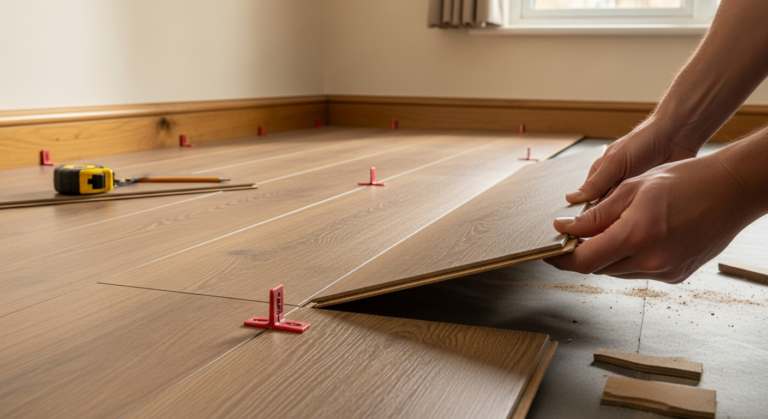
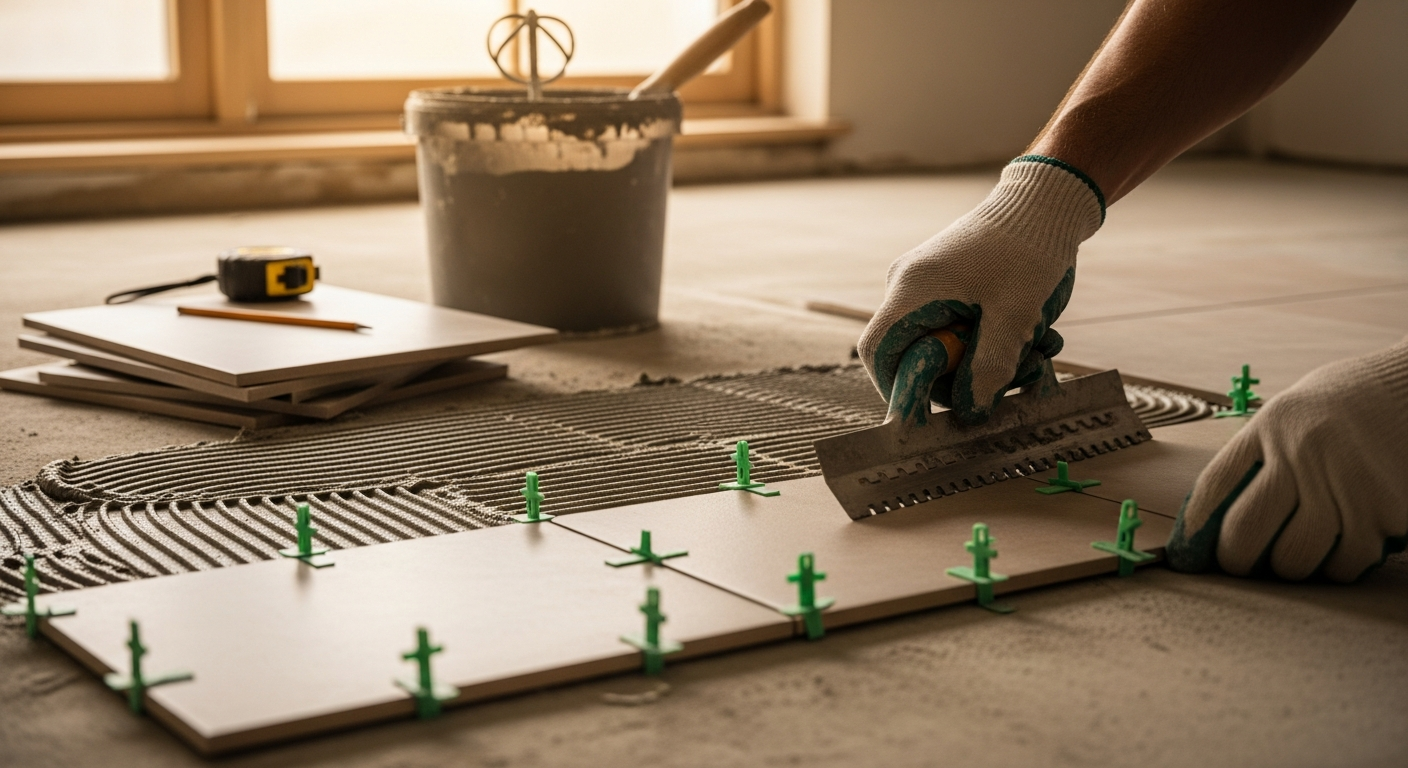
Lay and Fix Your Chosen Flooring
For porcelain or ceramic tiles: apply flexible floor adhesive to the subfloor using a notched trowel, bed each tile firmly, check with a spirit level as you go, and use tile spacers for consistent grout joints. Allow adhesive to cure fully before grouting — typically 24 hours. Use waterproof grout and seal all joints along the bath, shower tray, and basin with flexible silicone. For LVT or vinyl plank: most products are click-lock and need no adhesive. Lay row by row, tap joints closed with a rubber mallet and tapping block, and stagger end joints by at least 300 mm between rows. Sheet vinyl is glued or loose-laid depending on the product — follow the manufacturer’s instructions for your specific type.
Seal Perimeter Joints and Reinstate Skirting
Once the floor is down, run a continuous bead of flexible silicone sealant along the joint between the floor and the bath panel, shower tray, toilet base, and any fixed furniture. This is the single most important step in preventing water ingress at the edges — grout alone is not adequate here as it will crack with movement. Refit or replace skirting boards to cover the expansion gap. For vinyl floors, a matching trim strip or scotia bead can be used instead of skirting. Do not rely on standard decorator’s caulk in a bathroom — use a bathroom-grade silicone rated for wet areas.
Frequently Asked Questions
Is vinyl or tiles better for a bathroom floor?
Both are good choices but suit different situations. Vinyl is warmer underfoot, faster to lay, and forgiving on an imperfect subfloor — ideal for a DIY install. Porcelain tiles are harder-wearing and better suited to wet rooms or high-traffic family bathrooms, but they need a rigid, level base and more skill to lay correctly.
Can you use laminate flooring in a bathroom?
Standard laminate should not be used in a bathroom — it is not waterproof and will swell when exposed to moisture. Some manufacturers offer water-resistant laminate with sealed joints, but even these carry risk in a full bathroom environment. Luxury vinyl tile is a better alternative with a similar appearance.
What is the easiest bathroom flooring for a DIYer to lay?
Click-lock luxury vinyl tile or vinyl plank is the most beginner-friendly option. It needs no adhesive, cuts with a utility knife and straight edge, and is forgiving of minor subfloor imperfections. Most small bathrooms can be completed in a single day. For more on laying vinyl, see our guide to fixing common vinyl floor problems.
Do I need underlay under bathroom flooring?
For click-lock LVT, check the manufacturer’s specification — some products have an integral underlay and adding a second layer can compromise the click joint. For tiles, no underlay is used. Sheet vinyl is typically laid directly onto a smooth, prepared subfloor. Acoustic or thermal underlay is generally not appropriate in wet areas. Our best underlay guide covers when and where underlay is appropriate.
How do I stop bathroom floor tiles from cracking?
Cracked tiles almost always come back to a flexible subfloor or a rigid adhesive used where a flexible one is needed. Fix any floor movement before tiling, use a flexible tile adhesive on timber subfloors, always bed over waterproof backer board rather than directly onto ply, and use a flexible grout rather than a standard rigid mix. Our guide to regrouting floor tiles covers repair options if grout lines have already failed.
In a bathroom, always use flexible adhesive and flexible grout — even on a concrete subfloor. Minor building movement and thermal cycling from hot showers expand and contract the floor assembly constantly, and rigid products will crack within a year regardless of how well the base was prepared. Flexible formulations absorb that movement without failing.
Sources
- Which? — Best flooring for kitchens and bathrooms — which.co.uk
- HSE — Slips and trips: flooring materials and surfaces — hse.gov.uk
- NHS — Bathroom safety for older people — nhs.uk
This guide is for general information only. Always work safely and follow manufacturer instructions. DIYnut accepts no liability for injury or damage arising from DIY work.