How to Fix Lifting Laminate Edges – DIY Guide
Fix lifting laminate edges by identifying the cause — moisture or missing expansion gap — then re-bonding raised edges with laminate adhesive, clamping flat, and sealing joints. Most repairs take under two hours and need no specialist tools.
- Utility knife
- Rubber mallet
- Damp cloth
- Pull bar
- Chisel
- Tape measure
- Clamps or heavy books
- Laminate floor adhesive
- Waterproof PVA sealant
- Masking tape
- Syringe applicator
- Laminate repair colour pen
- Weighted flat board
Step-by-Step Guide
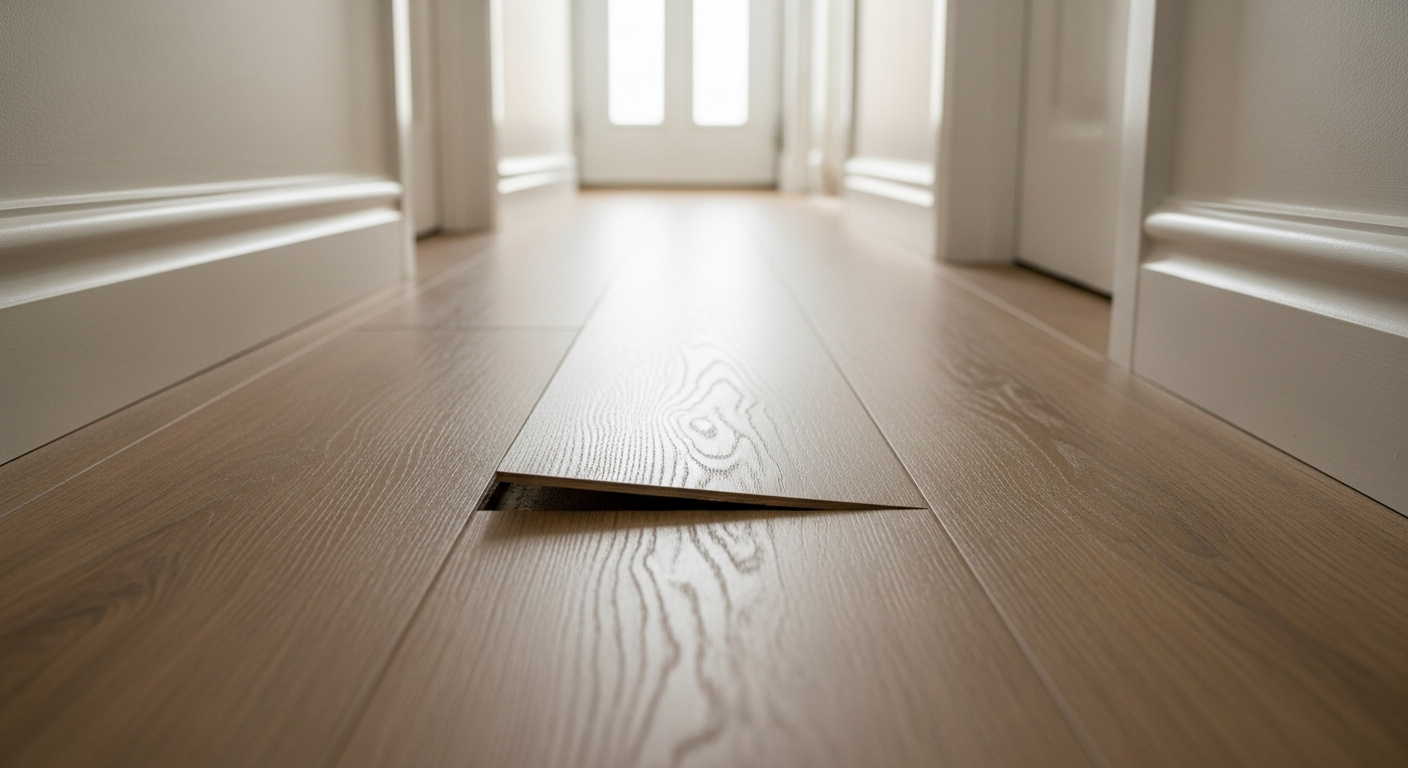
Find the Root Cause Before You Repair
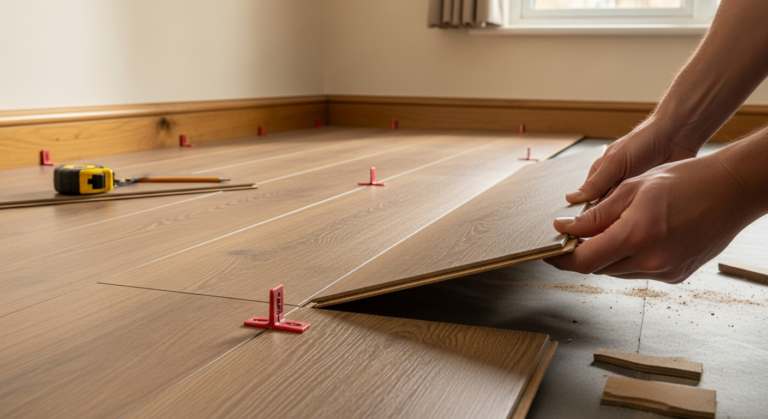
Press the lifted edge down and check whether it springs back up. If it does, moisture expansion or a missing expansion gap is the likely culprit — not just failed adhesive. Run your finger along the skirting board to check for a gap of at least 8–10 mm; if the boards are butted hard against the wall, they have nowhere to expand and the edges will keep lifting no matter how many times you glue them. Fixing the cause first is what separates a lasting repair from a repeat job. See our Flooring Guide for a full overview of laminate movement and subfloor conditions.
Clear and Dry the Affected Area
Remove any furniture and check the subfloor beneath the lifted edge for moisture. Slide a piece of paper under the board — if it comes back damp or discoloured, the subfloor is wet and must be fully dried before any adhesive is applied. Use a fan or dehumidifier if needed. Applying adhesive over a damp subfloor will cause the repair to fail within weeks. If the source of moisture is a plumbing leak or condensation from below, fix that issue before proceeding.
Apply Adhesive to the Lifted Edge
Use a syringe applicator to inject laminate floor adhesive under the lifted plank edge — this gives you precise control without making a mess of the joint. Work the adhesive as far under the board as possible, ensuring full coverage along the lifted section. For boards that have lifted at a click-lock joint, apply a thin bead along the entire joint length rather than just the visible gap. Wipe away any adhesive squeeze-out immediately with a damp cloth before it skins over. If you also have chips to deal with alongside this repair, our guide on how to repair chipped laminate floor covers that process in full.
Clamp Flat and Allow to Cure
Place a flat weighted board directly over the repaired section and apply uniform downward pressure using clamps or a stack of heavy books. The surface must be completely flat during curing — any bow will set into the repair permanently. Leave the weight in place for the time specified on the adhesive packaging, typically a minimum of four hours, and 24 hours for a full cure before replacing furniture or walking on the area. Masking tape across the joint can provide additional lateral tension while the adhesive sets.
Create the Expansion Gap if One Is Missing
If the boards were laid tight to the wall with no expansion gap, the lifting will return. Use a chisel and rubber mallet to carefully remove the skirting board, then trim 8–10 mm from the edge of the affected boards using a utility knife or jigsaw. This gap allows the floor to breathe with seasonal temperature changes. Once the gap is cut, refit the skirting board — it will cover the gap entirely. Knowing how to lay laminate around doors shows why maintaining gaps at all thresholds is equally critical.
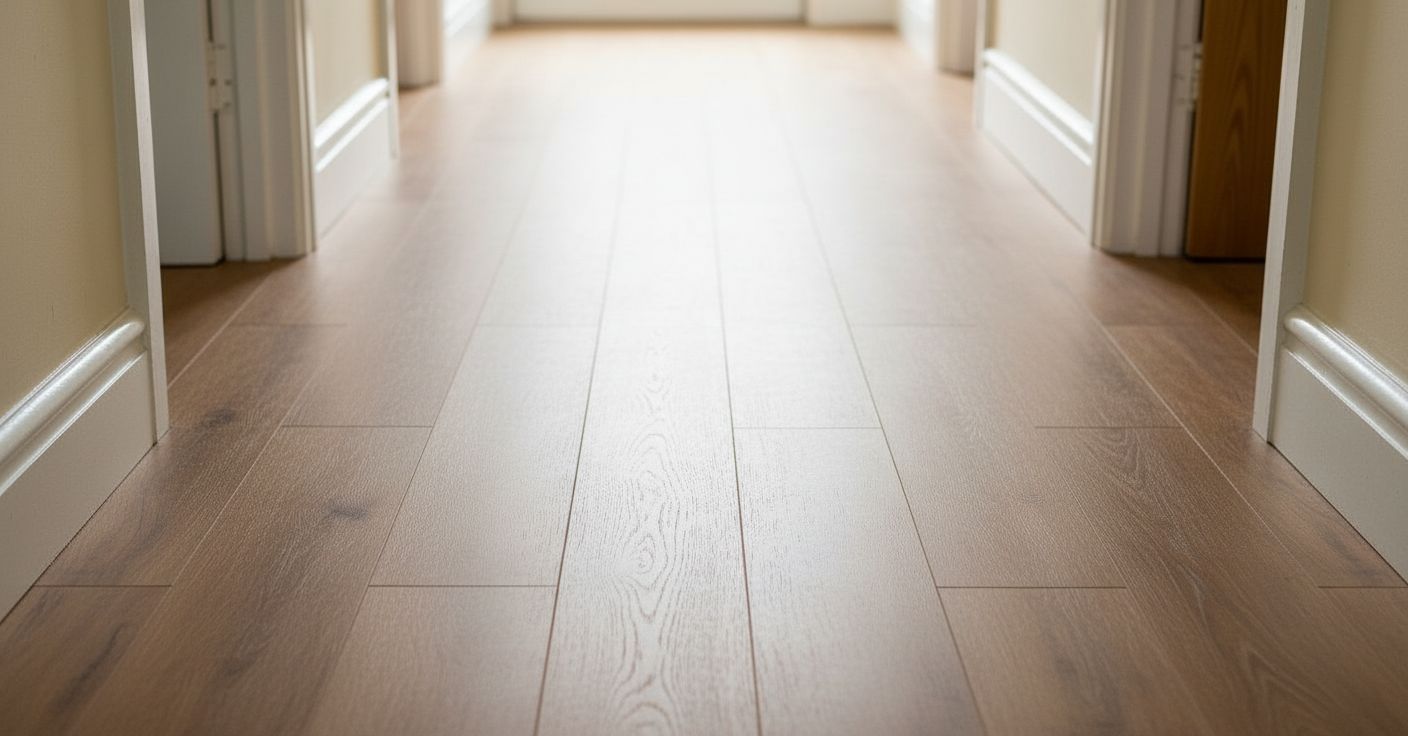
Seal the Joint and Blend the Repair
Once the adhesive has fully cured, run a thin bead of waterproof PVA sealant along the top of the joint to prevent moisture ingress in future. Wipe flush before it dries. Use a laminate repair colour pen matched to your floor to disguise any surface scuffing or discolouration caused by the lifting. Stand back and check the floor is level across the repair — if there is any residual ridge, place the weighted board back overnight. The repair should be invisible and the board completely stable.
Frequently Asked Questions
Why do laminate floor edges lift in the first place?
The two most common causes are a missing or insufficient expansion gap around the room perimeter, and moisture getting into the joints from above or below. Laminate expands and contracts with temperature and humidity changes — without room to move, it buckles upward at the edges.
Can I fix lifting laminate without removing the skirting board?
For a minor adhesive repair, yes — you can inject adhesive and clamp the board without touching the skirting. However, if the root cause is a missing expansion gap, the skirting must come off so you can trim the boards back properly; otherwise the lifting will return.
What adhesive should I use to fix lifting laminate edges?
Use a dedicated laminate floor adhesive, available in DIY stores in a tube or syringe format. Avoid standard wood PVA as it is not moisture-resistant. A syringe applicator gives the most accurate delivery under a tight joint without flooding the area.
Is lifting laminate a sign of serious damp?
Not always — it can simply be a missing expansion gap. However, if multiple boards in the same area are lifting, or if you notice a musty smell or the subfloor feels soft, you should investigate for damp before doing any repair. Check our Flooring Guide for guidance on assessing subfloor conditions.
How long will a laminate edge repair last?
A repair that addresses the root cause — correct expansion gap, dry subfloor, and good adhesive bond — should last the remaining life of the floor. Repairs that only glue the symptom without fixing the cause typically fail within one to three months, particularly through winter when indoor heating cycles drive more expansion and contraction. If you’re considering a full replacement, our guide to how to lay floor tiles is worth reading as an alternative option.
Before injecting adhesive, use a heat gun on its lowest setting to gently warm the lifted board for 20–30 seconds — this relaxes the laminate and lets it lie flat naturally, meaning you need far less clamping pressure to hold it down during cure. Never exceed 40°C or you risk delaminating the wear layer.
Sources
- Which? — Laminate flooring problems and how to fix them — which.co.uk
- HSE — Controlling damp and condensation in buildings — hse.gov.uk
- GOV.UK — Understanding building regulations for flooring in domestic properties — gov.uk
This guide is for general information only. Always work safely and follow manufacturer instructions. DIYnut accepts no liability for injury or damage arising from DIY work.