How to Repair a Garden Wall – DIY Guide
To repair a garden wall, rake out crumbling mortar to a depth of 15–20mm, brush away dust, dampen the joints, and repoint with a fresh mortar mix. Replace any spalled or cracked bricks before repointing. Done correctly, a repaired wall will last decades.


- Cold chisel
- Club hammer
- Pointing trowel
- Stiff-bristled brush
- Bucket
- Spirit level
- Angle grinder with masonry disc
- Safety goggles
- Ready-mixed mortar or sharp sand and cement
- Replacement bricks (matching existing)
- Brick bonding adhesive
- Weatherproofing additive
- Plastic sheeting or damp-proof course membrane
- Water
- Masking tape
Step-by-Step Guide
Assess the Damage
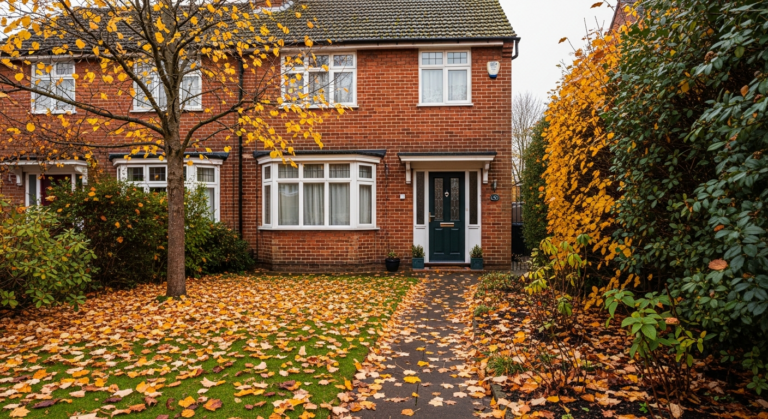
Work along the full length of the wall before touching anything. Tap each brick with your knuckle — a hollow sound indicates the brick has lost its bond with the mortar bed. Mark damaged areas with chalk. Check whether mortar joints are crumbling, bricks are spalled or cracked, and whether the wall is leaning or bowing at any point. A wall that leans more than 30mm out of plumb needs structural assessment rather than a DIY patch; if yours is within tolerance, continue. For inspiration on what a solid, well-maintained garden wall looks like, browse our Garden Guide for context on common outdoor structures.
Remove Damaged Mortar and Bricks
Use a cold chisel and club hammer to rake out crumbling mortar to a minimum depth of 15–20mm — anything shallower will not grip the new mix. For stubborn joints, an angle grinder fitted with a masonry disc cuts cleanly without damaging neighbouring bricks, but always wear safety goggles and a dust mask rated at least FFP2, as HSE guidance on masonry dust highlights the risk of silicosis from repeated inhalation. If a brick is cracked through or the face is spalling away, cut it out entirely by removing mortar on all four sides, then lever it free. Take a sample brick to a builders’ merchant to match the colour, texture, and size before you buy replacements — mismatched bricks are one of the most common cosmetic mistakes.
Prepare the Repair Zone
Brush out all loose dust and debris from the raked joints using a stiff-bristled brush. Dampen the existing brickwork thoroughly with water from a garden hose or spray bottle and allow it to soak for 10–15 minutes — dry brick draws moisture out of fresh mortar too fast, causing it to crack as it cures. If you are replacing full bricks, dampen the replacement bricks in a bucket of water for the same period before laying. If sunken patio slabs nearby need attention too, our guide to fixing sunken patio slabs covers a similar prep process.
Mix and Apply Mortar
For standard garden walls, mix mortar at a ratio of 1 part cement to 5 parts sharp sand, adding a weatherproofing additive to the mixing water if the wall is exposed to driving rain. Aim for a firm, not sloppy, consistency — it should hold its shape when squeezed in your hand without water weeping out. Use a pointing trowel to pack the mix firmly into raked joints, working from the bottom of each vertical joint upward and then filling horizontal bed joints last. If you are replacing a brick, butter mortar onto the base and both side faces of the replacement brick before pressing it firmly into position. Check it is level and flush with the surrounding face using a spirit level. This technique is closely related to the process described in our guide to building a garden wall .
Finish and Profile the Joints
Once the mortar has begun to stiffen — usually 30–45 minutes after application, depending on temperature — run the tip of the pointing trowel along each joint to create a slightly recessed, weatherstruck profile. This sheds rainwater away from the joint face and matches the profile most commonly used on UK garden walls. Avoid finishing too early (the mortar smears) or too late (it crumbles). Brush away any excess mortar smeared onto brick faces with a damp brush before it fully hardens.
Cure and Protect the Repair
Cover the repaired section with plastic sheeting or damp hessian for at least 48 hours to slow curing in dry or sunny weather — mortar that dries too quickly loses strength. In cold weather, do not repoint if overnight temperatures are forecast below 5°C, as frost will destroy uncured mortar. Leave the repair undisturbed for a minimum of seven days before applying any sealant or paint. If the wall adjoins a fence run, check whether any posts also need attention — our guide on how to replace a fence post is a useful next step for the surrounding boundary.
Frequently Asked Questions
What mortar mix ratio should I use to repair a garden wall?
A 1:5 cement-to-sharp-sand ratio suits most garden walls built in standard fletton or facing bricks. Older, softer bricks — common in walls built before 1950 — need a weaker lime mortar mix (1 part lime, 1 part cement, 6 parts sand) so the mortar remains softer than the brick.
Can I repair a garden wall in winter?
You can work in cool, damp conditions but not in frost. If overnight temperatures are forecast to drop below 5°C within 24 hours of application, postpone the job — frost destroys uncured mortar and the repair will fail.
How do I match replacement bricks to existing ones?
Take a loose or removed brick to a builders’ merchant or brick specialist and ask for a visual match. Key variables are size (standard UK bricks are 215mm × 65mm × 102.5mm), colour, texture, and whether the brick is wire-cut or hand-made. Weathering will naturally blend new bricks over time, but a close starting match matters most.
Do I need planning permission to repair a garden wall?
Repair work on an existing garden wall does not generally require planning permission. However, if the wall is within a conservation area, is listed, or borders a highway, check with your local planning authority before starting — gov.uk has an interactive tool to check permitted development rules for your property.
How long will a repointed garden wall last?
A properly repointed wall using the correct mortar mix and technique should last 20–30 years before the joints need attention again. The key variables are mortar strength, quality of prep, and weather protection during curing. Walls in exposed, north-facing positions may need attention sooner. If the wider garden boundary also needs work, our guide to treating and preserving a fence covers the neighbouring structure.
When finishing joints on a wall that was originally built with a weatherstruck profile, use the edge of a margin trowel held at roughly 15 degrees to the face rather than a rounded bar — it produces a crisper, more durable arris that sheds water far more effectively than a bucket-handle finish on flat-fronted bricks.
Sources
- HSE — Silica dust: worker health risks from masonry work — hse.gov.uk
- Historic England — Repointing Brick and Stone Masonry — historicengland.org.uk
- Planning Portal — Permitted Development: Fences, gates and garden walls — planningportal.co.uk
This guide is for general information only. Always work safely and follow manufacturer instructions. DIYnut accepts no liability for injury or damage arising from DIY work.