How to Draught Proof a House – DIY Guide
How to Draught Proof a House
Stop cold air at every entry point and cut heating bills for good.
Draught proofing a house means sealing gaps around doors, windows, floors, and pipework where cold air enters. Work room by room, use the right product for each gap type, and you can reduce heat loss significantly for under £100 in materials.


- Utility knife
- Tape measure
- Scissors
- Caulking gun
- Filling knife
- Screwdriver
- Pencil
- Self-adhesive foam draught excluder strip
- Brush-pile draught excluder strip
- Silicone sealant
- Flexible filler
- Door bottom seal
- Letterbox draught excluder
- Chimney balloon
- Pipe collar foam
Step-by-Step Guide
Identify Every Draught Source
Walk around the house on a cold, windy day and hold your hand near doors, windows, skirting boards, floorboards, pipework penetrations, loft hatches, and chimneys. A stick of incense or a lit candle held near suspected gaps will show moving smoke where cold air is infiltrating. Mark each location with a piece of masking tape before you buy any materials — it is far cheaper to survey first than to buy the wrong products and return later. Pay particular attention to the perimeter of external doors, where most heat loss occurs in a typical UK home.
Seal External Doors
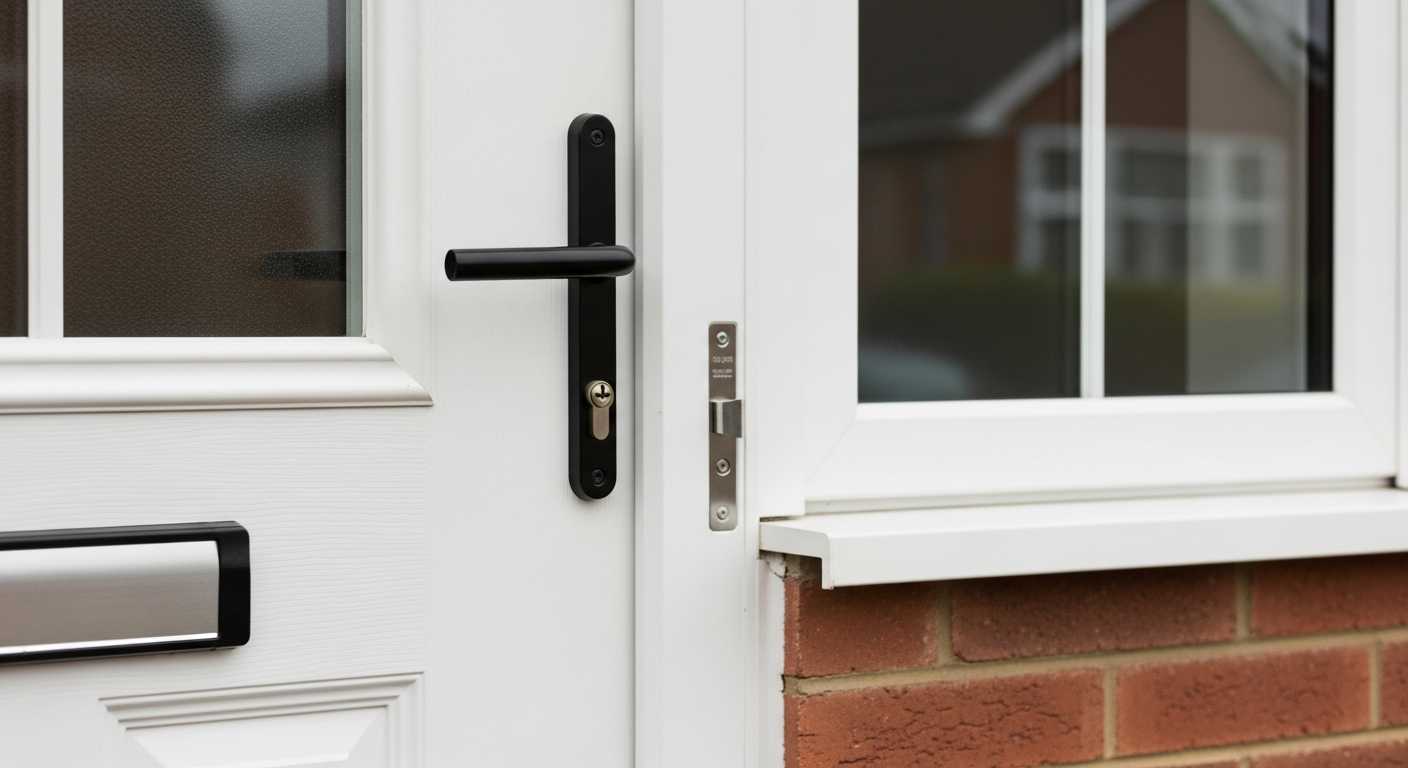
External doors are usually the biggest source of draughts in a house. Fit self-adhesive foam or brush-pile compressible strip around the door frame rebate — brush-pile is more durable on frequently used doors. Fit a door bottom seal to eliminate the gap at the threshold; a surface-mounted excluder strip works on most doors without adjustment, while a drop-down automatic seal gives a cleaner result on timber doors. Tackle the letterbox with a purpose-made letterbox draught excluder fitted with internal brushes, and fit a keyhole cover plate over any exposed keyhole. For a detailed door-by-door approach, see our guide to draught proofing a door.
Draught Proof Windows
For casement windows, press self-adhesive foam strip into the rebate all around the opening sash so it compresses when the window closes. For sliding sash windows, brush-pile strip fits into the meeting rail and along the side channels — standard foam strip will not work here as it prevents the sash moving. Apply silicone sealant to any gap between the window frame and the surrounding masonry or plasterwork, smoothing it with a wet finger for a neat finish. If your double glazing has failed and cold air is getting in around the sealed unit, read our guide on sealing a leaking window before tackling the draught strip.
Seal Floors, Skirting Boards, and Pipework
Suspended timber floors can lose significant heat through the gaps between floorboards and around the edges where boards meet skirting. Apply flexible filler or silicone sealant along the skirting board junction and between individual boards — use a filler that remains slightly flexible when cured so it moves with seasonal timber expansion. For pipework passing through external walls, fit pipe collar foam around the pipe and seal behind it with silicone. Gaps around soil pipes, waste pipes, and cable entries are often overlooked but can allow cold air to track up from below the floor. Where floors are causing persistent cold and damp issues, our broader Insulation & Damp Guide covers the full picture.
Block Unused Chimneys
An open fireplace or an unused chimney flue can lose as much heat as leaving a window open year-round. If you do not use a fireplace, fit a chimney balloon — an inflatable draught excluder that sits inside the flue above the firebox. Inflate it using the attached tube, leave the pull-cord visible, and attach a small reminder label so nobody lights the fire with the balloon in place. If the chimney is permanently decommissioned, a ventilated chimney cap on the pot externally and a rigid board fitted into the fireplace opening internally gives a more permanent solution. Always leave a small air vent in any blocked chimney to prevent damp from condensation building up inside the flue.
Check Your Work and Ventilate Correctly
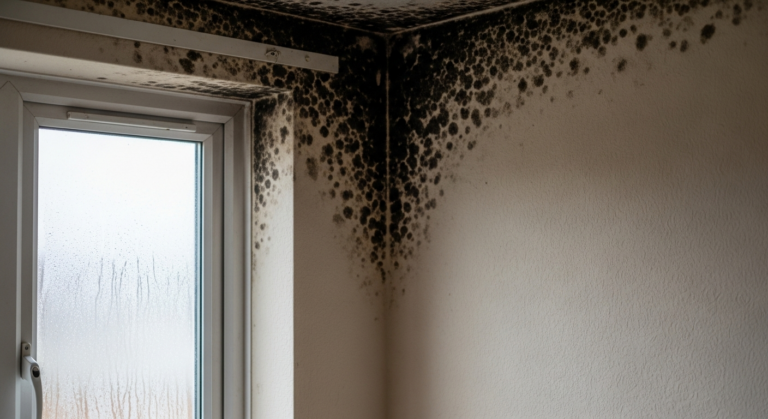
Once all gaps are sealed, repeat the candle or incense test at every location you treated. A building that is sealed too tightly without adequate controlled ventilation can suffer from condensation and poor indoor air quality — two problems that cost far more to fix than the original draught. Ensure extract fans in kitchens and bathrooms are working, trickle vents in window frames are open, and any intentional ventilation bricks in walls are not blocked. For further reading on the relationship between sealing a house and moisture problems, see our guides on fixing condensation damp and fixing black mould on walls so you understand the balance between sealing and ventilation.
Frequently Asked Questions
How much can draught proofing actually save on energy bills?
The Energy Saving Trust estimates that draught proofing an older detached home can save meaningful amounts on annual heating bills, though the exact figure depends on the size of the property and how draughty it was to begin with. It is consistently one of the highest-return DIY energy improvements available.
What is the best draught excluder for a front door?
For the door frame, brush-pile compressible strip outperforms foam on a front door because it withstands repeated opening and closing without compressing permanently. For the bottom of the door, a surface-mounted brush seal is the easiest to fit and suits most door types.
Can I draught proof a sash window myself?
Yes — brush-pile strip cut to length and pressed into the side channels and meeting rail of a sash window is a straightforward DIY job. Avoid foam strip, which will jam the sash. Our dedicated guide on draught proofing sash windows covers the technique in detail.
Will draught proofing cause damp problems?
Only if you also block ventilation. Draughts are uncontrolled air leakage; ventilation is controlled air exchange. Keep trickle vents open, extract fans working, and air bricks clear, and draught proofing will not cause damp.
Do I need to insulate as well as draught proof?
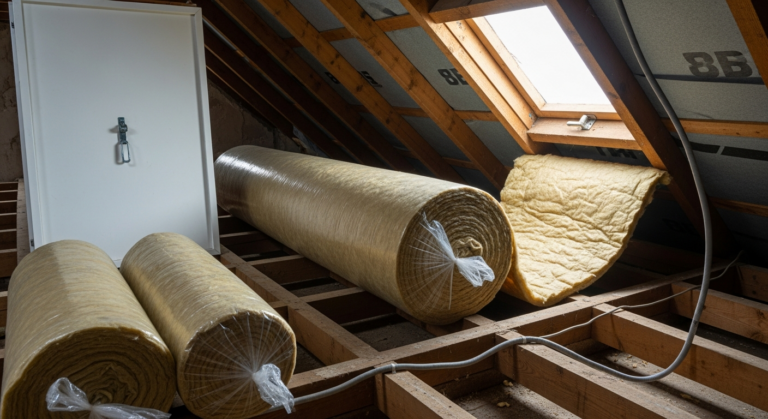
Draught proofing and insulation tackle different types of heat loss — air infiltration versus conduction through walls and ceilings — and both are needed for a properly efficient home. Start with draught proofing as it is cheaper and quicker, then consider loft insulation and cavity wall insulation as the next steps.
Before buying any draught strip, measure the total perimeter of every door and window you plan to treat — most jobs use far more strip than the room count suggests, and running out mid-job means gaps left open overnight. Add 20% to your measured total for overlaps and misjudged lengths, then buy one roll.
Sources
- Energy Saving Trust — Draught-proofing — energysavingtrust.org.uk
- HSE — Ventilation and indoor air quality — hse.gov.uk
- Which? — How to draught-proof your home — which.co.uk
This guide is for general information only. Always work safely and follow manufacturer instructions. DIYnut accepts no liability for injury or damage arising from DIY work.