Rising Damp Signs
Insulation & Damp › Insulation & Damp
Rising Damp Signs
Spot rising damp early and stop it damaging your walls and plaster.
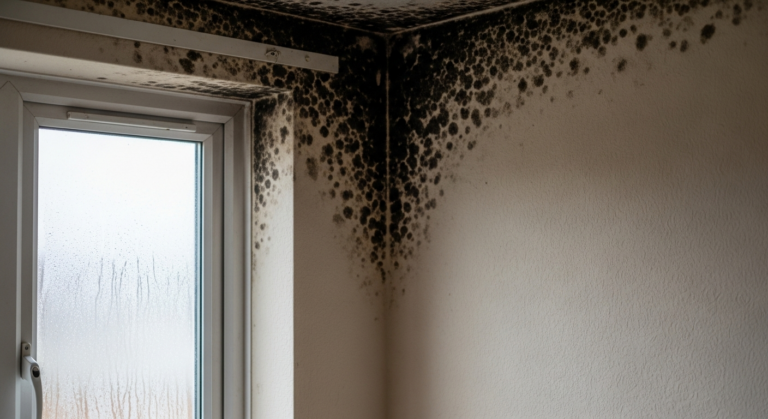
Rising damp signs include a tide mark on lower walls, peeling paint or wallpaper, white salt deposits (efflorescence), and a musty smell near the skirting board. It rarely rises above one metre. Confirm it with a damp meter before spending money on treatment.

What’s Causing This?
Failed or absent damp-proof course (DPC). The most common cause by far. Most pre-1920s properties were built without a DPC; in later properties the original slate or bitumen layer can crack or degrade, allowing ground moisture to wick upward through masonry. Read the full Insulation & Damp Guide for context on how moisture moves through a building.
Bridged damp-proof course. Soil, render, or paving raised above the DPC level on the outside wall gives moisture a bypass route into the wall above the barrier. This is common after garden re-landscaping or extensions. It mimics classic rising damp symptoms but is far easier to fix.
Defective external render. Cracked or porous render on a solid external wall traps moisture against the masonry and allows it to migrate inward at low level. Check out the guide to rendering an outside wall for what sound render should look like.
Leaking underground pipework or drainage. A slow leak from a buried pipe near the wall can saturate the ground immediately adjacent to the foundation, producing localised damp patches that look exactly like rising damp. A damp-only specialist will often miss this.
Condensation pooling at low level. Cold surfaces near the floor, especially on solid masonry walls without insulation, can cause condensation that collects behind skirting boards and is regularly misdiagnosed as rising damp. Before committing to any treatment, read Rising Damp vs Condensation to understand the differences.
How to Diagnose the Exact Cause
- Check the height of the damp patch. True rising damp almost never exceeds one metre above floor level. If the moisture is higher than that, suspect penetrating damp or condensation rather than rising damp.
- Look for a tide mark. A brownish, horizontal stain with white crystalline deposits (efflorescence) along its upper edge is the clearest visual indicator of rising damp. The salt deposits are drawn out of the masonry as water evaporates.
- Inspect externally for a bridged DPC. Go outside and check whether the ground, render, or any external path or patio sits at or above the DPC level (usually marked by a thin horizontal line in the mortar joints, roughly 150 mm above ground level).
- Use a damp meter. Press a pin-type damp meter into the plaster at 100 mm intervals from floor to 1.2 m high. Rising damp will show highest readings at the bottom, reducing as you go up. Condensation tends to show more uniform or surface-only readings.
- Remove a section of skirting board. Inspect the wall behind and beneath the skirting. Salt staining or damp masonry visible here, combined with dry plaster higher up, strongly supports a rising damp diagnosis.
- Check for leaking pipes. Look for any buried inspection covers or soil pipes nearby. If the damp is concentrated in one localised spot rather than running along a whole wall, call a plumber to pressure-test the drainage before spending money on a DPC.
- Tap the plaster. Plaster affected by rising damp salts often sounds hollow or has blown away from the masonry behind. Any hollow sections will need replacing as part of any repair — see the guide to repairing blown plaster.
How to Fix It
Failed or absent DPC: A chemical DPC injection is the standard DIY-accessible repair — a water-repellent cream or liquid is injected into a series of holes drilled at DPC level. Follow-up with salt-resistant renovation plaster on the lower walls. See the full guide: Fix Rising Damp.
Bridged DPC: Cut back any render that runs through the DPC level, lower external ground levels to at least 150 mm below the DPC, and re-point if needed. This is the simplest and cheapest fix — often all that is required.
Defective external render: Hack off cracked or hollow render, allow the wall to dry, then re-render. See Render an Outside Wall for a step-by-step method.
Leaking underground pipe: This requires a plumber or drainage specialist. Repair the leak, allow surrounding ground to dry over several weeks, then re-assess the wall before treating for damp.
Condensation at low level: Improve ventilation, consider low-level insulation to raise surface temperatures, and address cold bridges. See Fix Condensation Damp for detailed steps.
When to Call a Tradesman
Call a qualified surveyor — ideally a member of the Property Care Association (PCA) — if you cannot identify a simple cause such as a bridged DPC, if damp readings are high across an entire ground-floor wall, or if the property is a listed building where any structural intervention requires consent. You should also call a pro if the existing plaster has failed extensively, as large-scale replastering with renovation plaster is skilled work that affects the long-term performance of any DPC treatment. Be cautious of damp-proofing companies that diagnose and sell treatment on the same visit — get an independent damp survey from a chartered surveyor (RICS) before committing to expensive remedial work. If leaking drainage is suspected, a Gas Safe or WIAPS-registered plumber should carry out the inspection and repair rather than a damp specialist.
How to Prevent It Happening Again
- Keep external ground, paths, and patio levels at least 150 mm below the DPC line, and check this every time the garden is landscaped or paved.
- Inspect external render annually for cracks, hollow spots, and areas where render bridges the DPC — catch defects early and repair promptly.
- Ensure gutters, downpipes, and drainage channels are clear and functioning so rainwater is directed away from the base of walls; a blocked gutter can saturate a wall from above and be mistaken for rising damp.
- After any rising damp repair, monitor the wall with a damp meter for at least 12 months before redecorating — walls can take a long time to dry out fully, and redecorating too soon traps moisture and damages the new finish.
Frequently Asked Questions
How high does rising damp go up a wall?
True rising damp rarely rises above one metre from floor level. If damp signs extend higher than this, penetrating damp or condensation is the more likely explanation.
What does rising damp smell like?
Rising damp produces a persistent musty, earthy smell near skirting boards and lower walls. The smell comes from the damp masonry and any mould growth behind the plaster or skirting.
Can I treat rising damp myself?
Chemical DPC injection is something a competent DIYer can do on a solid masonry wall, but the follow-up replastering with salt-resistant renovation plaster is critical to the repair’s success. If that is done poorly, the damp will reappear through the new plaster.
What are the white crystals on my wall?
These are called efflorescence — salts drawn out of the masonry by evaporating moisture. They are a reliable indicator that moisture is or has been moving through the wall, and they must be removed before replastering.
Does rising damp affect upstairs rooms?
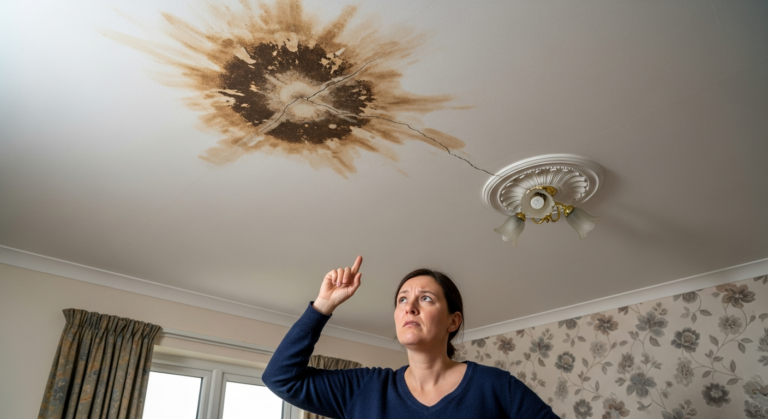
No — rising damp is restricted to ground-floor level. If you are seeing damp signs on upper floors, the cause is penetrating damp from outside, a roof or plumbing leak, or condensation rather than rising damp.
When injecting a chemical DPC, drill at a slight downward angle (about 10–15 degrees) rather than horizontally — it keeps the injected cream in contact with the masonry rather than running straight back out of the hole. Allow the cream to cure for the manufacturer’s full recommended period before plastering, typically 24–48 hours, or the new plaster will fail.
Sources
- Which? — Damp proofing: how to deal with damp in your home — which.co.uk
- Property Care Association — Rising Damp: a guide for homeowners — property-care.org
- RICS — Damp in buildings: understanding the causes — rics.org
This guide is for general information only. Always work safely and follow manufacturer instructions. DIYnut accepts no liability for injury or damage arising from DIY work.