How to Insulate a Loft Hatch – DIY Guide
How to Insulate a Loft Hatch
Stop heat escaping through your loft hatch and cut your heating bills fast.
To insulate a loft hatch, fix a layer of rigid insulation board to the top face of the hatch, add foam draught strip around the frame rebate, and ensure the latch holds the hatch firmly shut. The job takes under two hours and costs around £20–£35.


- Tape measure
- Pencil
- Craft knife or panel saw
- Straightedge
- Cordless drill or screwdriver
- Scissors
- Utility knife
- Rigid insulation board (50 mm PIR or EPS)
- Foam draught seal strip (self-adhesive, 9 mm × 7 mm)
- Construction adhesive or insulation-compatible grab adhesive
- Wood screws (30 mm) and screw cups
- Reflective foil tape
- Replacement hatch latch or turn button (if existing is loose)
Step-by-Step Guide
Measure the hatch and cut the insulation board
Measure the top face of the loft hatch door carefully — length and width. Transfer those dimensions onto the rigid insulation board and cut it to size using a straightedge and craft knife (score and snap for EPS; use a panel saw for PIR). A snug fit is the goal: gaps around the edges will let warm air bypass the insulation entirely. If your Insulation & Damp Guide recommends a higher specification for your property type, use a thicker board at this stage.
Fix the insulation board to the top face of the hatch
Apply a generous bead of construction adhesive to the top face of the hatch door, press the cut insulation board firmly into place, and hold it for 60 seconds. Once the adhesive has grabbed, drive three or four 30 mm screws with screw cups through the board and into the hatch door to lock it permanently. Screw cups spread the load and stop the screw head pulling through the insulation. Check the board sits flat — any bow will prevent the hatch closing flush against the frame.
Tape all board edges with foil tape
Run reflective foil tape around all four edges of the insulation board, pressing it firmly so it bonds to both the board face and the hatch door. This prevents the insulation’s foil facing from peeling back over time and seals any minor gaps at the cut edges. Foil tape also improves the board’s reflective performance, bouncing radiant heat back into the room below. This is the same principle used when you insulate a full loft — every junction matters.
Apply draught seal strip to the hatch frame rebate
Clean the rebate (the inner lip of the loft hatch frame that the door rests against) with a dry cloth to remove dust and grease. Peel the backing from the self-adhesive foam draught strip and press it firmly around all four sides of the rebate. Mitre or butt-join the corners neatly so there are no open gaps — any gap here is a direct draught path. Foam strip compresses when the hatch closes, creating an airtight seal that stops convective heat loss. This is the same logic used when you draught proof a letterbox — a small seal makes a big difference.
Check and upgrade the hatch latch
Close the hatch and check how firmly it sits against the draught strip. The strip needs compression to seal — if the latch is loose or the hatch hangs slightly open, the draught seal will not work. Fit a positive-action turn button or barrel bolt to hold the hatch firmly shut. If the hatch frame itself is loose in the ceiling opening, screw it back through the plasterboard into the joists before fitting the latch. A tight, positive closure is as important as the insulation itself.
Inspect from above and check for loft ventilation
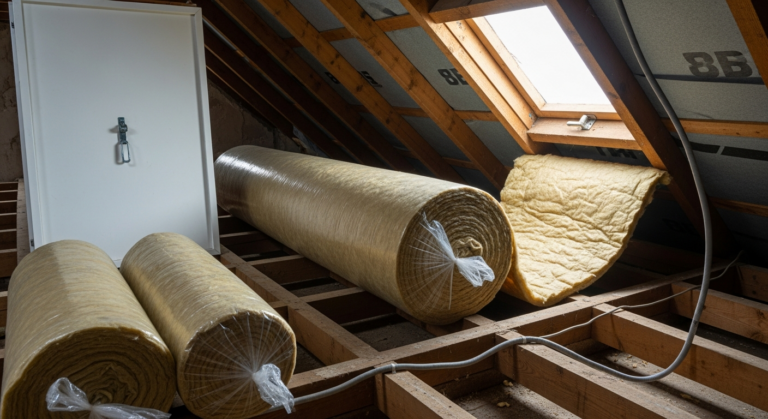
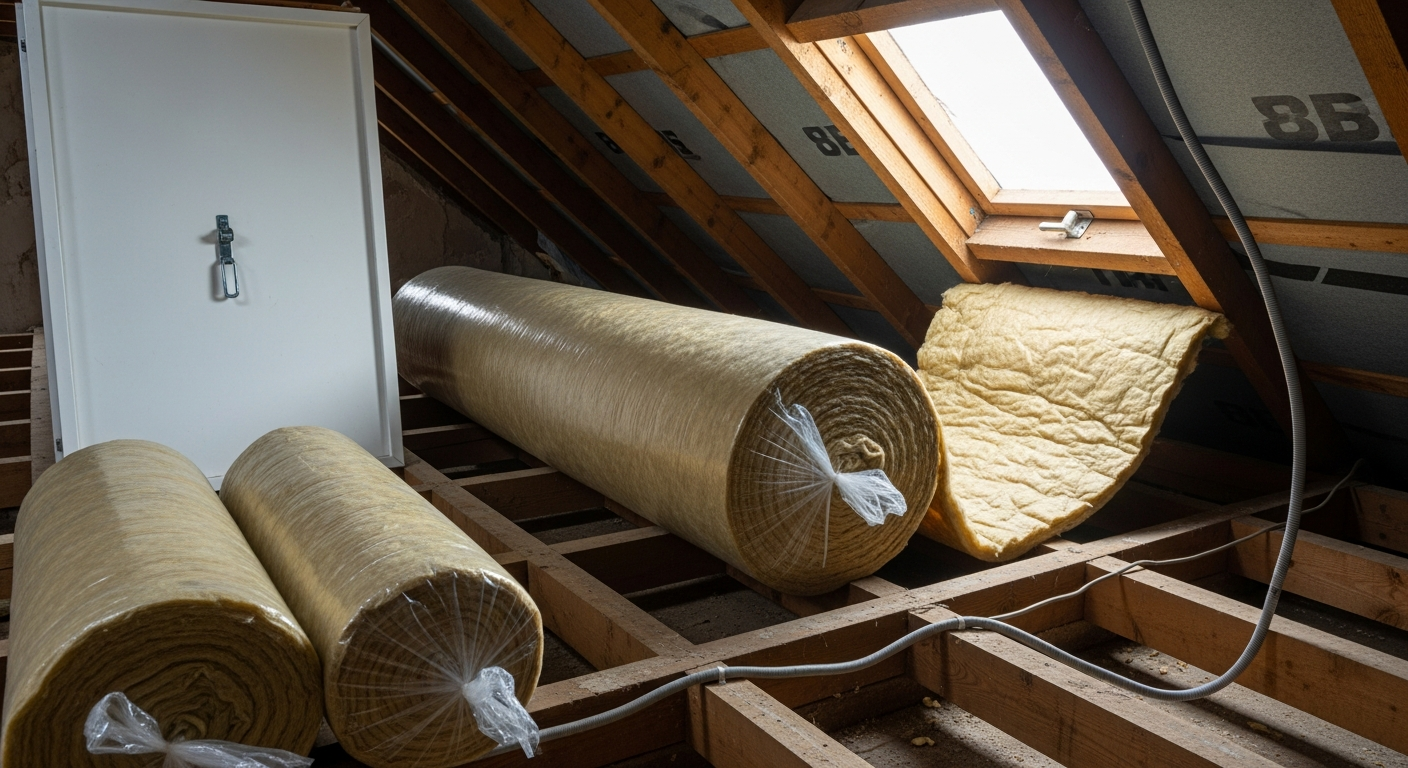
Go up into the loft and inspect the hatch from above. Confirm the insulation board sits level with, or just above, the surrounding loft insulation so there is no cold bridge at the hatch perimeter. Do not block any soffit or roof ventilation in the process — lofts must remain ventilated to prevent condensation. The loft insulation depth guide covers the correct levels to aim for across the rest of the loft floor while you are up there.
Frequently Asked Questions
What thickness of insulation board should I use on a loft hatch?
50 mm PIR (polyisocyanurate) board is the practical minimum for a loft hatch — it achieves a thermal resistance high enough to make a real difference without making the hatch too heavy to lift. Thinner boards exist but deliver noticeably less performance.
Can I use mineral wool instead of rigid board on the hatch door?
Rigid board is strongly preferred. Mineral wool is too flexible to attach securely to the flat face of a hatch door, tends to slump or fall away over time, and cannot be cut cleanly to a flush fit. Rigid board is easier, neater, and more durable.
Will adding insulation to the hatch make it too heavy to lift?
A 50 mm PIR board cut to a standard hatch size weighs under 1 kg, so the extra weight is barely noticeable. If your hatch is the pull-down ladder type rather than a simple lift-out panel, check the spring tension and adjust if needed after fitting.
Does insulating a loft hatch make a big difference to energy bills?
The Energy Saving Trust notes that an uninsulated or poorly sealed loft hatch can be one of the largest single draught and heat-loss points in a home relative to its size. Sealing and insulating it is one of the highest-return DIY jobs you can do, particularly if the rest of the loft is already insulated — see our advice on draught proofing your house to tackle other loss points at the same time.
Do I need to do anything to the loft side of the hatch as well?
The insulation board attached to the door handles most of the work. However, if there is a large gap between the hatch frame and the ceiling plasterboard, fill it with expanding foam or loft insulation offcuts before sealing. Also ensure the surrounding loft floor insulation butts up tight to the hatch frame with no gap.
Run a draught strip on both the frame rebate and a second strip on the top lip of the hatch door itself — when the two strips compress against each other you get a double seal with near-zero air infiltration. This is standard practice on insulated loft hatches in new builds and takes only an extra five minutes.
Sources
- Energy Saving Trust — Loft insulation — energysavingtrust.org.uk
- GOV.UK — Great British Insulation Scheme — gov.uk
- HSE — Working safely in lofts and roof spaces — hse.gov.uk
This guide is for general information only. Always work safely and follow manufacturer instructions. DIYnut accepts no liability for injury or damage arising from DIY work.