How to Reface Kitchen Cabinet Doors – DIY Guide
To reface kitchen cabinet doors, clean and sand the existing doors, apply adhesive veneer or paint with primer and topcoat, fit new doors or wrap drawer fronts, and replace handles. The result is a near-new kitchen finish at a fraction of replacement cost.


- Cordless drill/driver
- Orbital sander
- Sanding block
- Tape measure
- Utility knife
- Paintbrush (angled)
- Small foam roller
- Spirit level
- Self-adhesive wood veneer or wrap film
- Fine-grit sandpaper (120 and 240 grit)
- Degreasing cleaning spray
- Adhesion primer
- Satin or gloss cabinet paint
- Replacement cabinet hinges
- Cabinet handles or knobs
- Wood filler
Step-by-Step Guide
Remove All Doors and Drawer Fronts
Unscrew every door from its hinges and lift off all drawer fronts, keeping the screws and hardware in labelled bags so nothing gets lost. Work across the kitchen methodically — left to right, top to bottom — so you know exactly where each door came from when it’s time to refit. Lay everything flat on a clean surface like a workbench or covered floor.
Clean and Degrease Every Surface
Kitchen cabinet doors accumulate grease, cooking residue, and furniture polish that will prevent any new finish bonding properly. Wipe down every door, drawer front, and the cabinet carcasses with a degreasing cleaning spray and a lint-free cloth, then allow them to dry fully — at least 30 minutes. Skipping this step is the single most common reason a refaced kitchen looks tired within a year. If you need to replace kitchen cabinet hinges at the same time, remove them now before cleaning.
Fill, Sand and Prime All Surfaces
Press wood filler into any dents, chips, or screw holes that will show through the new finish and allow it to cure fully per the product instructions. Once dry, sand the entire surface with 120-grit sandpaper to key it, then finish with 240-grit for a smooth base. Apply one coat of adhesion primer to all surfaces you intend to paint, covering edges and backs where applicable. Primer is non-negotiable — it locks the topcoat on and prevents the grain telegraphing through.
Apply Your Chosen Finish — Paint or Veneer Wrap
For painted doors, apply two coats of satin or gloss cabinet paint using a small foam roller for flat panels and an angled brush for edges and detail, allowing full drying time between coats as stated on the tin. For veneer or wrap film, cut the material slightly oversized, peel back the backing incrementally, and apply from one edge using a plastic smoother to push out air bubbles as you go — trim the excess cleanly with a utility knife against a straight edge. Our Kitchen Guide covers finish options in full if you’re weighing up different looks.
Refit Doors and Adjust Hinges
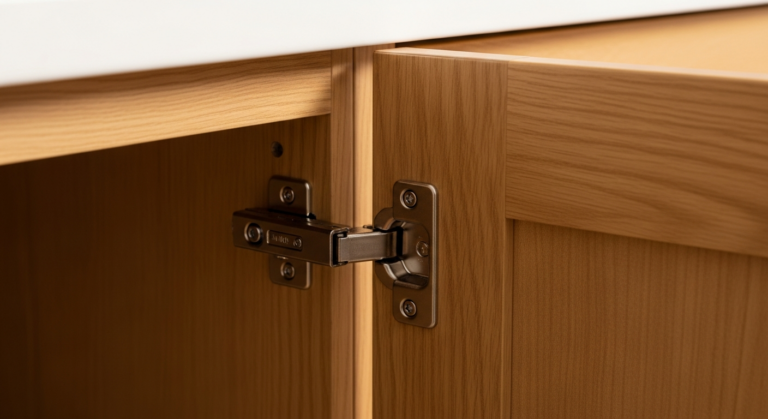
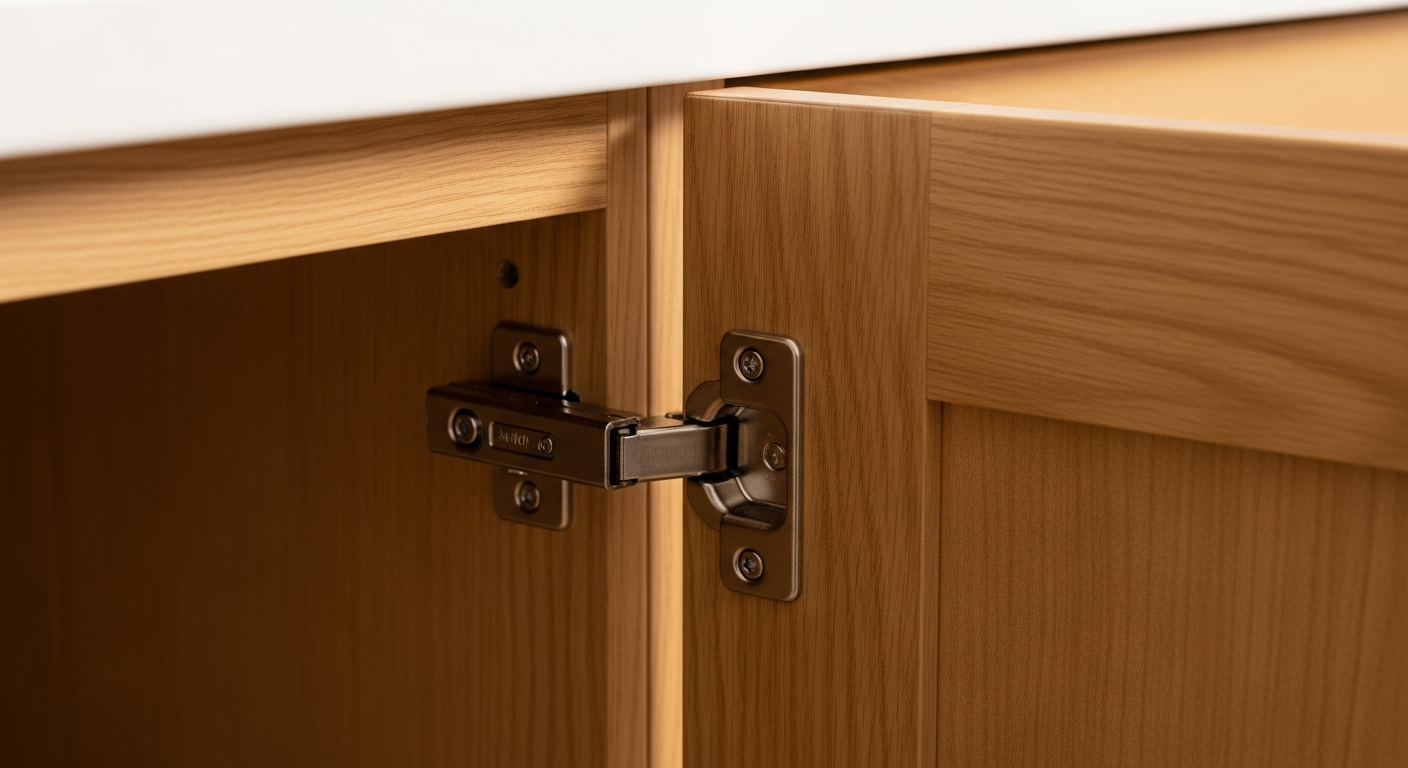
Hang each door back onto its original carcass using either the existing hinges or new replacements if the old ones are worn. Use a spirit level to check every door sits square before fully tightening the fixing screws — most modern concealed hinges have three-way adjustment built in, so use the adjustment screws to align the door height, side-to-side position, and depth until every door sits flush and closes cleanly. If you have a kitchen splashback to install, do it after the doors are hung so you can fit it neatly behind the base unit doors.
Fit New Handles and Check Alignment
Mark handle positions consistently across all doors using a tape measure and pencil — make a simple card template to guarantee every handle sits at exactly the same height and distance from the edge. Drill through the door at each mark, fit the handle bolts from inside, and tighten firmly without overtightening which can crack thin door material. Step back and check the full run of doors for alignment and consistent reveal gaps before putting anything back in the cabinets.
Frequently Asked Questions
Can I reface kitchen cabinet doors without removing them?
It is possible to apply wrap film to doors in situ, but the result is almost always inferior — you can’t cover edges cleanly, you’ll get drips if painting, and access around hinges is restricted. Remove the doors for a professional finish every time.
What is the difference between refacing and repainting cabinet doors?
Repainting uses primer and topcoat to change the colour of existing doors. Refacing can mean repainting, applying adhesive veneer wrap, or fitting entirely new door faces onto the existing carcass — the term covers all three approaches.
How long does refaced kitchen cabinet finish last?
A properly primed and painted finish using kitchen-grade cabinet paint typically lasts 5–10 years with normal use before it needs refreshing. Self-adhesive veneer wrap can last 3–7 years depending on the quality of the film and how well the surface was prepared.
Do I need to replace the hinges when refacing kitchen cabinet doors?
Not always — if the existing hinges are functioning correctly and are not corroded or loose, they can be reused. However, refacing is an ideal opportunity to replace worn kitchen cabinet hinges and upgrade to soft-close versions at the same time.
Is refacing kitchen cabinet doors worth it compared to full replacement?
Refacing typically costs 70–80% less than a full kitchen replacement and produces a result that looks close to new if the carcasses are sound and the preparation is thorough. According to Which?, a budget kitchen replacement can cost upwards of £5,000 including fitting — refacing is far more cost-effective where only the door aesthetics need updating. You can also refresh other kitchen elements at the same time, such as fitting a new kitchen splashback for a complete update.
Before applying any paint to MDF-edged cabinet doors, seal the raw cut edges with a thinned coat of primer or dedicated MDF sealer first — MDF edges are highly porous and will absorb full-strength primer unevenly, leaving a rough, raised grain that telegraphs through the topcoat. One thin seal coat, sanded back with 240-grit once dry, gives you a glassy edge that takes topcoat identically to the face.
Sources
- Which? — Kitchen buying guide: refacing vs replacing — which.co.uk
- HSE — Wood dust: health effects and safe working guidance — hse.gov.uk
- GOV.UK — Volatile organic compounds and paint regulations — gov.uk
This guide is for general information only. Always work safely and follow manufacturer instructions. DIYnut accepts no liability for injury or damage arising from DIY work.