How to Replace Kitchen Cabinet Hinges – DIY Guide
To replace kitchen cabinet hinges, remove the old hinges with a screwdriver, match the hinge type and cup size, fit the new hinge into the door cup hole, and adjust the three-way screws until the door sits flush and closes smoothly.


Remove the Old Hinges
Open the door fully to give yourself clear access. Using a cross-head screwdriver, undo the screws securing the mounting plate to the cabinet carcass first — this takes the weight off the door. Then unscrew the hinge cup from the door itself and lift the door free. Keep all the old hardware to cross-reference sizing when buying replacements. If screws are stripped, use a flat-head screwdriver to apply sideways pressure whilst turning, or use a screw extractor bit.
Repair Any Stripped or Damaged Screw Holes
If the old hinge pulled away cleanly, you can proceed straight to fitting. If screw holes are stripped or blown out, push two or three toothpicks dipped in wood glue into each hole, snap them flush, and allow to cure for at least 30 minutes before re-drilling. This gives the new screws solid timber to bite into and prevents the hinge working loose again within weeks.
Fit the New Hinge Cup into the Door
If the cup hole already exists and is in good condition, simply press the new hinge cup into the recess and screw it down firmly. If you are fitting into a new door or the old hole is damaged beyond repair, use a 35mm Forstner bit in a cordless drill to bore a fresh cup hole — mark its centre point 22mm from the door edge and drill to a depth of 13mm. Take care to keep the drill perpendicular; a wonky cup hole means a door that can never be properly adjusted. You may also be planning to fit a soft-close hinge at the same time, which uses the same cup hole.
Attach the Mounting Plates to the Cabinet
Clip or screw the mounting plate to the cabinet carcass in the same position as the original. If you are repositioning, use a tape measure and pencil to mark the plate location, then hold the door closed temporarily to check alignment before committing screws. Most mounting plates have a degree of vertical and horizontal adjustment built in — leave screws slightly loose at this stage to allow fine-tuning.
Hang the Door and Adjust for a Perfect Fit
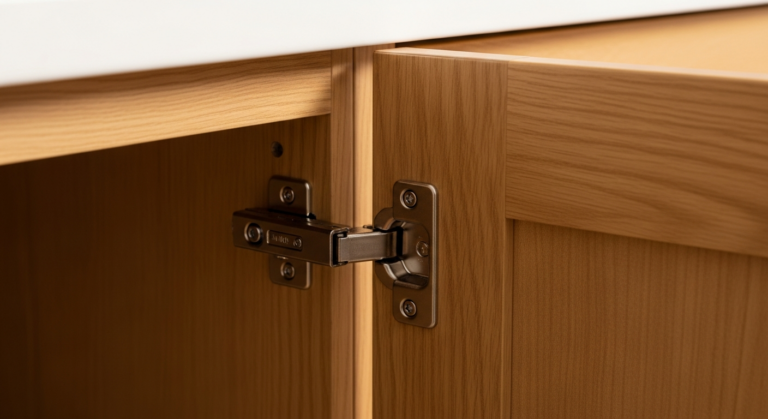
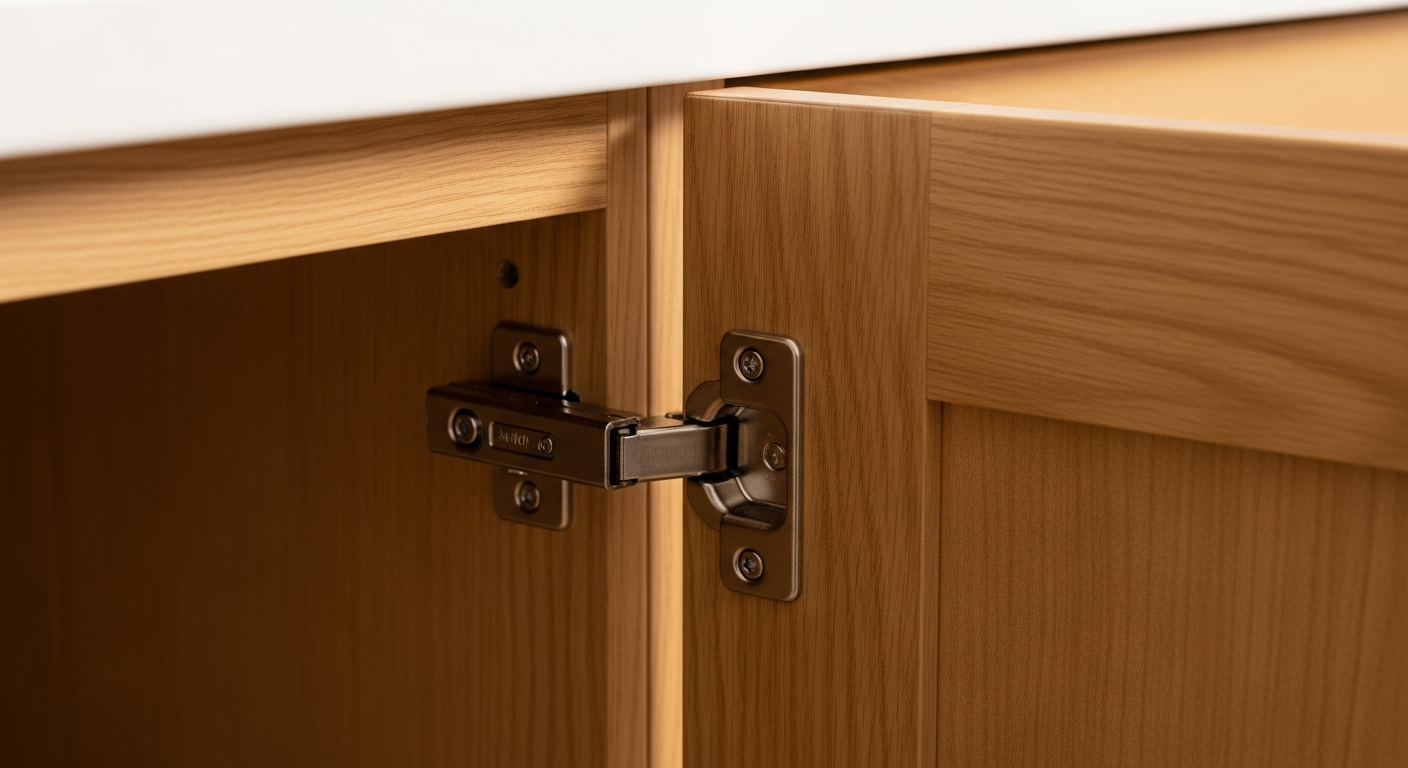
Clip the hinge arms onto the mounting plates — they should snap in with a firm click. Close the door and assess the gap around all four edges. Use the three adjustment screws on each hinge: the side screw moves the door left and right, the depth screw moves it in and out, and the height screw (on some models, a plate slot) moves it up and down. Adjust in small turns, checking after each. A well-adjusted door should have an even gap all round and close without catching on neighbouring doors or the cabinet frame.
Frequently Asked Questions
How do I know what size hinge cup I need?
The vast majority of European kitchen cabinet hinges use a 35mm cup diameter — this has been the standard for decades. Measure the existing cup hole in the door with a tape measure to confirm before ordering; some older or imported kitchens use 26mm or 40mm cups.
Can I replace just one hinge without replacing all of them?
Yes, provided you can match the brand, model, and overlay type exactly. If the hinge range has been discontinued, it’s often simpler and neater to replace all hinges on that door so they match in appearance and adjustment range.
My cabinet door keeps dropping — is it the hinges or the screws?
Do I need a special drill bit to bore new hinge cup holes?
Yes — you need a 35mm Forstner bit, sometimes called a hinge boring bit. A standard twist drill bit will not produce the flat-bottomed, clean-edged recess a hinge cup requires. Forstner bits are widely available and inexpensive.
Can I upgrade to soft-close hinges at the same time?
Absolutely — soft-close hinges use the same 35mm cup hole and standard mounting plates, so a like-for-like swap is straightforward. You may want to install a kitchen splashback at the same time if you’re refreshing the kitchen more broadly, to get all the disruptive work done in one session.
After fitting and adjusting, apply a small smear of dry PTFE lubricant to the hinge pivot and arm — not oil, which attracts grease and dust in a kitchen environment. It keeps the action smooth for years and stops the gradual creep of misalignment that comes from metal-on-metal friction.
Sources
- Which? — How to adjust kitchen cabinet hinges — which.co.uk
- HSE — Safe use of hand tools — hse.gov.uk
- gov.uk — Renting and home improvement rights — gov.uk
This guide is for general information only. Always work safely and follow manufacturer instructions. DIYnut accepts no liability for injury or damage arising from DIY work.