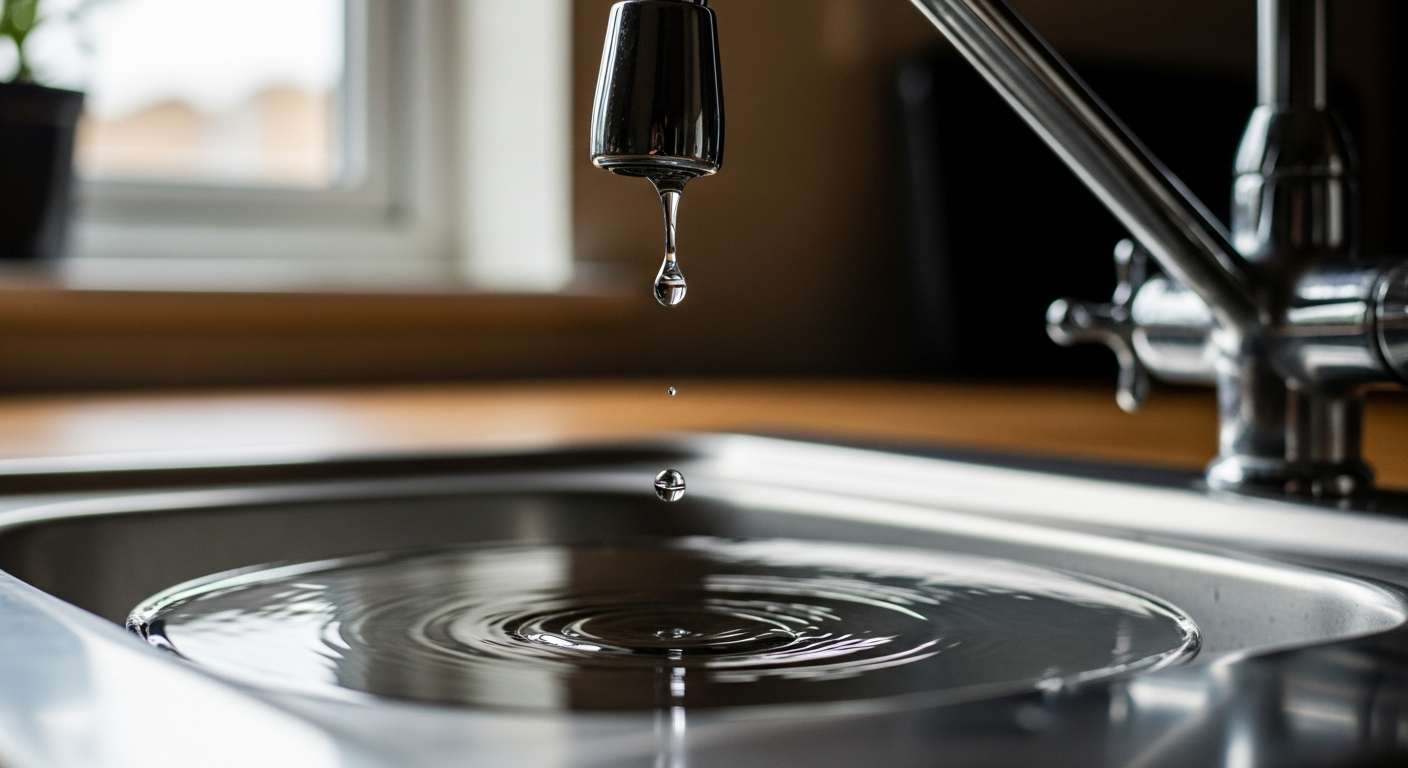
How to Fix a Leaking Kitchen Tap – DIY Guide
Fix a leaking kitchen tap by turning off the water supply, dismantling the tap head, and replacing the worn washer, O-ring, or ceramic cartridge causing the leak. Most kitchen tap repairs take under an hour and cost less than £20 in parts.


- Adjustable spanner
- Flat-head screwdriver
- Cross-head screwdriver
- Pipe grips or slip-joint pliers
- Small bowl or bucket
- Cloth or old towel
- Replacement tap washer
- Replacement O-ring set
- Ceramic cartridge (if applicable)
- Plumber’s grease
- PTFE tape
- Replacement tap gland packing (if applicable)
Step-by-Step Guide
Turn Off the Water Supply
Locate the isolator valves beneath the kitchen sink — turn them a quarter-turn clockwise with a flat-head screwdriver until the slot sits across the pipe. If there are no isolator valves, you’ll need to turn off the water supply at the mains stopcock instead. Once the water is off, open the tap fully to release any residual pressure and drain the supply line.
Identify the Tap Type
Kitchen taps fall into two main categories: traditional pillar taps (with separate hot and cold handles using rubber washers) and monobloc mixer taps (a single lever or handle using a ceramic cartridge). The repair method differs between the two, so confirm which type you have before dismantling anything. Check under the sink — a single central feed pipe suggests a monobloc, while two separate feed pipes suggest pillar taps.
Dismantle the Tap Head
Prise off the decorative cap on top of the handle using a flat-head screwdriver, then undo the retaining screw beneath it. Lift the handle clear and use an adjustable spanner to unscrew the packing nut or headgear nut in a counter-clockwise direction. Place a cloth over the tap body before using your spanner to avoid scratching the finish. Keep all small components together in the bowl so nothing goes missing.
Replace the Worn Component
For a traditional pillar tap, the culprit is almost always a worn rubber washer at the base of the headgear — prise it off and press the new washer firmly into place. If the leak is around the base of the spout rather than the outlet, replace the O-rings on the tap body instead. For a monobloc mixer tap, pull out the ceramic cartridge and take it to a plumbers’ merchant to match the replacement exactly — fitting the wrong size is a very common mistake. Apply a small amount of plumber’s grease to the new washer, O-ring, or cartridge before reassembly. If you need more detail on washer replacement specifically, see our guide on how to replace a tap washer.
Reassemble the Tap
Refit the headgear or cartridge, then hand-tighten the packing nut before snugging it up with the adjustable spanner — do not overtighten or you risk cracking the nut or distorting the new washer. Reattach the handle, replace the retaining screw, and press the decorative cap back into position. If you wrapped any threads with PTFE tape during reassembly, ensure it is wound clockwise so it does not unwind when the nut is tightened.
Restore the Water Supply and Test
Slowly reopen the isolator valves or mains stopcock, then run the tap to check for leaks at the spout and around the base. If the tap still drips from the outlet, the new washer may not be seated correctly — turn the water off and reseat it. A persistent leak around the tap body after reassembly usually means an O-ring is pinched or the wrong size. If the repair has resolved the drip but you notice a broader plumbing issue, our complete plumbing guide covers the next steps.
Frequently Asked Questions
Why is my kitchen tap still dripping after I replaced the washer?
The tap seat — the valve seating inside the tap body that the washer presses against — may be worn or pitted. A damaged seat prevents a new washer from forming a proper seal; you can resurface it with a tap reseating tool or fit a combined washer and jumper valve as a workaround. If the drip continues, the tap may need replacing — see our guide on how to replace a kitchen tap.
How do I know if my kitchen tap has a ceramic cartridge or a rubber washer?
Monobloc mixer taps — the single-lever or single-handle type common in modern kitchens — almost always use a ceramic disc cartridge. Traditional separate hot and cold pillar taps typically use rubber washers. If you are unsure, remove the headgear and inspect it: a ceramic cartridge is a solid cylindrical unit, whereas a rubber washer sits on a separate brass jumper valve.
Is a leaking kitchen tap an emergency?
A dripping tap is not an emergency but it does waste a significant volume of water over time and can cause mould or water damage beneath the sink if ignored. Turn off the isolator valve under the sink until you can carry out the repair — this stops the drip without cutting the water supply to the rest of the house.
Can I fix a leaking kitchen tap myself or do I need a plumber?
Most kitchen tap leaks are straightforward DIY repairs requiring only basic tools and a few pounds of parts. The main exceptions are leaks caused by a cracked tap body, a corroded tap seat that cannot be reseated, or a leak within the supply pipe itself — in those cases, call a plumber. Replacing a dripping tap is one of the most accessible plumbing tasks for a first-time DIYer.
Why is water leaking from the base of my kitchen tap rather than the spout?
A leak at the base of the spout is almost always caused by a worn or perished O-ring on the tap body, not the washer. Remove the spout (it usually unscrews or lifts off once the handle is removed), slide off the old O-rings, and press new ones of the same diameter into the grooves. Coat them lightly with plumber’s grease before reassembling.
When you take the old cartridge or headgear to a plumbers’ merchant, take a photo of the tap brand and model stamped on the tap body — many cartridges look identical externally but have subtly different internal dimensions, and matching by tap model is far more reliable than matching by eye.
Sources
- Which? — How to fix a dripping tap — which.co.uk
- HSE — Water supply regulations and safe working guidance — hse.gov.uk
- Waterwise — Dripping taps and water waste — waterwise.org.uk
This guide is for general information only. Always work safely and follow manufacturer instructions. DIYnut accepts no liability for injury or damage arising from DIY work.


