How to Unblock a Kitchen Sink – DIY Guide
To unblock a kitchen sink, start with boiling water, then use a plunger or a bicarbonate of soda and vinegar flush. If that fails, remove and clean the P-trap beneath the sink. Most kitchen sink blockages clear in under 30 minutes.


- Plunger (cup type)
- Adjustable spanner
- Bucket
- Old cloth or rag
- Drain snake or flexible drain rod
- Rubber gloves
- Torch
- Boiling water
- Bicarbonate of soda
- White vinegar
- PTFE tape
- Washing-up liquid
- Drain cleaning granules (caustic soda based)
- Replacement P-trap washer (if needed)
Step-by-Step Guide
Pour boiling water down the drain
Boil a full kettle and pour it slowly down the plughole in two or three stages, allowing 30 seconds between each pour. This dissolves grease and soap build-up that causes most kitchen sink blockages. If the water drains away, the blockage is cleared — you’re done. If it pools and sits, move to the next step.
Flush with bicarbonate of soda and vinegar
Pour half a mug of bicarbonate of soda directly into the drain, followed immediately by half a mug of white vinegar. The fizzing reaction helps break down organic matter and grease. Cover the plughole with a cloth for five minutes to keep the reaction working in the pipe rather than bubbling up into the sink, then flush through with more boiling water. For a general sink drain blockage, this method clears the majority of partial blockages without any tools at all.
Use a plunger to shift the obstruction
If the chemical flush hasn’t worked, fit a cup plunger over the plughole and ensure it forms a tight seal. Block the overflow hole with a wet cloth — this directs the pressure downward rather than escaping through the overflow. Pump the plunger firmly 10–15 times in quick succession, then pull it away sharply. Repeat two or three times. Run the hot tap to check whether the drain is flowing freely.
Clear the P-trap manually
Put on rubber gloves and place a bucket directly beneath the curved pipe (P-trap) under the sink. Use an adjustable spanner to loosen the two slip-joint nuts on either side of the P-trap — on plastic waste pipes these are often hand-tightened. Pull the P-trap free and empty the contents into the bucket. Remove any visible blockage — typically compacted food debris, grease, or a build-up of scale — then flush the trap under a tap before refitting. Wrap the threads with PTFE tape before reassembly if the existing seal looks worn. This is also a good time to check whether you need to replace the kitchen sink waste fitting if it looks corroded.
Snake the drain if the blockage is further down
If clearing the P-trap reveals no blockage, the obstruction is further along the waste pipe. Feed a flexible drain snake into the exposed pipe opening and rotate it as you push forward — the coiled head snags and breaks up blockages deeper in the system. Withdraw the snake slowly, pulling the debris back with it, then flush through with hot water. You can also check the outside drain at this stage if water is still backing up, as the blockage may be in the external gully rather than the internal waste pipe.
Reassemble, test, and prevent future blockages
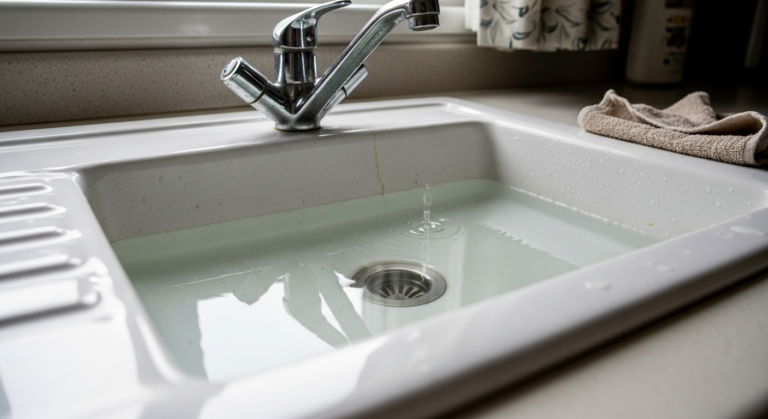
Refit the P-trap, hand-tighten the slip-joint nuts, then use the spanner for a final quarter-turn — do not overtighten or you risk cracking the plastic collar. Run the cold tap for a full minute and check underneath for any drips at the joints. To reduce the chance of future blockages, pour a kettleful of boiling water down the sink once a week and use a sink strainer to catch food debris. If the drain still runs slowly after completing all steps, it is worth diagnosing a slow-draining sink in more detail, as the issue may be partial scale build-up in the stack pipe.
Frequently Asked Questions
What causes a kitchen sink to block?
Kitchen sink blockages are almost always caused by a build-up of cooking grease, food particles, and washing-up liquid residue in the P-trap or waste pipe. Over time these combine to form a solid plug. Using a sink strainer and flushing with hot water weekly is the most effective prevention.
Can I use caustic soda to unblock a kitchen sink?
Yes, caustic soda (sodium hydroxide) drain granules dissolve grease and organic matter effectively, but must be used with caution — always wear rubber gloves and eye protection, and never mix with other chemicals. The HSE advises following product instructions precisely and ensuring adequate ventilation when using caustic-based products.
Why does my kitchen sink keep blocking in the same place?
Repeated blockages in the same location usually indicate that the waste pipe has an insufficient fall (gradient), causing debris to settle rather than flush away, or that there is partial scale build-up on the pipe wall that debris catches on. A drain snake and a boiling water flush can help, but a persistent issue may need the pipework gradient checked. It is also worth checking for a smelly drain as a tell-tale sign of recurring organic build-up.
Is it safe to unblock a sink if I have a waste disposal unit fitted?
Do not use a plunger or drain snake on a sink fitted with a waste disposal unit without first switching the unit off at the isolator switch and confirming the blades are stationary. Never put your hands or tools into the disposal unit housing. Use the bicarbonate of soda and vinegar method, or remove the P-trap from below — do not work from above.
When should I call a plumber instead of unblocking the sink myself?
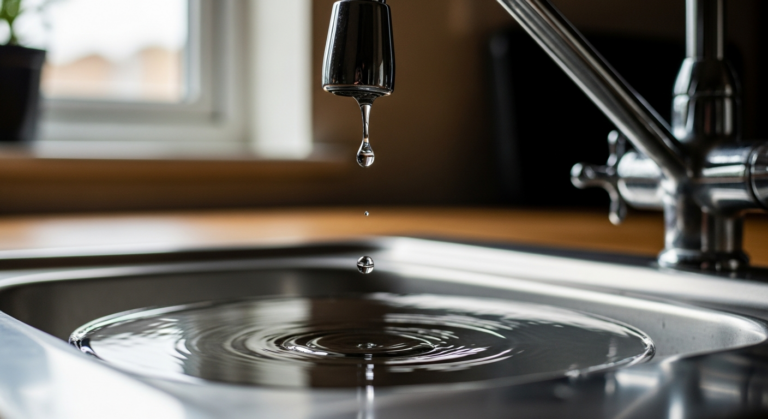
Call a plumber if water is backing up into multiple appliances simultaneously (dishwasher, washing machine, and sink), if you can hear gurgling from the toilet when the sink drains, or if the blockage returns within days of clearing. These signs suggest the blockage is in the main soil stack or sewer, not the branch waste pipe — that is not a DIY job. If you also notice a leaking kitchen tap at the same time, address that separately before it adds to the water volume pooling in the sink.
Before you touch the P-trap, check whether the blockage is actually in the waste pipe neck where it enters the wall — push a torch-lit mirror or phone camera up toward the wall entry point. A blockage there is quicker to shift with a short drain snake from above than by pulling the whole trap. Tradespeople skip straight to this check if plunging fails.
Sources
- Waterwise UK — Blocked Drains and Sinks Advice — waterwise.org.uk
- HSE — Skin at Work: Wet Work and Irritant Contact Dermatitis — hse.gov.uk
- Which? — How to unblock a sink — which.co.uk
This guide is for general information only. Always work safely and follow manufacturer instructions. DIYnut accepts no liability for injury or damage arising from DIY work.