How to Cut a Kitchen Worktop – DIY Guide
To cut a kitchen worktop, mark your cut line with masking tape and a pencil, support the board fully, then cut face-down with a fine-tooth circular saw blade. Work slowly, keep the offcut supported to prevent breakout, and finish edges with sandpaper or an iron-on strip.


- Circular saw
- Fine-tooth saw blade (40+ tooth)
- Tape measure
- Pencil
- Straight edge or guide rail
- Clamps
- Sandpaper or sanding block
- Safety glasses and dust mask
- Masking tape
- Laminate worktop edging strip
- Edge iron or household iron
- Wood glue or worktop sealant
- Sandpaper (120 grit)
- Worktop joining bolts (if joining sections)
- Pencil or marker
Step-by-Step Guide
Measure and Mark the Cut Line
Measure twice before marking. Use a tape measure to mark the cut position at both ends of the worktop, then connect the marks with a straight edge and pencil. Apply masking tape along the entire cut line — this protects the laminate surface from the saw’s shoe plate and significantly reduces chipping on the face side. Mark your cut line directly onto the masking tape for visibility.
Set Up a Firm Cutting Surface
Support the full length of the worktop on a pair of saw horses or a workbench — never let the offcut hang unsupported, as it will flex and cause breakout just before the cut finishes. Position supports so both the main board and the offcut piece are stable throughout the entire cut. If you’re cutting in-situ, ensure the base cabinet provides solid support close to the cut line on both sides.
Cut Face-Down with a Guide Rail
Laminate worktops should be cut face-down when using a circular saw — the blade cuts upward on the return stroke, so the face side (which is underneath) receives the cleanest cut. Clamp a straight edge or guide rail to act as a fence for the saw’s shoe, keeping your cut perfectly straight. Set the blade depth to just 2–3 mm deeper than the worktop thickness — no deeper. Feed the saw steadily without forcing the pace. If you’re cutting a worktop near existing joins , check the line clears any existing joint bolts before you start.
Cut Sink or Hob Apertures
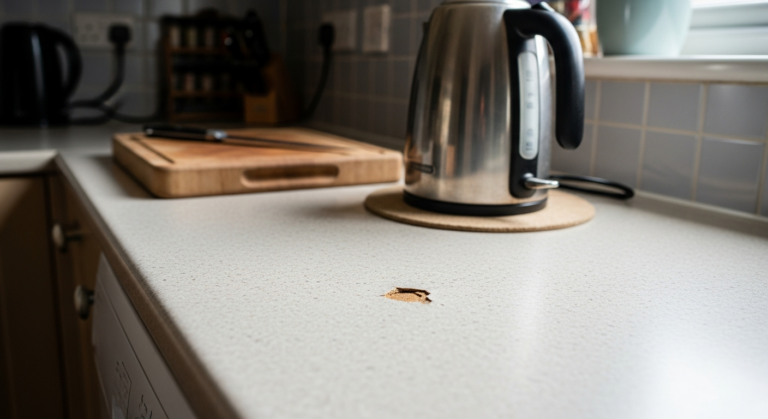
For sink or hob cutouts, use the manufacturer’s template or draw the aperture directly onto the worktop using the appliance as a guide. Drill a pilot hole inside each corner of the marked shape using a drill and spade or jigsaw entry bit — this gives the jigsaw blade a clean starting point. Use a jigsaw with a fine-tooth blade to cut the aperture, keeping inside the marked line. Support the offcut from below with your free hand or a clamped batten to stop it dropping and cracking the laminate as you finish the cut. For guidance on repairing chipped worktop surfaces, treat any minor tearout immediately before it spreads.
Finish and Seal the Exposed Edge
Once cut, the raw particleboard edge is exposed and must be sealed before installation to prevent moisture swelling. Apply an iron-on laminate edging strip matched to your worktop colour — trim to length, press on with a household iron set to medium heat, and roll firmly. Allow it to cool, then trim the overhang flush with a sharp knife and sand lightly with 120-grit sandpaper. For end panels that will be visible, a solid timber edge lipping bonded with wood glue gives a more premium finish. Always apply a bead of worktop sealant along any cut edge that will sit above a sink or against a wall — the kitchen installation guide covers full sealing best practice. If you’re fitting adjacent worktop runs, use proprietary joining bolts beneath the join and seal the top seam with silicone or worktop join sealant to keep moisture out.
Check the Fit Before Fixing Down
Dry-fit the cut worktop in position before applying any adhesive or fixings. Check it sits level, flush against the wall, and that any apertures align with the sink or hob below. Scribe to the wall if necessary to close any gap — use a compass set to the maximum gap distance and run it along the wall to transfer the profile onto the worktop, then plane or sand back to the scribed line. Only fix the worktop down permanently once you are satisfied with the fit on all sides.
Frequently Asked Questions
Can I cut a laminate worktop with a jigsaw instead of a circular saw?
Yes — use a fine-tooth jigsaw blade and cut face-down where possible. A jigsaw is easier to control for curved cuts and apertures, but is harder to keep perfectly straight on long cuts without a clamped guide. For straight cuts over 500 mm, a circular saw with a guide rail gives a cleaner result.
How do I stop the laminate chipping when I cut?
Apply masking tape over the cut line before marking and sawing — this supports the laminate fibres and reduces tearout dramatically. Use a blade with at least 40 teeth, keep the blade sharp, and feed the saw at a steady pace without forcing it.
Which way up should I cut a worktop with a circular saw?
Always cut face-down with a circular saw. The blade rotates so that it cuts cleanest on the face side when that face is against the saw table. Cutting face-up causes the teeth to tear through the laminate surface, leaving a chipped edge. Updating your kitchen cabinets at the same time? Plan all cuts before you start to minimise material handling.
Do I need to seal the cut end of a worktop?
Yes, always. The core of a laminate worktop is particleboard, which absorbs moisture readily when exposed. Seal any cut edge with iron-on laminate edging strip and apply worktop sealant or silicone where the edge meets a wall, appliance, or upstand.
How do I cut a worktop around a corner or an L-shape?
An L-shaped or mitred corner joint requires two worktop sections cut at 45° angles using a router and a mitre jig, or a specialist worktop jig available from tool hire shops. This is more accurate than attempting a mitre freehand and gives a tight, water-resistant join. Secure the joint underneath with proprietary joining bolts and seal the top seam. For ongoing maintenance, see our guide to resealing kitchen worktop joins.
When cutting close to an existing wall, run a strip of masking tape on the underside of the saw’s shoe plate as well as on the worktop surface — this prevents the metal plate from scuffing or marking the laminate as you push the saw along. It also reduces vibration transfer, which is one of the main causes of micro-chipping on long straight cuts.
Sources
- HSE — Woodworking: safe use of hand-held circular saws — hse.gov.uk
- Which? — How to cut a kitchen worktop — which.co.uk
- BBC Good Food / Homebuilding & Renovating — Fitting a kitchen worktop: how to cut and join — homebuilding.co.uk
This guide is for general information only. Always work safely and follow manufacturer instructions. DIYnut accepts no liability for injury or damage arising from DIY work.