How to Fix Peeling Ceiling Paint – DIY Guide
Painting & Decorating › Ceilings
How to Fix Peeling Ceiling Paint
Strip back, prep properly, and repaint for a smooth, lasting ceiling finish.
Fix peeling ceiling paint by scraping away all loose material, sanding the edges smooth, applying a stain-blocking primer to any bare patches, then repainting with two coats of ceiling paint. Address any damp or moisture issue first — peeling will return if the root cause is not resolved.


- Scraper or stripping knife
- Sanding block
- Medium-grit sandpaper (120 grit)
- Paint roller with extension pole
- Paintbrush (50 mm)
- Dust sheets
- Safety goggles
- Stepladder
- Stain-blocking primer
- Ceiling paint (matt)
- Fine surface filler
- Flexible filler (if cracks present)
- Fine-grit sandpaper (180 grit)
- Masking tape
- Roller sleeve (short pile)
- Damp-proof paint (if moisture is the cause)
Step-by-Step Guide
Find and Fix the Root Cause
Before touching a scraper, work out why the paint is peeling. Common causes include condensation, a leak from above, poor surface prep on the previous paint job, or paint applied over a dirty or dusty surface. If the ceiling feels soft, damp, or discoloured, deal with the moisture source first — read our guide to fixing damp on interior walls before proceeding. Painting over an active damp problem guarantees the peeling returns.
Scrape Away All Loose Paint
Work across the entire affected area with a scraper or stripping knife, removing every piece of paint that is bubbling, flaking, or lifting — not just the obvious patches. Tap gently around the edges; if the paint sounds hollow or lifts easily, take it back further. Feather the edges of the remaining sound paint so there is no sharp ridge. Lay dust sheets on the floor and wear safety goggles — ceiling debris falls directly into your eyes.
Fill Any Cracks or Hollows
Once the surface is stripped back, inspect for cracks, holes, or areas where the plaster has blown. Apply fine surface filler to shallow imperfections with a filling knife, pressing firmly and drawing it flush. For any hairline cracks, use a flexible filler to prevent movement cracking the repair — our guide to fixing cracks in a ceiling covers this in detail. Allow filler to dry fully per the manufacturer’s instructions, then sand smooth with 120-grit sandpaper and finish with 180-grit.
Apply a Stain-Blocking Primer
This is the step most DIYers skip — and why peeling or staining returns. Apply a stain-blocking primer to all bare plaster patches and any areas that showed staining or discolouration. Water-based stain-blocking primers are adequate for most jobs; use a solvent-based version for heavy nicotine or persistent damp stains. Allow to dry completely before painting — check the tin for the recoat time. Our Painting & Decorating Guide has more detail on primer selection for different ceiling types.
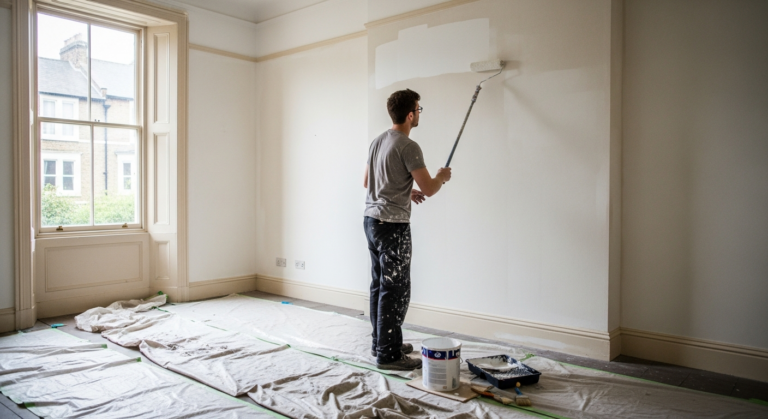
Apply Two Coats of Ceiling Paint
Use a 50 mm brush to cut in around the perimeter first, then roll the main field with a short-pile roller on an extension pole. Work in consistent parallel passes and keep a wet edge to avoid lap marks. Allow the first coat to dry fully — typically two hours for water-based ceiling paint, though this varies by temperature and ventilation. Apply a second coat in the opposite direction to the first. Two coats are almost always necessary for an even, opaque finish, especially over repaired patches.
Check the Finish in Raking Light
Once the final coat is touch-dry, hold a torch or work light at a low angle across the ceiling surface — raking light exposes any ridges, missed patches, or roller stippling that overhead lighting hides. Sand any proud filler edges lightly with 180-grit paper and spot-touch if needed. If the repaired area still shows through, apply a further coat to that section only. Choosing the right paint for the room type — particularly in bathrooms — makes a significant difference to how long the finish holds.
Frequently Asked Questions
Why is my ceiling paint peeling in the bathroom?
Bathroom ceilings peel most often because of condensation — warm moist air hitting a cold ceiling surface causes paint to lift over time. Use a moisture-resistant ceiling paint rated for wet rooms, improve ventilation with an extractor fan, and apply a stain-blocking primer before repainting.
Do I need to strip the entire ceiling or just the peeling area?
Strip any paint that is loose, bubbling, or sounds hollow when tapped — not just the visibly peeling section. Sound paint that is firmly adhered can stay. Feather the edges between old and new paint with sandpaper so there is no visible ridge in the finished coat.
Can I paint over peeling ceiling paint without scraping?
No. Painting directly over peeling paint is the single most common reason the problem recurs. New paint cannot bond to a surface that is already failing — scraping and priming bare patches is non-negotiable if you want the repair to last.
What causes ceiling paint to peel in a room with no obvious damp?
Poor surface preparation on the original job is the most likely cause — paint applied over a dusty, greasy, or unprepared surface will eventually fail. Incompatible paint types (for example, oil-based paint applied directly over emulsion without a bonding primer) is another common cause.
How long will a repaired ceiling last before it needs repainting?
A properly prepped, primed, and painted ceiling should last five to ten years in a dry room with normal use. Bathrooms and kitchens will require attention sooner — typically every three to five years — depending on ventilation quality.
When sanding back the feathered edges of old paint, wrap your sandpaper around a flat sanding block rather than folding it in your hand — you get a flat, even transition that disappears completely under paint rather than a dished hollow that catches light. On textured or artexed ceilings, a stiff-bristled brush used dry will feather the edges without flattening the texture pattern.
Sources
- HSE — Work at Height Regulations: safe use of ladders and stepladders — hse.gov.uk
- Which? — How to paint a ceiling — which.co.uk
- NHS — Condensation and damp in the home — nhs.uk
This guide is for general information only. Always work safely and follow manufacturer instructions. DIYnut accepts no liability for injury or damage arising from DIY work.