How to Paint a Fence – DIY Guide
Painting & Decorating › Exterior
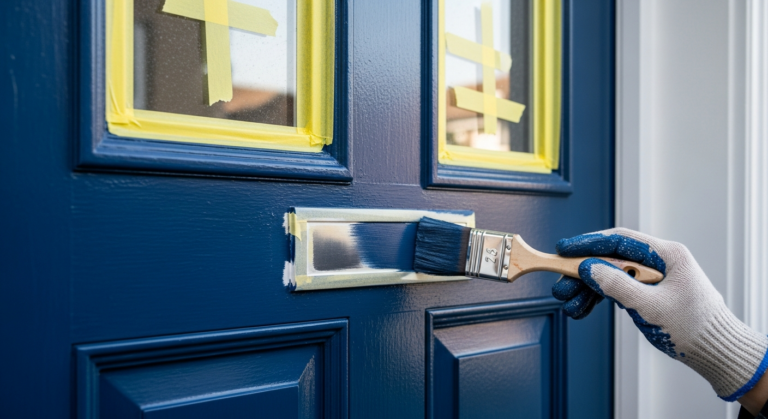
How to Paint a Fence
Get a long-lasting, even finish on any garden fence in a weekend.
To paint a fence, clean the wood and allow it to dry fully, then apply a coat of exterior wood preservative or fence paint using a wide brush or pad applicator. Work from top to bottom, section by section. Two coats give the best protection.


- Wide fence brush (100–150 mm)
- Pad applicator or fence roller
- Stiff-bristle scrubbing brush
- Garden hose or pressure washer
- Dust sheet or plastic sheeting
- Paint kettle or deep tray
- Old paintbrush (for edges and knots)
- Exterior fence paint or wood stain
- Wood preservative or pre-treatment solution
- Fine-grit sandpaper (80–120 grit)
- Exterior wood filler or knotting compound
- Masking tape
- Lint-free cloths
- Plastic sheeting or dust sheets (to protect plants and paths)
Step-by-Step Guide
Clear and protect the surrounding area
Move planters, garden furniture, and ornaments well away from the fence. Lay plastic sheeting or dust sheets over any plants, lawn edges, or paving directly beneath and beside the fence — fence paint carries easily in a breeze and will stain anything it lands on. Apply masking tape to fence post tops and any adjoining surfaces such as walls or gate frames.
Clean the fence thoroughly
Scrub the fence with a stiff-bristle brush and soapy water to remove algae, dirt, and loose flaking paint. A pressure washer speeds this up considerably on heavily weathered timber. Pay particular attention to the lower sections of each board where moisture and growth accumulate. Rinse with clean water and allow the fence to dry completely — ideally 24–48 hours of dry weather. Painting damp wood traps moisture and causes premature peeling. For more on how to prep and undercoat wood before painting, our dedicated guide covers the process in full.
Repair and prepare the timber
Once dry, sand any rough or splintered areas with 80–120 grit sandpaper, working along the grain. Fill any splits or holes with exterior wood filler, allow it to set fully, then sand flush. If you can see resin-oozing knots in bare timber, apply a knotting compound and allow it to dry before painting — skipping this causes brown bleed-through that ruins the finish.
Apply the first coat of fence paint
Decant your fence paint into a kettle or tray and stir well. Start at the top of the fence and work downwards, section by section, to avoid drips landing on finished areas. Use a wide fence brush or pad applicator for open panels and a narrower brush to work paint into the gaps between boards and around post edges. Apply a generous, even coat — do not overbrush. Work with the grain of the wood. For tips on achieving clean edges where the fence meets walls or posts, see our guide on how to cut in paint neatly.
Allow to dry and apply a second coat
Allow the first coat to dry fully according to the manufacturer’s guidance — typically 2–4 hours in warm, dry conditions. Do not apply a second coat to a tacky surface; it will drag and leave brush marks. Once dry, apply a second coat using the same method. Two coats are the minimum for durable protection on exterior timber. If the wood is very porous or the original colour was much darker, a third coat may be needed. For advice on how many coats of paint different surfaces require, our guide explains the reasoning behind recoat decisions.
Clean up and remove masking
Remove masking tape and dust sheets while the final coat is still slightly tacky — pulling tape away from dry paint can lift the edge and leave a ragged line. Clean brushes and applicators thoroughly with warm soapy water for water-based paints, or the appropriate solvent for oil-based products. Store any leftover paint with the lid sealed tightly — fence paint keeps well for future touch-ups if stored correctly in a frost-free location.
Frequently Asked Questions
What is the best time of year to paint a fence?
Late spring or early autumn are ideal — temperatures are mild, humidity is lower, and rain is less frequent. Avoid painting in winter or during a heatwave. You need at least 48 hours of dry, frost-free weather above 5°C to get a sound result.
Do I need to remove old fence paint before recoating?
Not always. If the existing paint is sound, well-adhered, and not flaking, you can paint directly over it after cleaning. Flaking or peeling areas must be scraped back to bare wood and the edges feathered with sandpaper before recoating, otherwise the new coat will lift with the old one.
Can I use a roller to paint a fence?
A short-pile roller works reasonably well on flat panel fencing, but a wide brush or pad applicator is better for getting paint into the gaps between overlapping boards on traditional feather-edge or overlap fencing. Use a narrow brush to finish off the gaps and edges a roller cannot reach. For exterior walls with a similar approach, our guide on how to paint exterior walls covers roller technique in detail.
How long does fence paint last before it needs reapplying?
A properly prepared fence with two full coats of quality exterior paint or wood stain should last three to five years in typical UK conditions. South-facing fences in direct sunlight will fade and degrade faster than shaded ones, so check annually and spot-treat any bare patches before they let in moisture.
Should I use fence paint or wood stain?
Fence paint creates an opaque, pigmented film on the surface and is better for bold colour or covering patchy timber. Wood stain penetrates the grain, feeds the wood, and gives a more natural appearance. Stains are often easier to maintain as they don’t peel — they simply fade. For pressure-treated timber, always check the product is compatible before applying. Our prep and undercoat wood guide has more detail on matching products to timber type.
Decant your fence paint into a wide paint kettle rather than dipping straight from the tin — it keeps the tin clean and lets you load a pad applicator properly for faster, more even coverage. Professionals also stir the tin from the bottom upward every 20–30 minutes on site, because dense pigments in fence paints settle fast and an unblended tin gives patchy colour across a run of panels.
Sources
- HSE — Work with wood: skin and respiratory hazards — hse.gov.uk
- RHS — Fences: care and maintenance — rhs.org.uk
- Which? — How to paint a fence — which.co.uk
This guide is for general information only. Always work safely and follow manufacturer instructions. DIYnut accepts no liability for injury or damage arising from DIY work.