How to Paint Exterior Walls – DIY Guide
Painting & Decorating › Exterior
How to Paint Exterior Walls
Get a clean, weather-resistant finish on outside walls that lasts for years.
To paint exterior walls, clean and dry the surface thoroughly, fill any cracks, apply a stabilising primer to powdery or bare render, then work top to bottom with two coats of exterior masonry paint using a wide brush or roller.


Repair Cracks and Damaged Render
Inspect the wall carefully for cracks, loose render, and blown areas. Tap the surface — a hollow sound means the render has lifted and will need hacking off and re-rendering before painting. For smaller cracks, rake them out with a screwdriver to remove loose material, then fill with exterior-grade flexible filler and leave to cure fully. Sand flush once dry. Larger areas of damaged render should be addressed first — see our guide on how to render an outside wall before applying any paint.
Apply Stabilising Primer to Powdery or Porous Surfaces
If the existing surface is powdery, chalky, or has bare patches, apply a coat of stabilising primer solution and allow it to soak in and dry fully before painting. Skipping this step on a porous or friable wall causes the masonry paint to be absorbed unevenly and may pull away from the surface. On previously painted surfaces in good condition, you can skip primer, but always check the paint manufacturer’s guidance. Brush the stabiliser on generously and work it into any recessed areas of textured render.
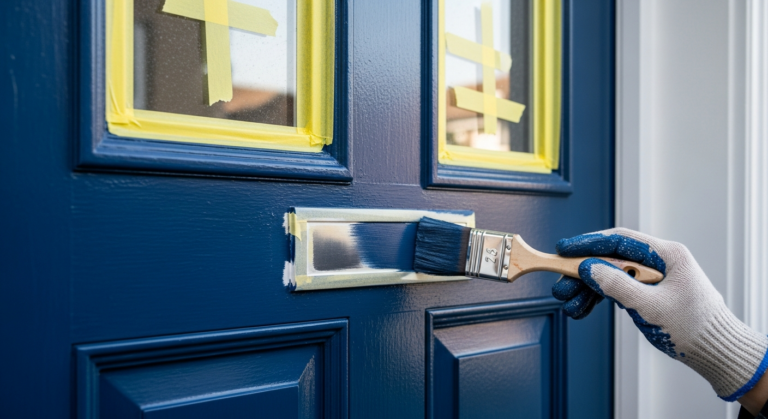
Mask Off Windows, Doors, and Sills
Use masking tape along window frames, door frames, soffits, and any pipework you want to protect. Lay dust sheets or plastic sheeting over plants, paths, and anything below your working area — masonry paint is heavy and spatters considerably. Exterior masonry paint is very difficult to remove from uPVC and glass once dry, so take time to protect these surfaces properly before you begin painting.
Apply the First Coat of Exterior Masonry Paint
Work from the top of the wall downwards to avoid drips landing on finished areas. Use a wide masonry roller on flat sections and a 50 mm brush to cut in around edges, reveals, and any detail work. Apply the paint at the coverage rate stated on the tin — overloading the roller leads to runs on smooth render and uneven coverage on rough surfaces. Thin the first coat slightly with water if specified by the manufacturer; this helps penetration on porous surfaces. For tips on getting a neat edge around frames and soffits, our guide to cutting in paint neatly covers the technique in detail.
Apply the Second Coat and Remove Masking
Allow the first coat to dry completely — typically four hours minimum but check the tin, and never apply a second coat to a tacky surface. Apply the second coat in the same top-to-bottom direction, working with consistent pressure to build an even, opaque finish. Remove masking tape while the second coat is still slightly wet to get a clean edge; pulling tape off fully cured masonry paint can chip the surface. Once finished, clean brushes and rollers with water for water-based paint or white spirit for solvent-based, and dispose of any waste paint responsibly — check your local council’s guidance on paint disposal at gov.uk.
Frequently Asked Questions
What is the best time of year to paint exterior walls in the UK?
Late spring through early autumn is ideal — typically May to September. You need dry weather, temperatures consistently above 5 °C, and no rain forecast for at least 24 hours after application. Avoid painting in direct summer sun as this causes the paint to dry too quickly, leading to poor adhesion and an uneven finish.
Do I need to use a primer before exterior masonry paint?
Not always, but on bare, porous, or powdery surfaces a stabilising primer is essential. It binds loose material and seals the surface so the topcoat adheres properly. On previously painted walls in sound condition, you can usually go straight to the masonry paint, but always check the product datasheet.
How many coats of exterior masonry paint do I need?
Two coats are standard for exterior walls. The first coat seals and provides a base; the second coat builds the final colour and weather resistance. On very porous or heavily textured render, a third coat may be needed to achieve full, even coverage.
Can I paint over existing exterior paint without stripping it?
Yes, provided the existing paint is sound — not peeling, flaking, or bubbling. Remove any loose material with a scraper and stiff brush, then check for compatibility between old and new paint types. If in doubt, apply a test patch and leave for a week before committing to the full job. You can find more prep and application advice in our Painting & Decorating Guide.
Is it safe to work at height when painting exterior walls?
Use a scaffold tower rather than a ladder for any sustained work at height — a tower provides a stable platform and both hands free to work. The HSE advises that ladders are only suitable for short-duration tasks and should never be used as a working platform for extended periods. Always ensure the tower is erected on firm, level ground and follow the manufacturer’s assembly instructions.
Before you apply any paint, wet the wall briefly with clean water and watch how quickly it absorbs — a surface that drinks water instantly will soak up your first coat the same way, giving patchy coverage. On highly absorbent render, thin the first coat by 10% with clean water to slow the take-up and give the paint time to bond properly before it flashes off.
Sources
- HSE — Working at Height Regulations: safe use of ladders and scaffolding — hse.gov.uk
- Which? — How to paint exterior walls: preparation and application advice — which.co.uk
- gov.uk — Dispose of hazardous waste including paint — gov.uk
This guide is for general information only. Always work safely and follow manufacturer instructions. DIYnut accepts no liability for injury or damage arising from DIY work.