How to Use a Paint Roller – DIY Guide
Painting & Decorating › Guides
How to Use a Paint Roller
Get a smooth, even finish on walls and ceilings without streaks or roller marks.
Using a paint roller correctly means loading it evenly, working in overlapping W or M strokes, and keeping a wet edge throughout. Apply two coats, letting the first dry fully. The right roller sleeve nap for your surface is just as important as technique.


- Paint roller frame
- Roller sleeve (short, medium or long pile)
- Roller tray
- Paintbrush (50–75 mm)
- Extension pole
- Dust sheets
- Masking tape
- Stirring stick
- Emulsion paint
- Roller tray liner
- Fine-grit sandpaper (120–150 grit)
- Sugar soap solution
- Filler
- Primer or mist coat (for bare plaster)
Step-by-Step Guide
Prepare the Room and Surface
Move furniture to the centre of the room and lay dust sheets over everything. Remove socket covers and switch plates, then mask off skirting boards, architrave, and any edges you do not want painted. Wash the walls down with a sugar soap solution, rinse with clean water, and leave to dry completely — grease and dust will stop paint from bonding. Fill any cracks or holes and allow filler to cure fully before sanding smooth. If you are painting bare or newly skimmed plaster, apply a mist coat first — undiluted emulsion on bare plaster will dry patchy and is very difficult to correct.
Choose the Right Roller Sleeve
Roller sleeve pile depth controls how much paint is held and how it is released onto the surface. Use a short pile (6–10 mm) on smooth plaster or plasterboard for a fine finish. Use a medium pile (12–15 mm) on lightly textured or mist-coated walls. Use a long pile (18–25 mm) on heavily textured or exterior surfaces. Choosing the wrong pile is one of the most common reasons for an uneven result — a short pile on a textured wall will leave uncoated hollows, while a long pile on smooth plaster deposits too much paint in one area and causes sagging. See our guide to choosing the best paint finish for walls if you are also deciding between matt, silk, or eggshell.
Load the Roller Correctly
Pour paint into the deep end of the roller tray to roughly half depth. Submerge the roller sleeve in the paint, then run it back and forth across the ribbed ramp of the tray several times until the sleeve is evenly loaded but not dripping. A correctly loaded roller feels heavy and looks uniformly coated — squeeze it gently with your fingers and you should feel resistance, not slop. Never overload the roller directly from the tin and never just dip the end: uneven loading causes heavy blobs at the start of each stroke and thin, dry patches at the end.
Apply Paint Using W or M Strokes
Start in the top corner of the wall and work in manageable sections of roughly 60 cm x 60 cm. Apply the paint in a large W or M shape first — this distributes the loaded paint across the section without dragging. Then, without reloading, fill in the gaps with vertical strokes, keeping the roller moving in the same direction. Finish each section with light, overlapping passes from top to bottom to lay off the paint and eliminate any roller texture. Always maintain a wet edge by slightly overlapping the previous section before it dries — this prevents visible joins. For ceilings, the same method applies; an extension pole saves significant effort and keeps the roller at a consistent angle. If you are painting a ceiling next, our guide on fixing peeling ceiling paint covers prep steps worth knowing before you start.
Cut In at Edges with a Brush
Before rolling each section, use a 50–75 mm brush to cut in a 50–75 mm band at all edges — ceiling line, corners, around switches, and at the skirting board. Cut in one section at a time rather than cutting in the entire room first; if cut-in paint dries before you roll up to it, the join will show as a distinct band (known as ‘picture framing’). Work the roller as close to the cut-in edge as possible to blend the two. Cutting in neatly alongside a wet rolled section gives the most invisible finish.
Apply a Second Coat and Clean Up
Allow the first coat to dry fully before applying the second — check the paint tin for the manufacturer’s recoat time, typically two to four hours for water-based emulsion. Do not rush this; rolling over a partially dry coat will drag and peel the first layer. For the second coat, reload the roller and repeat the W or M technique. Two coats give proper opacity and depth of colour. Once finished, remove masking tape while the paint is still slightly tacky by pulling it back at 45 degrees — waiting until fully dry risks pulling paint off with it. Clean roller sleeves and brushes immediately in warm soapy water for water-based paints, or with the appropriate solvent for oil-based products. If you notice any uneven patches in the finish once dry, light sanding and a targeted third coat on problem areas will resolve them.
Frequently Asked Questions
What roller pile depth should I use for smooth walls?
Use a short pile sleeve of 6–10 mm for smooth plaster or plasterboard. This deposits a thin, even layer and produces a fine finish without stippling.
Do I need to use a brush as well as a roller?
Yes. A roller cannot reach into corners, along ceiling lines, or around skirting boards — you need a 50–75 mm brush to cut in at all edges. Roll up to the cut-in edge while both are still wet to avoid visible joins.
How do I avoid roller marks and streaks?
Load the roller evenly, work in W or M strokes to distribute paint, then lay off with consistent overlapping vertical passes. Always maintain a wet edge by overlapping each section before it dries. Our guide to fixing paint drips and runs covers how to correct common finish problems once dry.
How many coats of paint does a roller apply?
For most interior walls, two full coats are needed for solid, even coverage. Bare or freshly plastered walls need a mist coat first, followed by two full coats — so three in total.
Can I use a paint roller on woodwork?
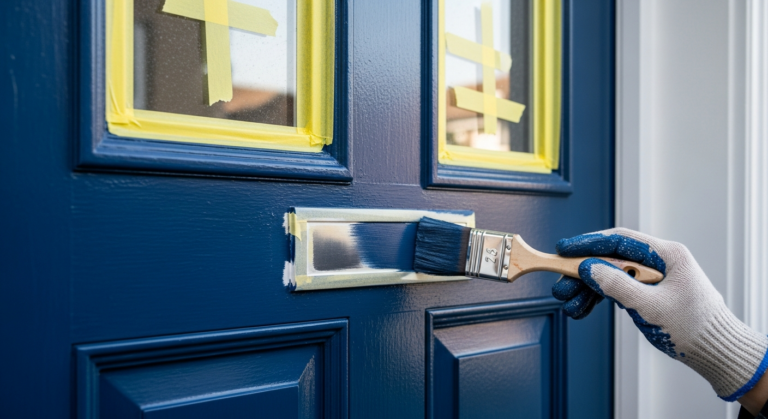
A small foam roller can be used on flat areas of woodwork such as doors or wide skirting boards to reduce brush marks, but it must be followed immediately with a brush to lay off the paint. For most detailed or profiled woodwork, a brush alone gives a better result. See our wood prep and undercoat guide for the full process.
Dampen the roller sleeve with clean water before you start (for water-based paints) and squeeze out the excess — this primes the fibres and helps the first load of paint spread more evenly from the very first stroke. A dry sleeve absorbs too much paint initially, which causes an uneven first pass that many beginners mistake for a coverage problem and try to fix with more paint.
Sources
- Which? — How to paint a room — which.co.uk
- HSE — Health and safety in the painting and decorating industry — hse.gov.uk
- GoodHomes Magazine — How to use a paint roller — goodhomesmagazine.com
This guide is for general information only. Always work safely and follow manufacturer instructions. DIYnut accepts no liability for injury or damage arising from DIY work.