How to Paint a Room – 2026 Guide
DIY Guides › Painting & Decorating
How to Paint a Room
Get a smooth, professional finish on walls and ceiling without the decorator’s bill.
To paint a room, prepare surfaces by filling holes and sanding, apply masking tape to edges, cut in around the ceiling and skirting boards with a brush, then roll the walls in two coats of emulsion, allowing full drying time between coats.


- Paint roller and sleeve
- Roller tray
- Angled cutting-in brush
- Wide filling knife
- Sandpaper (medium and fine grit)
- Dust sheets
- Masking tape
- Stepladder
- Emulsion paint (walls and ceiling)
- Undercoat or primer
- Interior filler
- Sugar soap solution
- Fine-grit sanding block
- Lint-free cloths
- Painter’s masking tape
- Dust sheets
Step-by-Step Guide
Prepare the Room
Remove furniture where possible or push it to the centre and cover everything with dust sheets. Take down curtain poles, switch covers, and socket faceplates to give yourself clean edges to paint to. Protecting the room properly at this stage saves hours of cleaning up later.
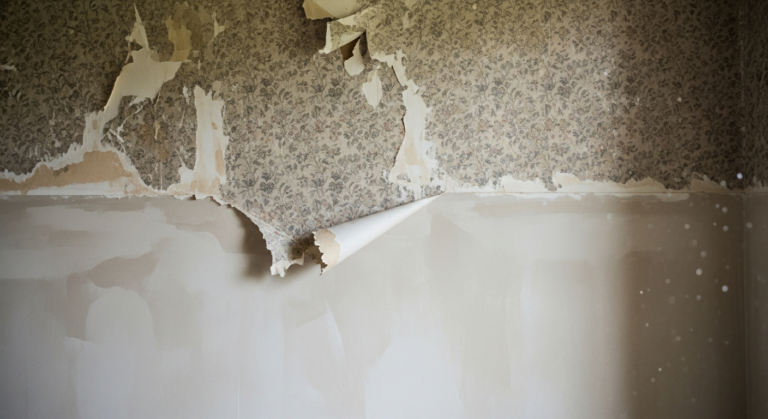
Clean and Repair the Walls
Wash all surfaces down with a sugar soap solution and a lint-free cloth to remove grease, dust, and any flaking paint — paint will not bond properly to dirty or contaminated surfaces. Fill any holes or cracks with interior filler, leave to dry fully, then sand flush with a fine-grit sanding block for a smooth, even base.
Apply Masking Tape and Prime Bare Areas
Run masking tape along skirting boards, door frames, window architraves, and the ceiling line before you open a tin of paint. Apply a coat of primer or undercoat to any bare filler patches or newly plastered areas — bare surfaces are absorbent and will show through topcoats if left unprimed.
Cut In Around Edges
Load an angled cutting-in brush and paint a neat band approximately 50–75 mm wide along the ceiling line, into corners, and around all woodwork. Work in small sections and keep a wet edge — this is the most time-consuming part of the job but determines how tidy the finished room looks.
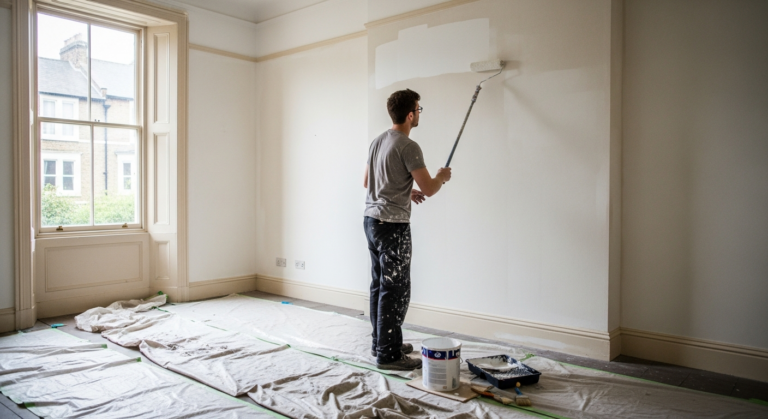
Roll the Walls
Pour emulsion into a roller tray, load the roller sleeve evenly, and apply paint to the wall in a series of overlapping ‘W’ or ‘M’ strokes, then fill in with vertical passes to level the coverage. Work in sections from the top of the wall downwards, blending each section into the wet edge of the last before it dries. Apply a second coat once the first is fully dry — usually 2–4 hours for standard emulsion.
Remove Tape and Tidy Up
Once the final coat is touch-dry but not fully cured, peel masking tape back at a 45-degree angle away from the painted edge to avoid lifting the new paint. Refit socket faceplates and switch covers, rehang curtain poles, and fold dust sheets inward to trap any debris before removing them from the room.
Frequently Asked Questions
How many coats of paint does a room need?
Most rooms need two coats of emulsion for solid, even coverage. If you are painting a dark colour over a lighter one, or switching from a very light wall to a deep tone, a tinted primer first can reduce the number of topcoats required.
Do I need to use a primer before painting a room?
New plaster and bare filler patches must be primed before painting — they are highly absorbent and will drink in topcoat unevenly if left untreated. Previously painted walls in good condition that are being repainted in a similar colour generally do not need a full prime coat.
What is the correct order to paint a room?
Always paint the ceiling first, then the walls, and leave woodwork (skirting boards, door frames, window frames) until last. This order means any splashes or drips from the ceiling fall onto surfaces you have not yet painted.
How do I avoid brush marks when cutting in?
Use a good-quality angled brush and keep a wet edge — do not let the paint dry before you come back to blend it. Thin the paint very slightly with water if it is dragging, and avoid pressing too hard with the brush tip.
Is it safe to paint a room with the windows closed?
No — always ensure the room is well ventilated when painting. The Health and Safety Executive advises that even water-based paints release vapours that can cause irritation; open windows and doors and take regular breaks, especially in small rooms.
Decant your cutting-in paint into a separate container and add the very smallest amount of water — enough to loosen it without thinning the coverage — and it will flow off the brush cleanly, reducing drag marks along the ceiling line. Never cut in the entire room and then roll; always cut in one wall and roll it immediately so the edges blend into the wet rolled surface rather than drying as a visible brush line.
Sources
- HSE — Health risks from paint and decorating — hse.gov.uk
- Which? — How to paint a room — which.co.uk
- GOV.UK — Electrical safety: guidance on socket covers and fittings — gov.uk
This guide is for general information only. Always work safely and follow manufacturer instructions. DIYnut accepts no liability for injury or damage arising from DIY work.